# Ubuntu
[**Ubuntu**](https://ubuntu.com/) is an open-source software operating system on Linux for enterprise servers, desktops, the cloud, and IoT.
There are multiple ways to set up a proxy server for Ubuntu. In this guide, you'll find two common methods: [using System (GNOME) settings](#method-1-system-settings) and [utilizing the terminal](#method-2-terminal-sessions).
### Method 1: System settings
To set up a system-wide network proxy, follow the steps below:
**Step 1.** [**Download**](https://ubuntu.com/download/desktop) and install Ubuntu Desktop.
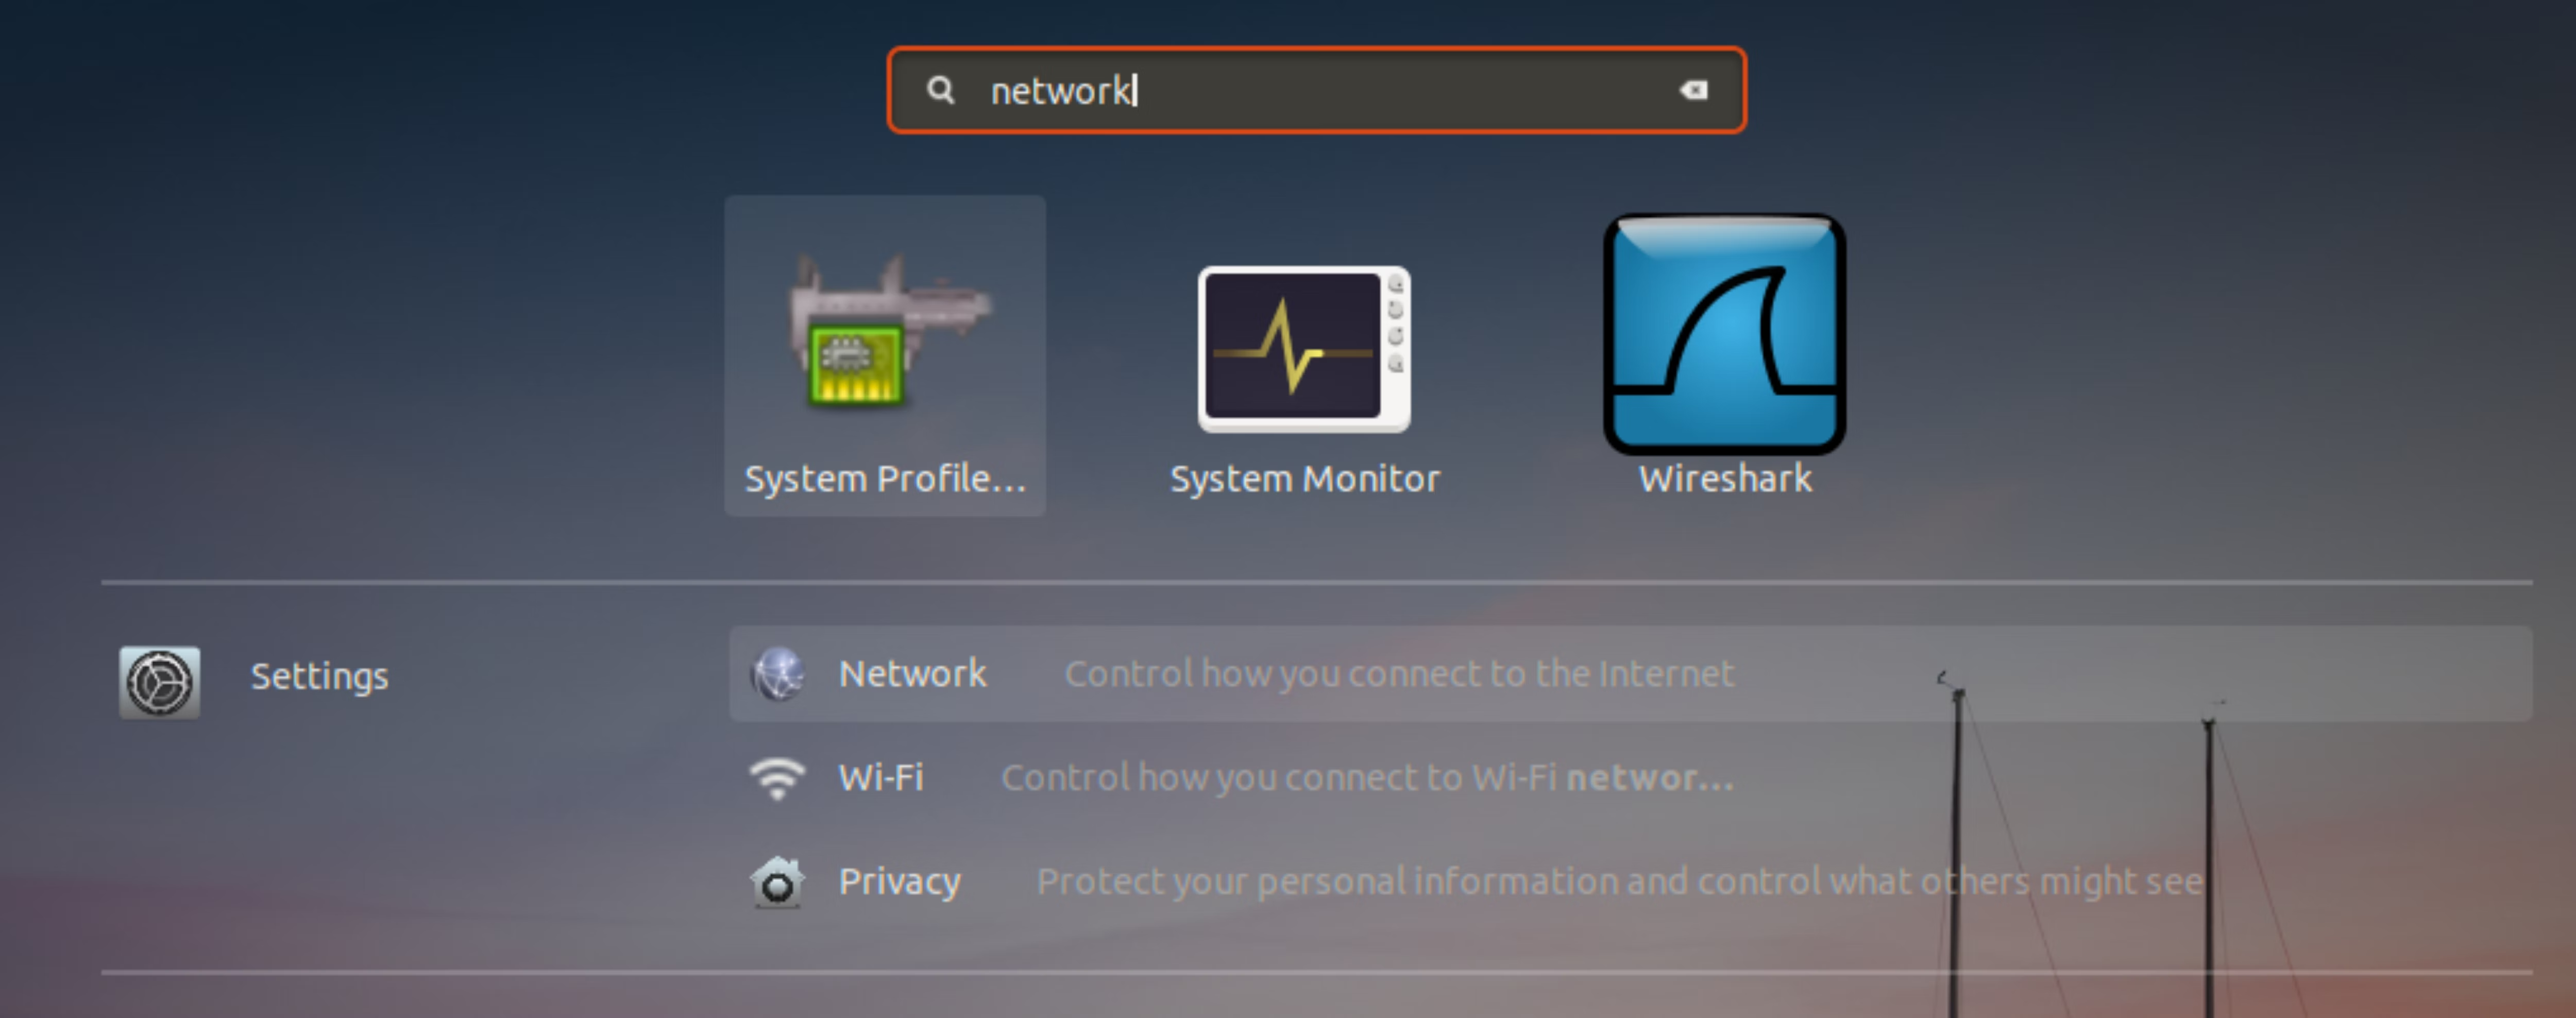
**Step 2.** Find **Settings** from the Ubuntu launcher and go to the **Network** tab.
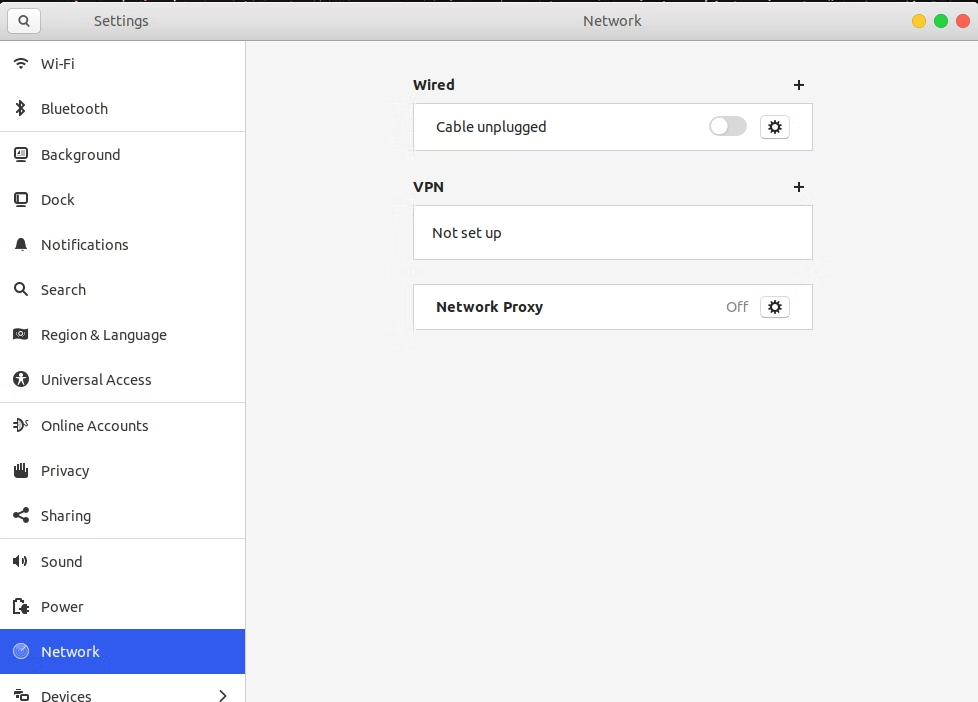
**Step 3.** Once you click on **Network**, it will open up a new dialog. From the three options, choose **Network Proxy.**
**Step 4.** Select **Manual** to configure proxy settings. Next, several text boxes will pop up from which you can set `HTTP`, `HTTPS`, `FTP` & `SOCKS` proxy. Fill in the following information:
**HTTP Proxy**: `pr.oxylabs.io`
**Port**: `7777`
{% hint style="info" %}
You can also use random or sticky country-specific entries. For example, if you enter `us-pr.oxylabs.io` under **HTTP Proxy** and `10000` under **Port**, you’ll acquire a US exit node. If you enter `10001` under **Port**, you’ll receive the US exit node with a sticky session. You can find a complete list of country-specific random proxy entry nodes [**here**](https://developers.oxylabs.io/proxies/mobile-proxies/location-settings/country#country-specific-entry-nodes) and a list of sticky proxy entry nodes - [**here**](https://developers.oxylabs.io/proxies/mobile-proxies/session-control/sticky-proxy-entry-nodes).
{% endhint %}
**Step 5.** Close the Network Proxy window. The changes will automatically be saved, and the system-wide proxy will be activated.
Each time you make a web request through a browser or other application, a **pop-up window will prompt you to enter the credentials** of your Oxylabs proxy user for the session.
{% hint style="warning" %}
Remember to append the `customer-` part to your username, for example: `customer-USERNAME`.
{% endhint %}
***
### Method 2: Terminal sessions
To set up a network proxy for all terminal sessions, follow the steps below:
**Step 1.** [**Download**](https://ubuntu.com/download/desktop) and install Ubuntu Desktop.
**Step 2.** Open **shell** configuration using an editor.
For the ZSH terminal, the shell configuration file is by default located in the home directory. We can edit this file using `vim` with the below command:
```sh
vim ~/.zshrc
```
Instead of `vim`, you can also use `gedit`, `nano`, or any other text editor that you prefer. Also, if you are using Bash instead of ZSH, you’ll have to edit your bash shell configuration file, i.e. `~/.bashrc` instead of `~/.zshrc`.
**Step 3.** Create two new environment variables
At the bottom of this configuration file, you’ll have to define the `http_proxy,` `https_proxy`, or `ALL_PROXY` (for SOCKS5) variables.
```sh
export http_proxy="customer-USERNAME:PASSWORD@pr.oxylabs.io:7777"
export https_proxy="customer-USERNAME:PASSWORD@pr.oxylabs.io:7777"
export ALL_PROXY="socks5://customer-USERNAME:PASSWORD@pr.oxylabs.io:7777"
```
Here are the details you need to fill in:
**Proxy address:** `pr.oxylabs.io`
**Port:** `7777`
**Username:** `customer-username`
**Password:** `password`
{% hint style="warning" %}
Don't forget to add the `customer-` part to your username.
{% endhint %}
**Step 4.** Reload the configuration
Now, you can reload the configuration file either by opening a new terminal or by running the following command in the existing terminal:
```sh
source ~/.zshrc
```
The proxy will always be active for the current user. The shell configuration file gets loaded every time you open a new terminal. So, the environment variables will be always available for you even if you restart your computer.
If you want to enable it for all users then you will have to append the above two lines in the `/etc/environment`.
That’s all! You’ve successfully integrated your Oxylabs proxies.
You can find the complete tutorial [here](https://oxylabs.io/resources/integrations/ubuntu).