# Lalicat Browser
[**Lalicat**](https://www.lalicat.com/) is a browser that allows users to manage multiple accounts at once, differentiating browser fingerprints to avoid being flagged or banned.
To configure Lalicat with Oxylabs [**Dedicated Datacenter Proxies**](https://oxylabs.io/products/datacenter-proxies/dedicated-datacenter-proxies), follow the steps below:
**Step 1.** [**Download**](https://www.lalicat.com/download), install and launch the application. Then, create a new account to log in.
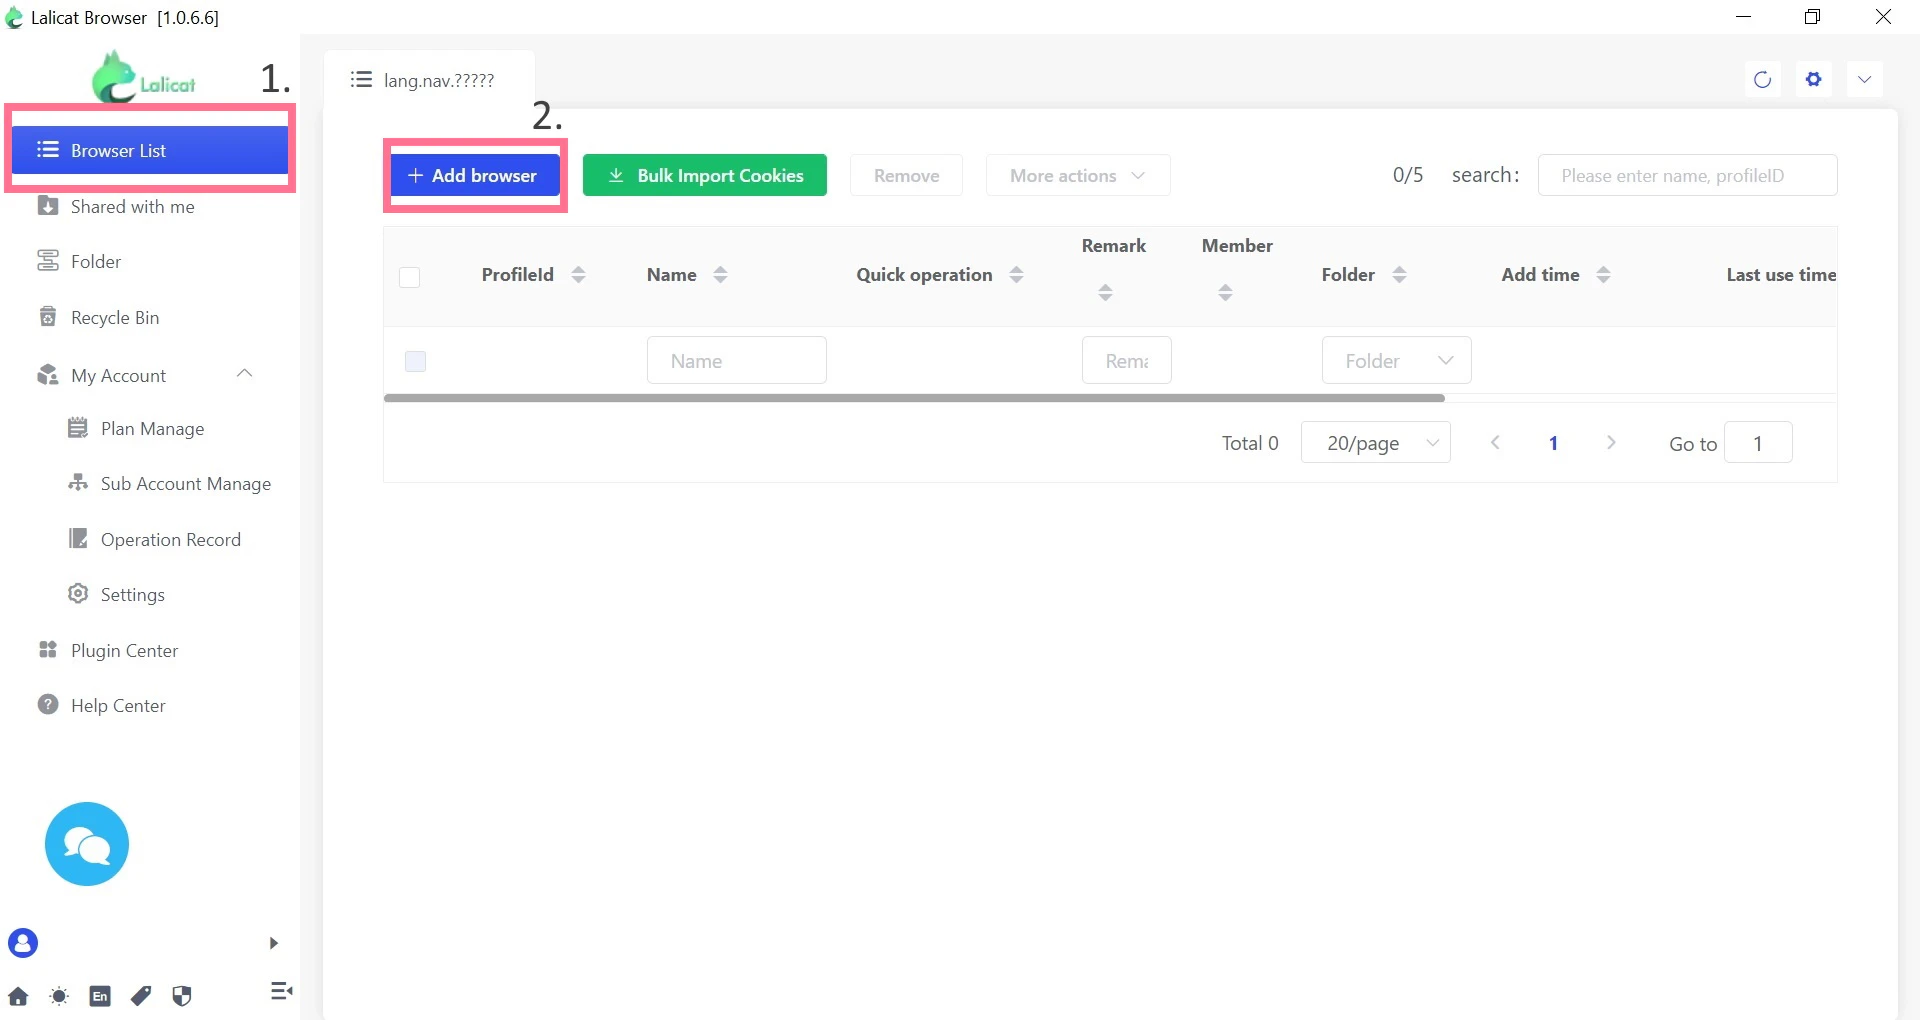
**Step 2.** On the home screen, press **Browser List** and then click **+Add browser** to configure a new browser instance.
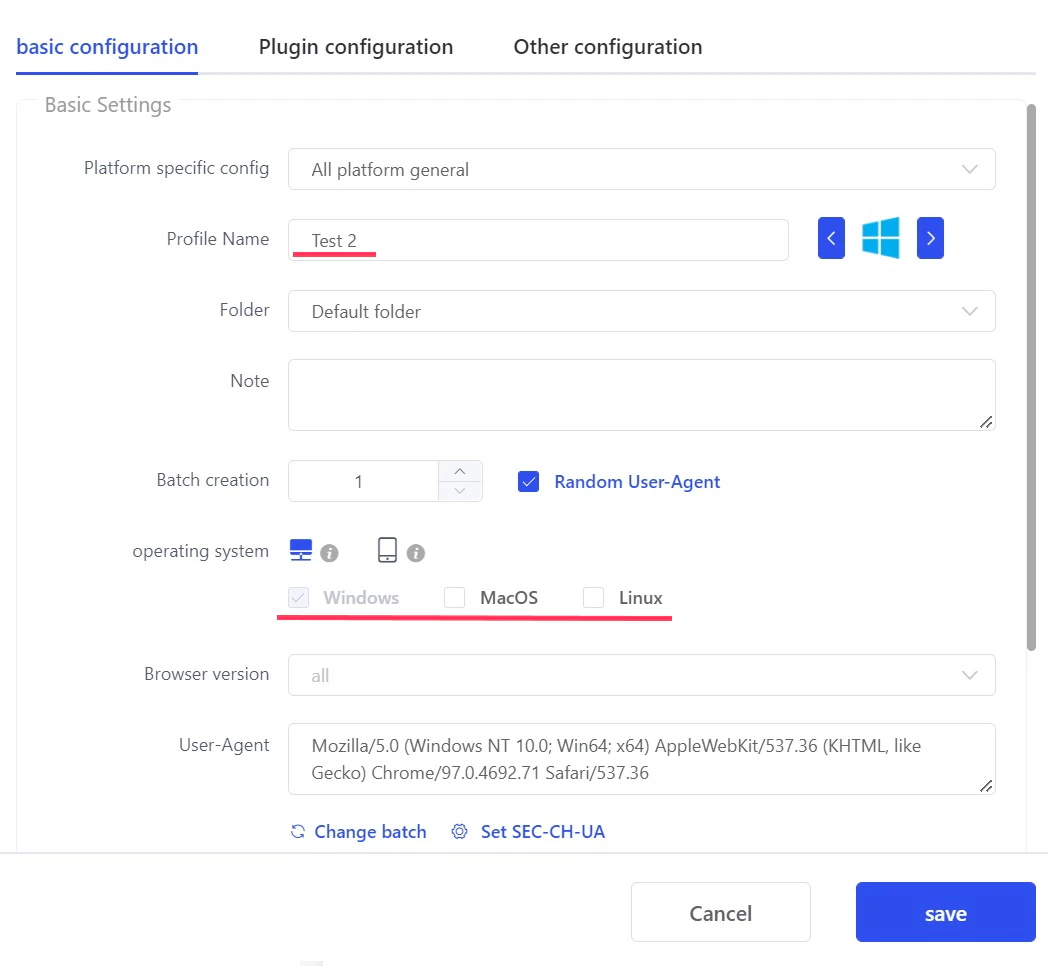
**Step 3.** Under **basic configuration**, fill in the **Profile Name** and select a simulated **operating system** and other settings necessary for the task.
**Step 4.** Under the **Proxy settings**, select `HTTP` as a proxy protocol to configure your proxy settings. Fill in the details:
**Proxy settings:** `HTTP` or `SOCKS5` (according to your purchase)
**IP address:** a specific IP address (`1.2.3.4` - example)
{% hint style="info" %}
In the case of Dedicated Datacenter Proxies, you will need to choose an IP address from the purchased list. Please refer to our [**`documentation`**](https://developers.oxylabs.io/proxies/dedicated-datacenter-proxies/enterprise/proxy-lists) for more details.
{% endhint %}
**Port:** `60000`
**Login Proxy Username:** `Oxylabs proxy user username`
**Login Proxy Password:** `Oxylabs proxy user password`
{% hint style="info" %}
You can create and manage your proxy users in our [**dashboard**](https://dashboard.oxylabs.io/en/)**.**
{% endhint %}
You can customize a broader range of options by clicking the **Advanced setting** below.
**Step 5.** Press **Check the Proxy** to see if your proxy is functioning correctly and if a dedicated location is accurate.
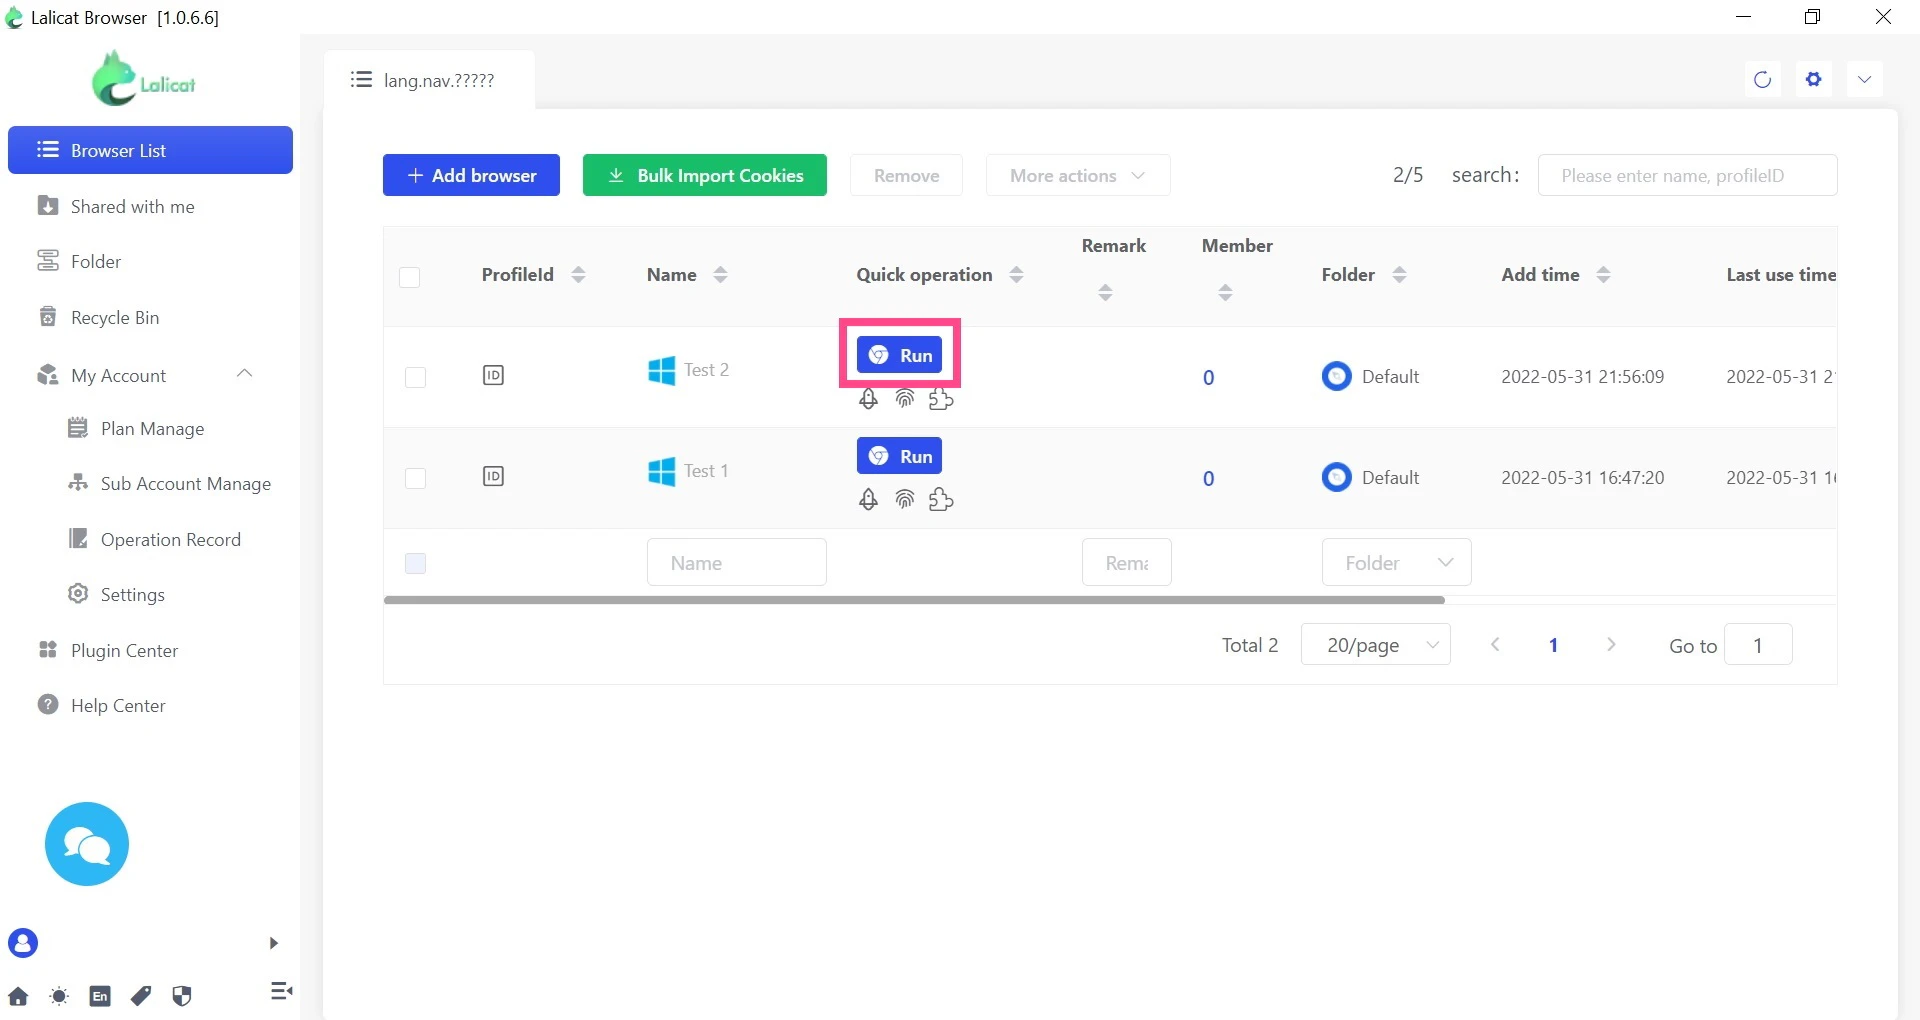
**Step 6.** Finally, click **save** to complete the configuration, and to run the browser - click **Run.**
That’s all! You’ve successfully integrated your Oxylabs proxies with Lalicat Browser.
Find the original Lalicat Browser integration blog post [here](https://oxylabs.io/resources/integrations/lalicat).