# Sphere
[**Sphere**](https://sphere.tenebris.cc/) is a browser designed to enhance security and anonymity as well as to help manage multi-account tasks.
To integrate Oxylabs [**Dedicated Datacenter Proxies**](https://oxylabs.io/products/datacenter-proxies/dedicated-datacenter-proxies) with the Sphere on Windows (the process on Mac OS and Linux is the same), follow the steps below:
**Step 1.** [**Download**](https://sphere.tenebris.cc/) the Sphere browser. Extract the downloaded files to a preferred location and click `Sphere.exe` to run the program.
**Step 2.** Set up your account with a password-only login.
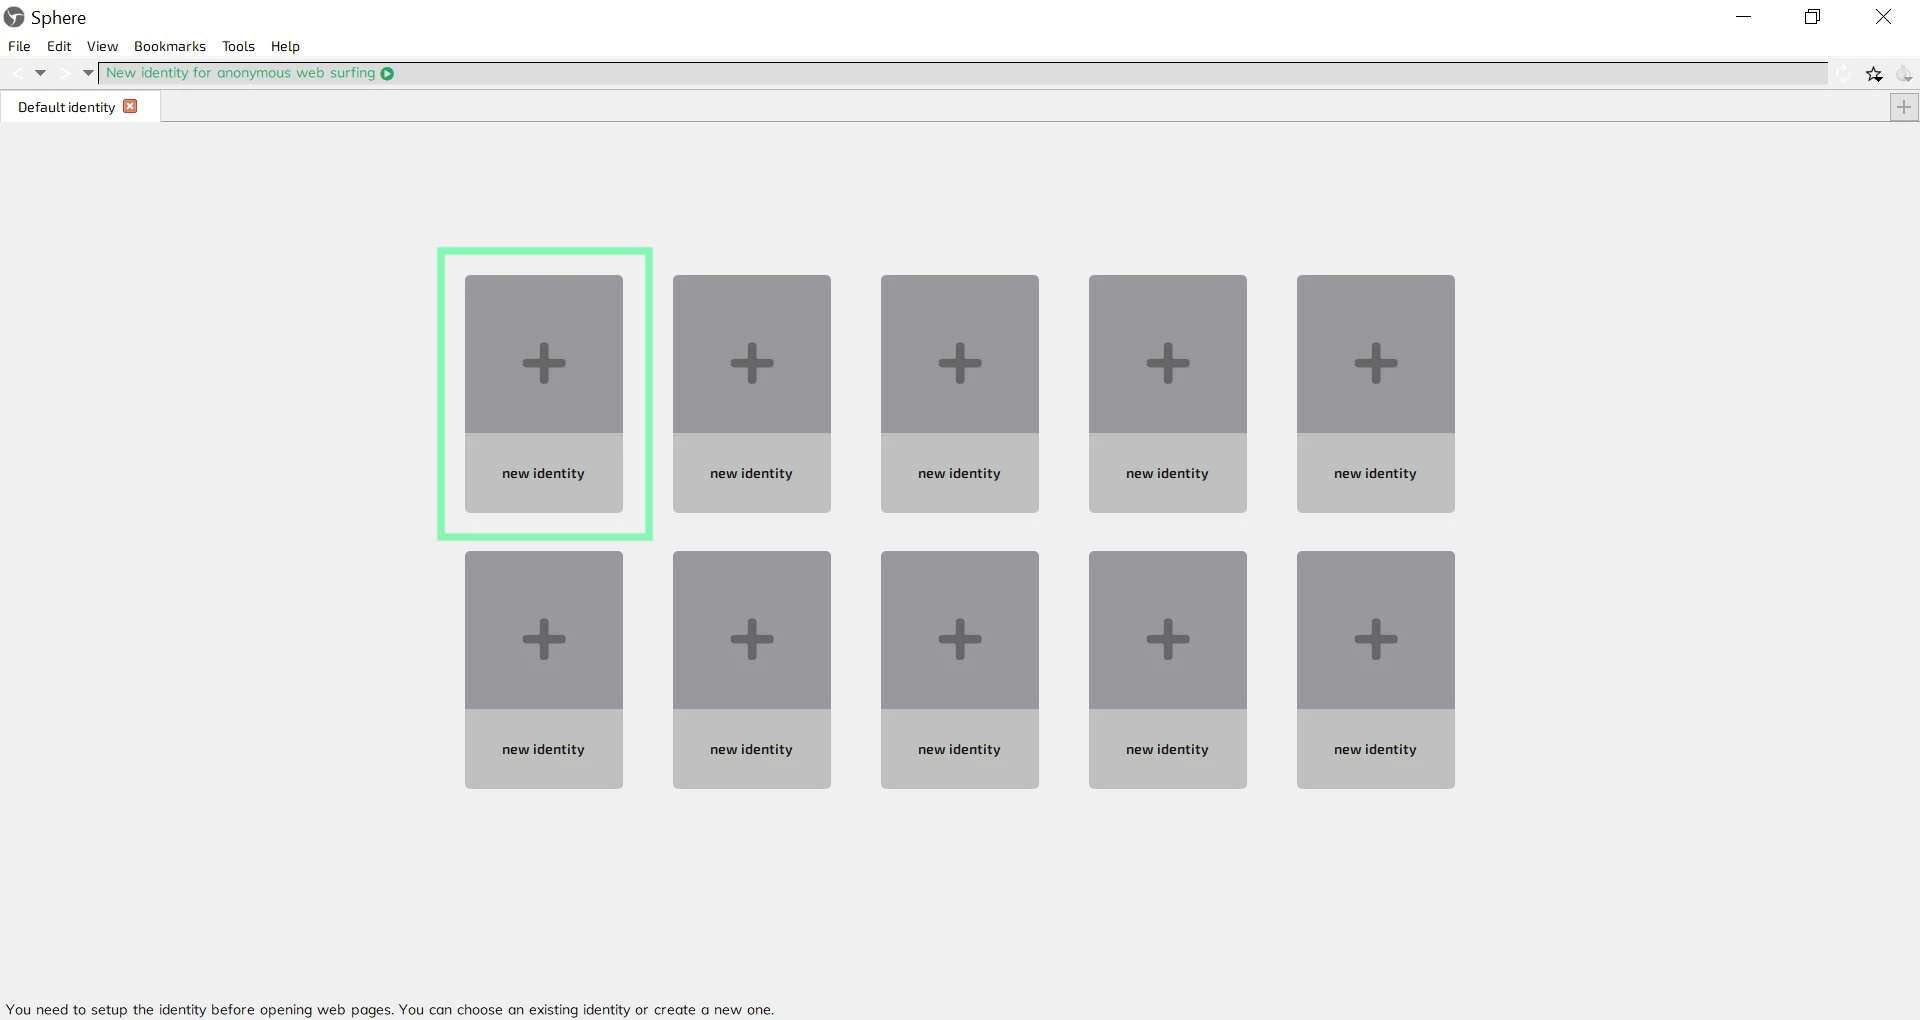
**Step 3.** On the home screen, click on a **new identity**.
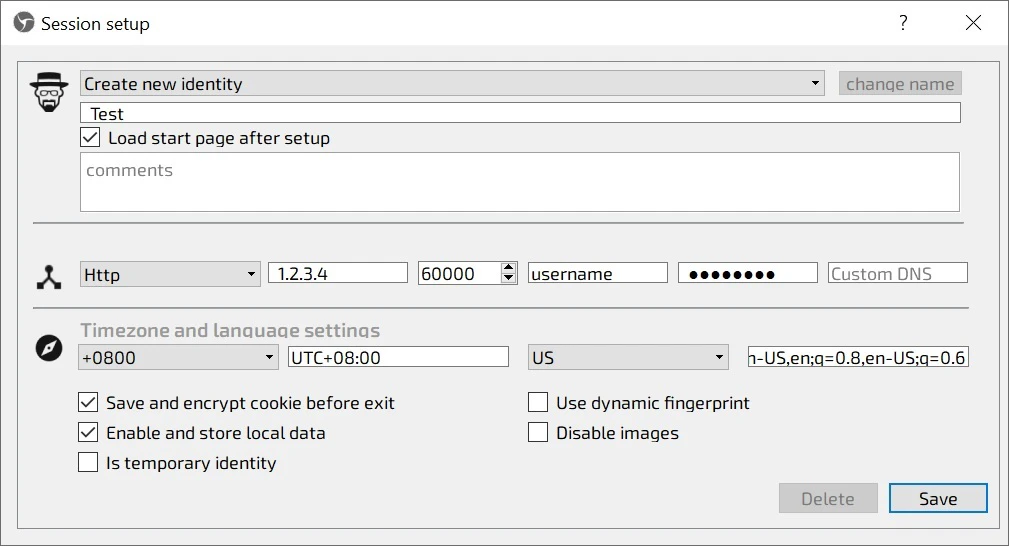
**Step 4.** In the **Session setup** window, fill in the identity name and choose your connection type according to your proxy purchase:
**Proxy type:** `HTTP` or `SOCKS5`
**Connection IP**: a specific IP address (`1.2.3.4` - example)
{% hint style="info" %}
In the case of Dedicated Datacenter Proxies, you will need to choose an IP address from the purchased list. Please refer to our [**`documentation`**](https://developers.oxylabs.io/proxies/dedicated-datacenter-proxies/enterprise/proxy-lists) for more details.
{% endhint %}
**Proxy port**: `60000`
**Username:** `username`
**Password:** `password`
{% hint style="info" %}
You can create and manage your proxy users in our [**dashboard**](https://dashboard.oxylabs.io/en/)**.**
{% endhint %}
**Step 5.** Detail the Timezone and language settings and click **Save**.
The new identity is configured.
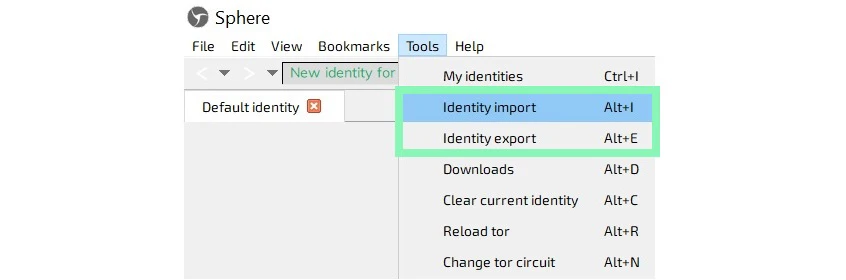
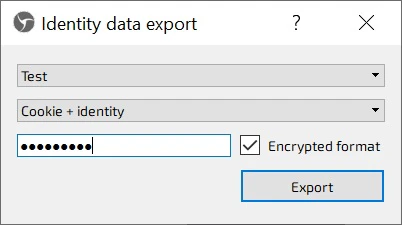
You can import and export your identities by clicking **Identity import** or **Identity export** under **Tools**.
That's it! Your setup is done.
Find the original Sphere integration blog post [here](https://oxylabs.io/resources/integrations/sphere).