# Nstbrowser
[**Nstbrowser**](https://www.nstbrowser.io/en) is an anti-detect browser designed for professionals working with multiple accounts, providing web scraping, automation, team collaboration, and profile management capabilities.
{% hint style="warning" %}
**Note:** some screenshots provided in this guide depict the setup process using Residential Proxies for illustrative purposes, refer to the specific guidelines for Dedicated Datacenter Proxies provided in the text.
{% endhint %}
#### Follow these steps to integrate Oxylabs [**Dedicated Datacenter Proxies**](https://oxylabs.io/products/datacenter-proxies/dedicated-datacenter-proxies)**:**
**Step 1:** [**Create an account**](https://app.nstbrowser.io/r/PI4Uw7) and login.
**Step 2:** After login automatical window will pop-up to download the client.
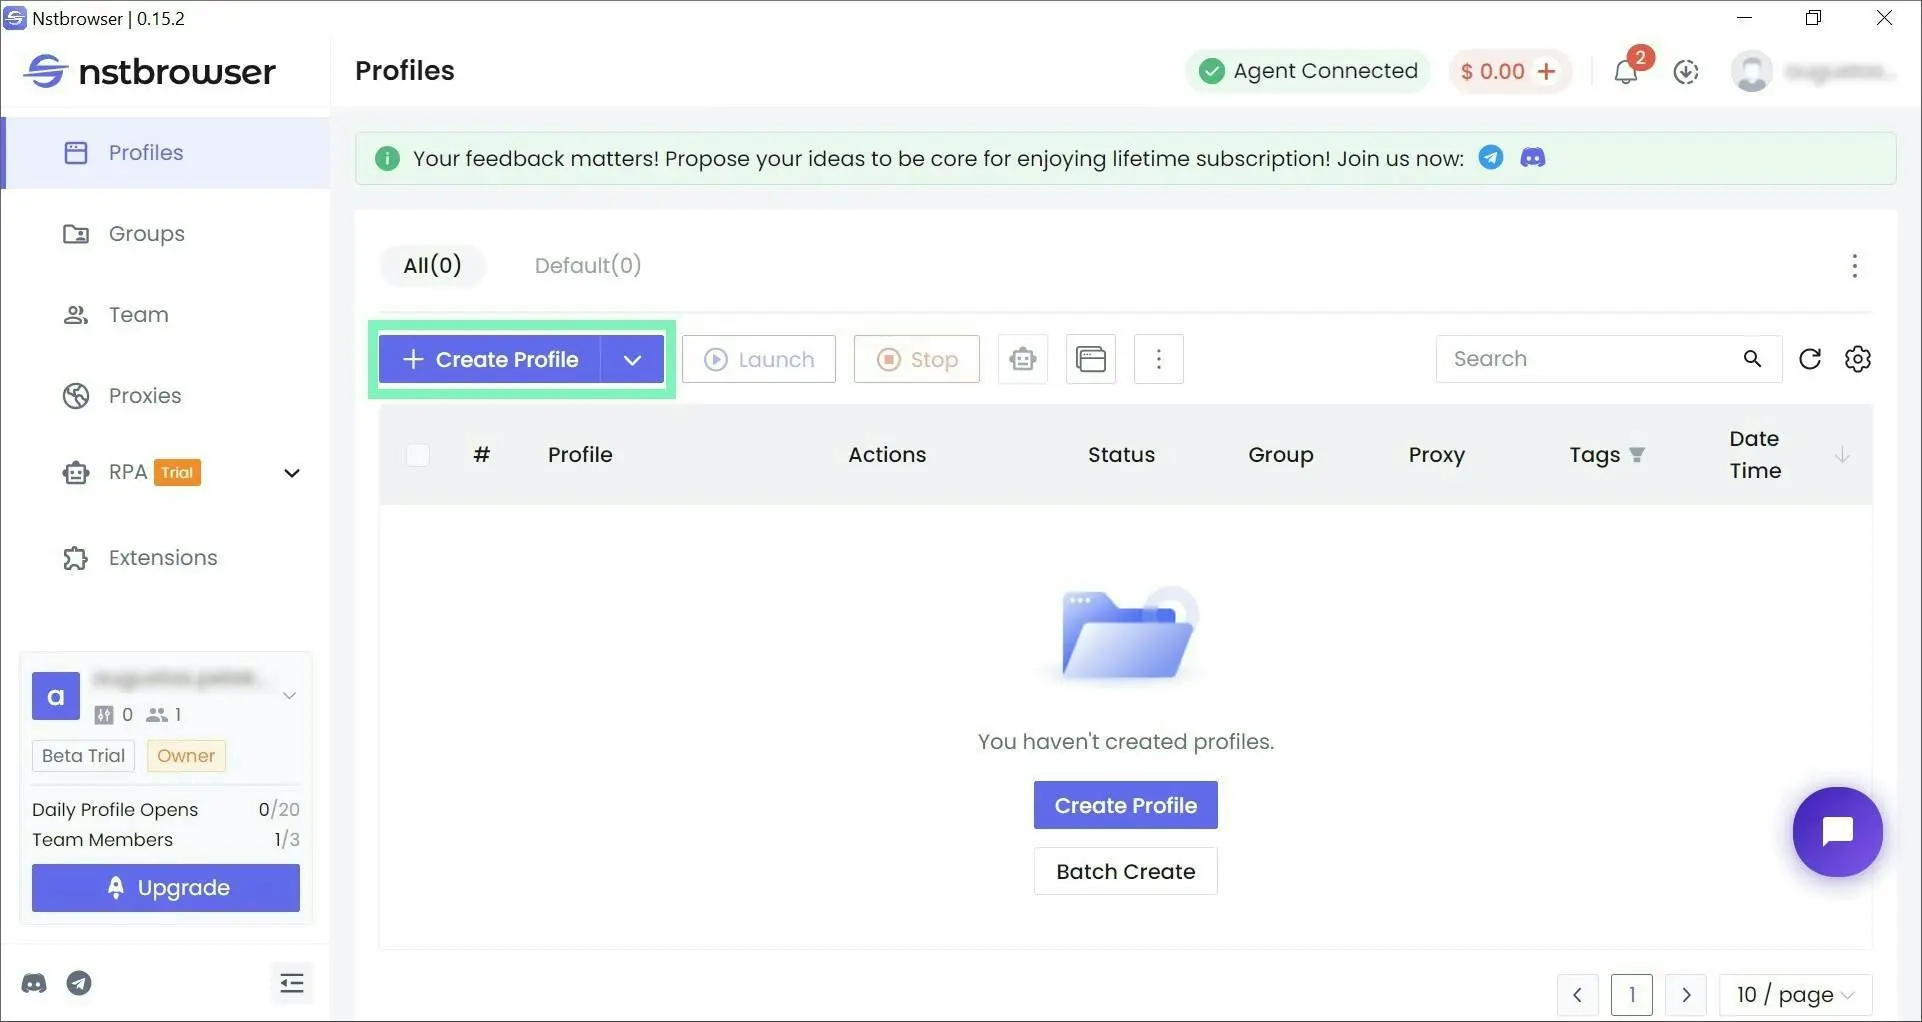
**Step 3:** On the home screen, select **+ Create Profile**.
Creating a new browser profile
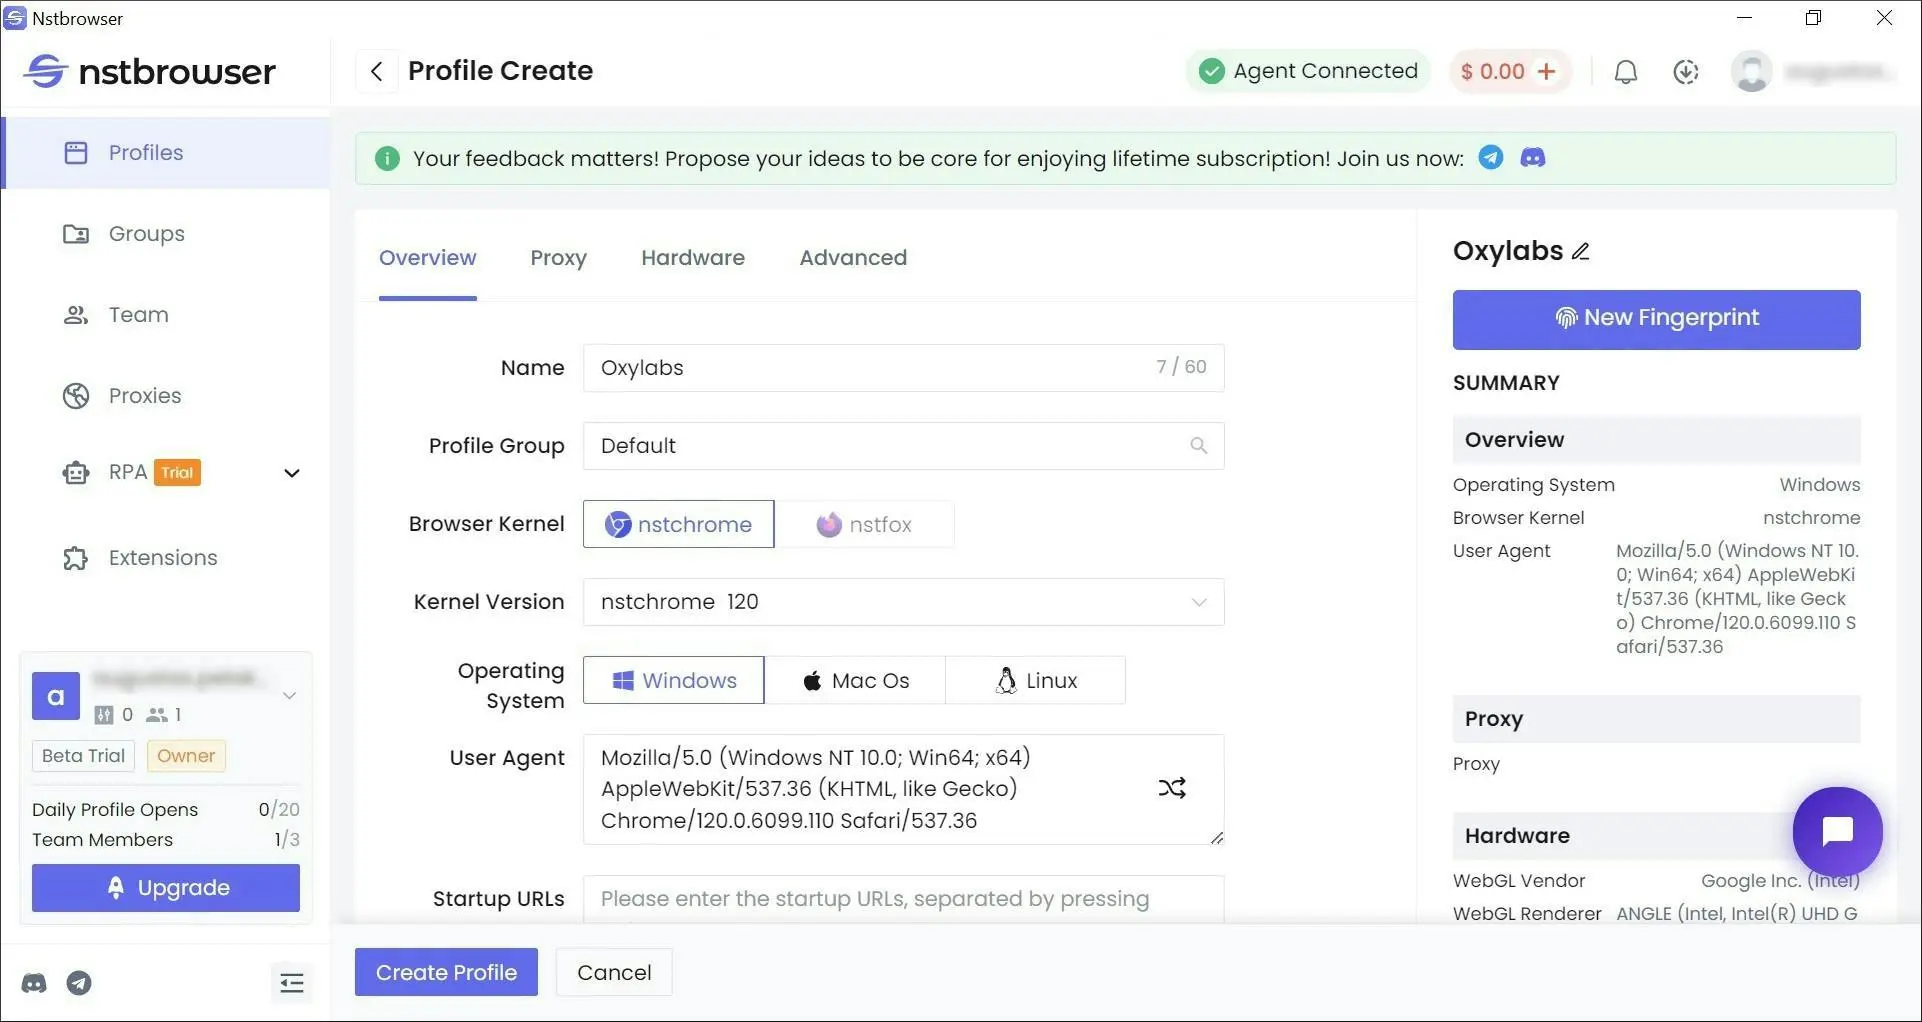
**Step 4:** Customize your digital fingerprint, including the **Proxy** settings.
Customizing a new fingerprint
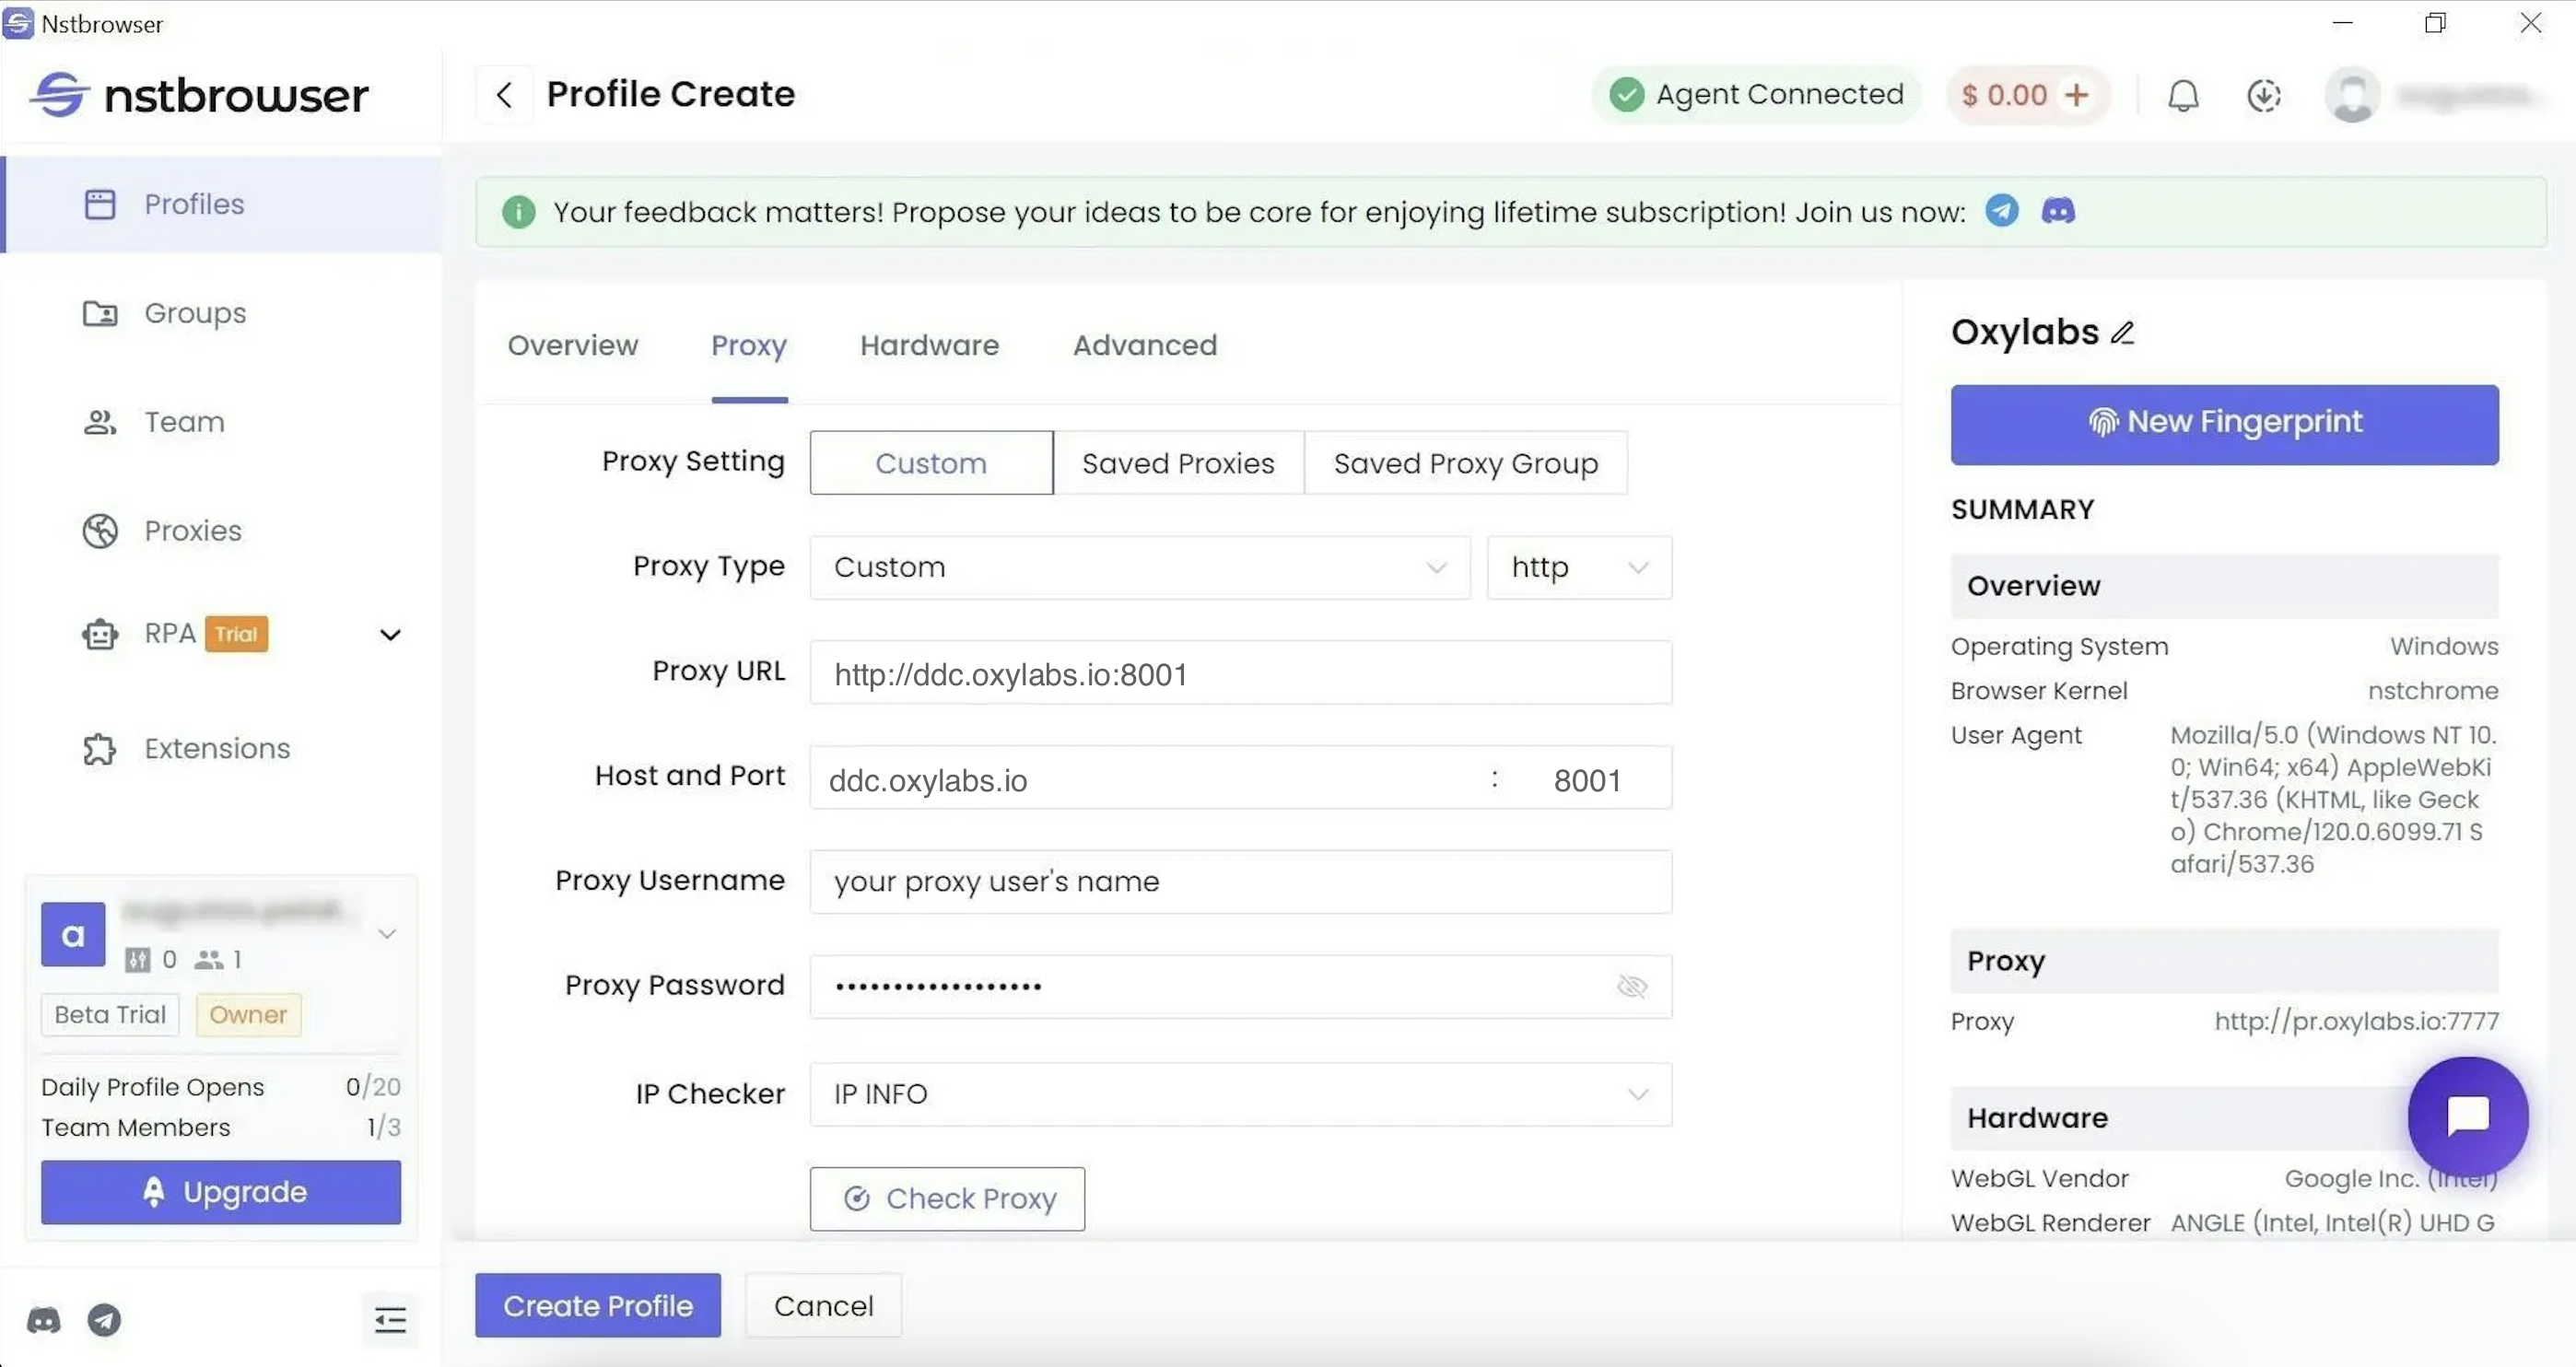
**Step 5:** Under **Proxy**, specify the **Proxy Type** as **Custom**.
Configuring proxy settings
**Step 6:** Configure your proxy details as follows:
**Type:** `HTTP`, `HTTPS` or `SOCKS5`
**Host:** `ddc.oxylabs.io`
**Port:** `8001`
For Self-Service Dedicated Datacenter Proxies, the port indicates the sequential number of an IP address from the [**acquired list**](https://developers.oxylabs.io/proxies/dedicated-datacenter-proxies/self-service/proxy-list).
**Step 7:** Enter your Oxylabs proxy user’s credentials. Use the same username and password you entered to create a new proxy user in the [**Oxylabs dashboard**](https://dashboard.oxylabs.io/?route=/overview/DCP/buy-now)**.**
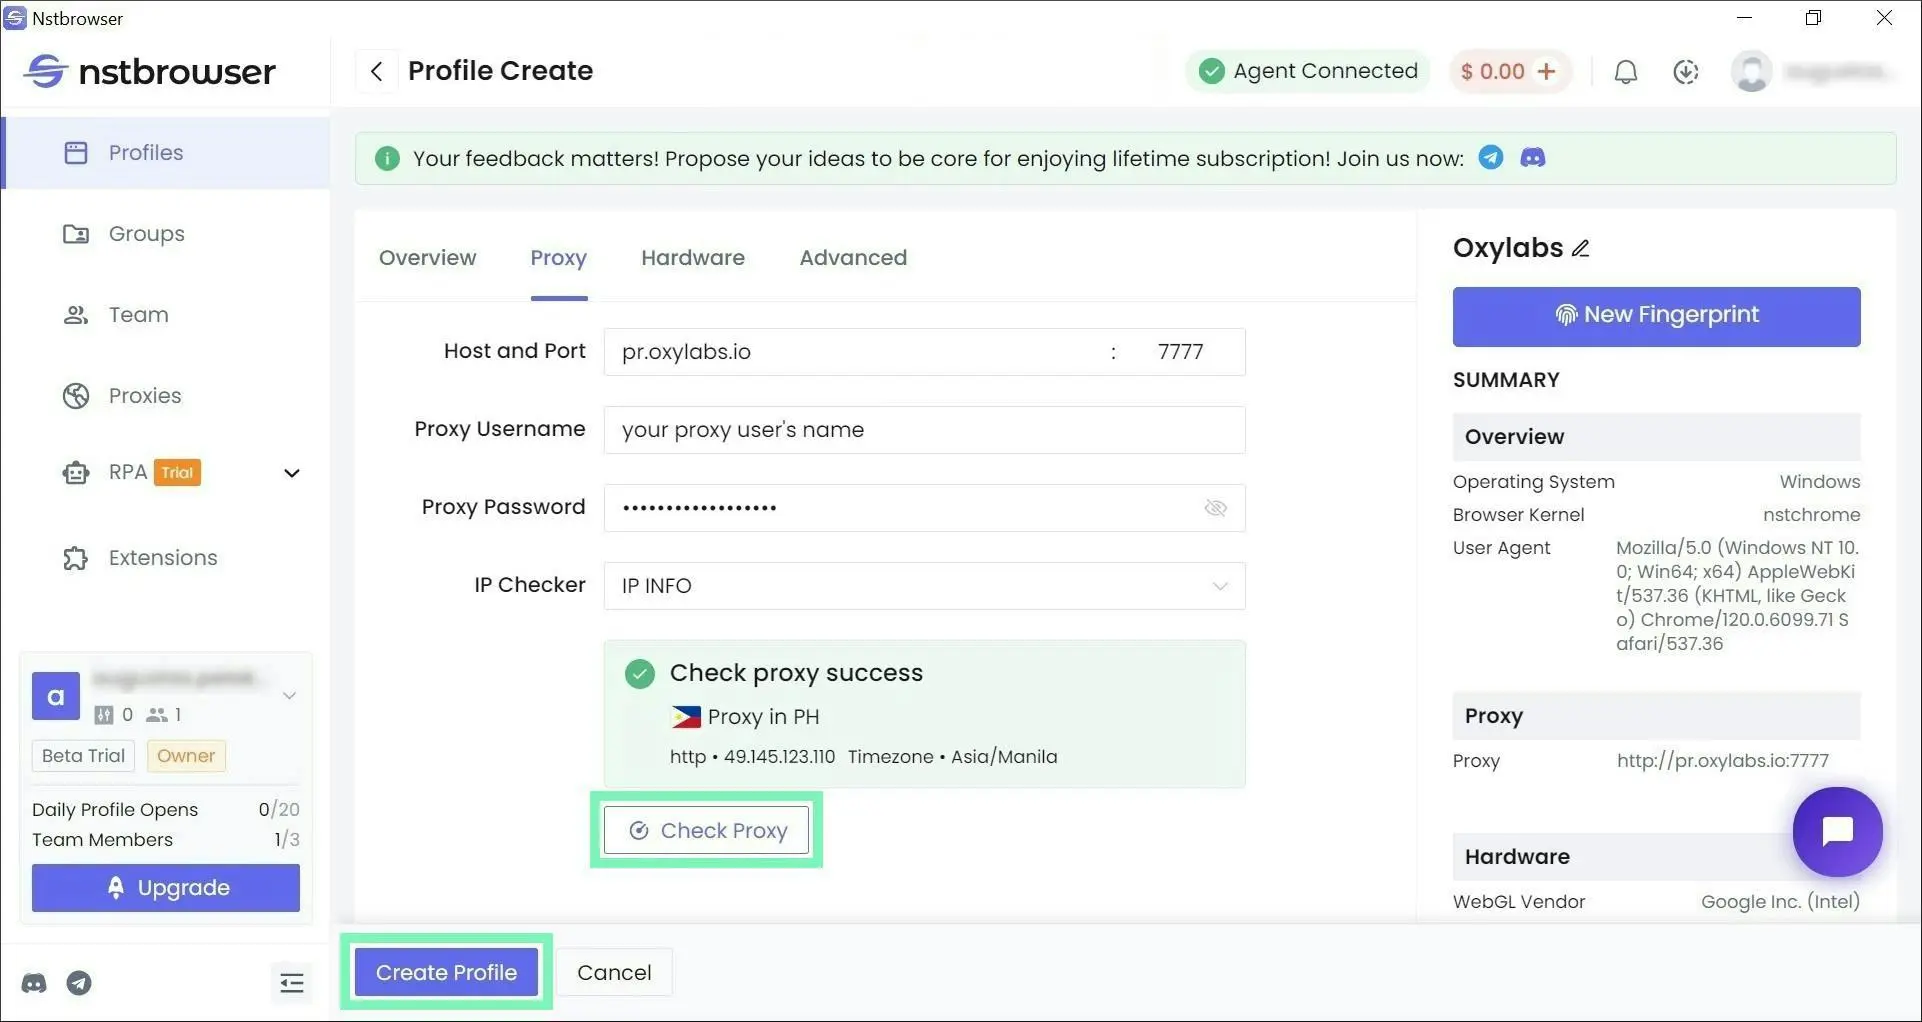
**Step 8:** **Check Proxy** to test the connection and **Create Profile** to finish the setup.
Testing a proxy connection
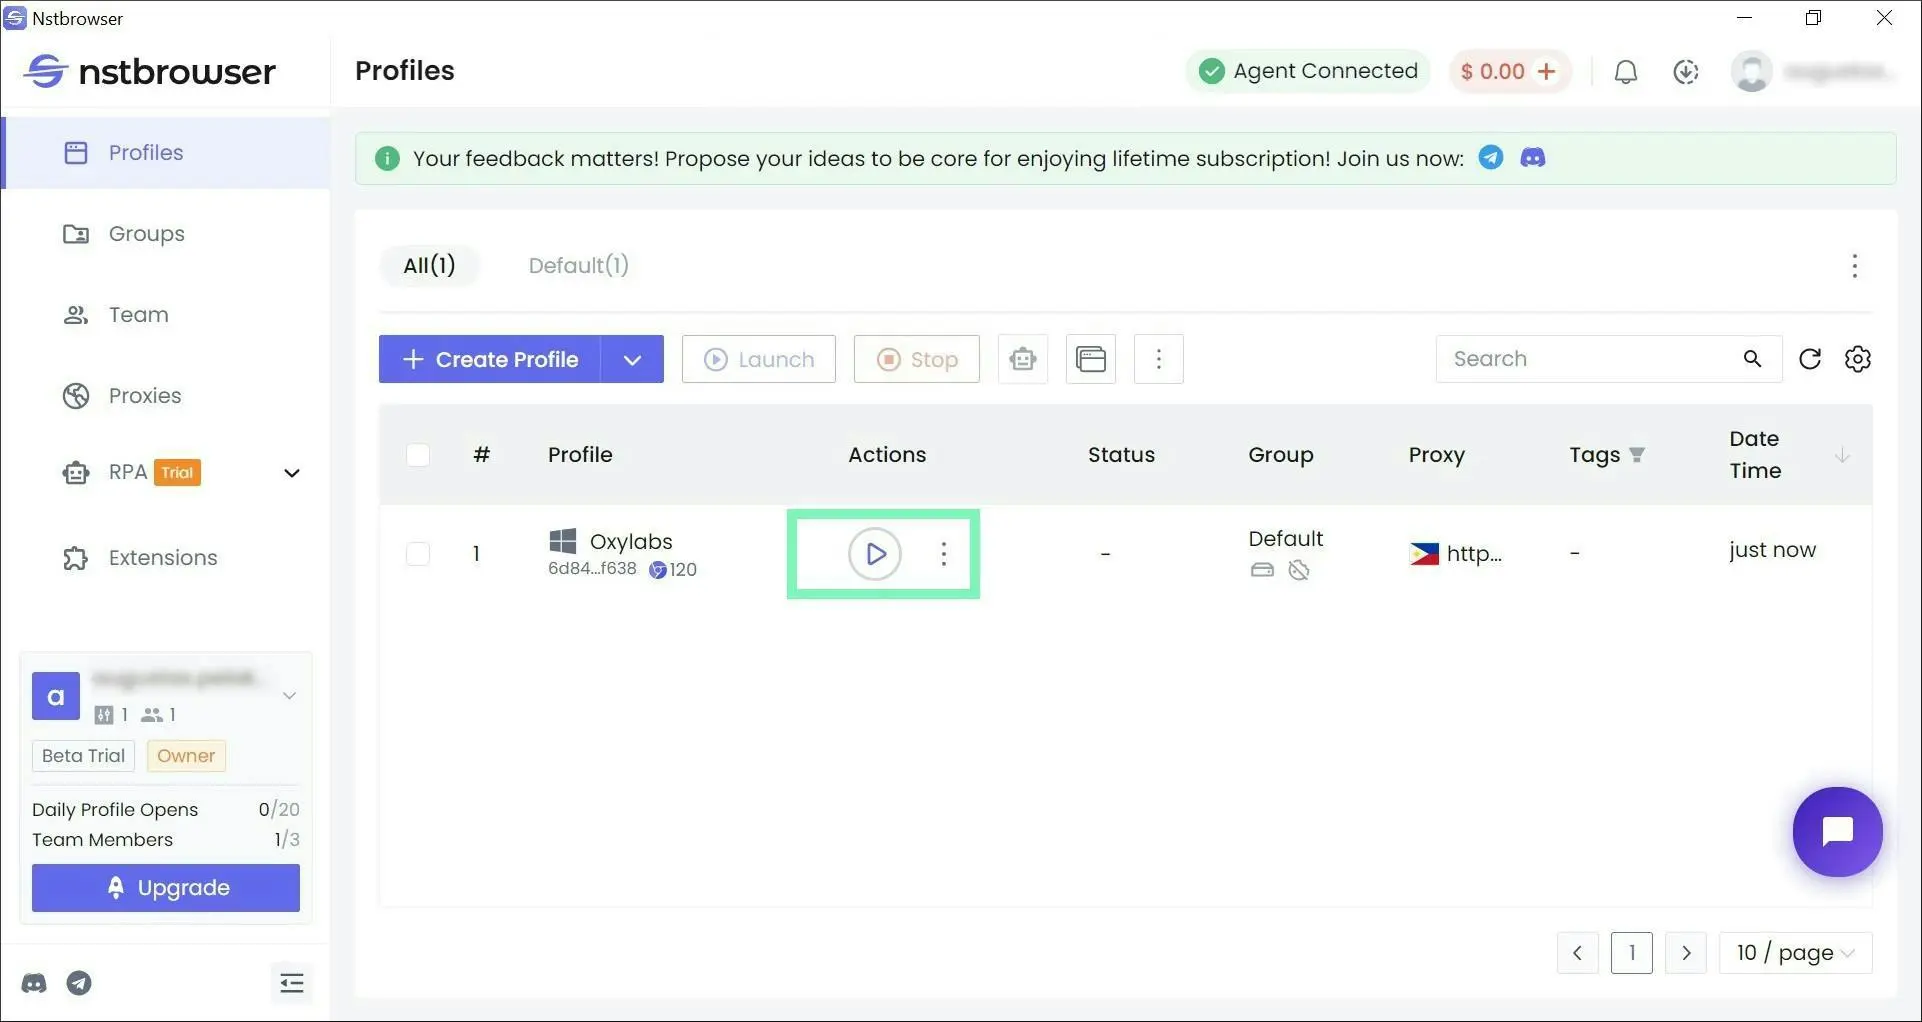
**Step 9:** Finally, start ▶ the newly created profile to launch a Chromium browser window.
Launching a browser profile
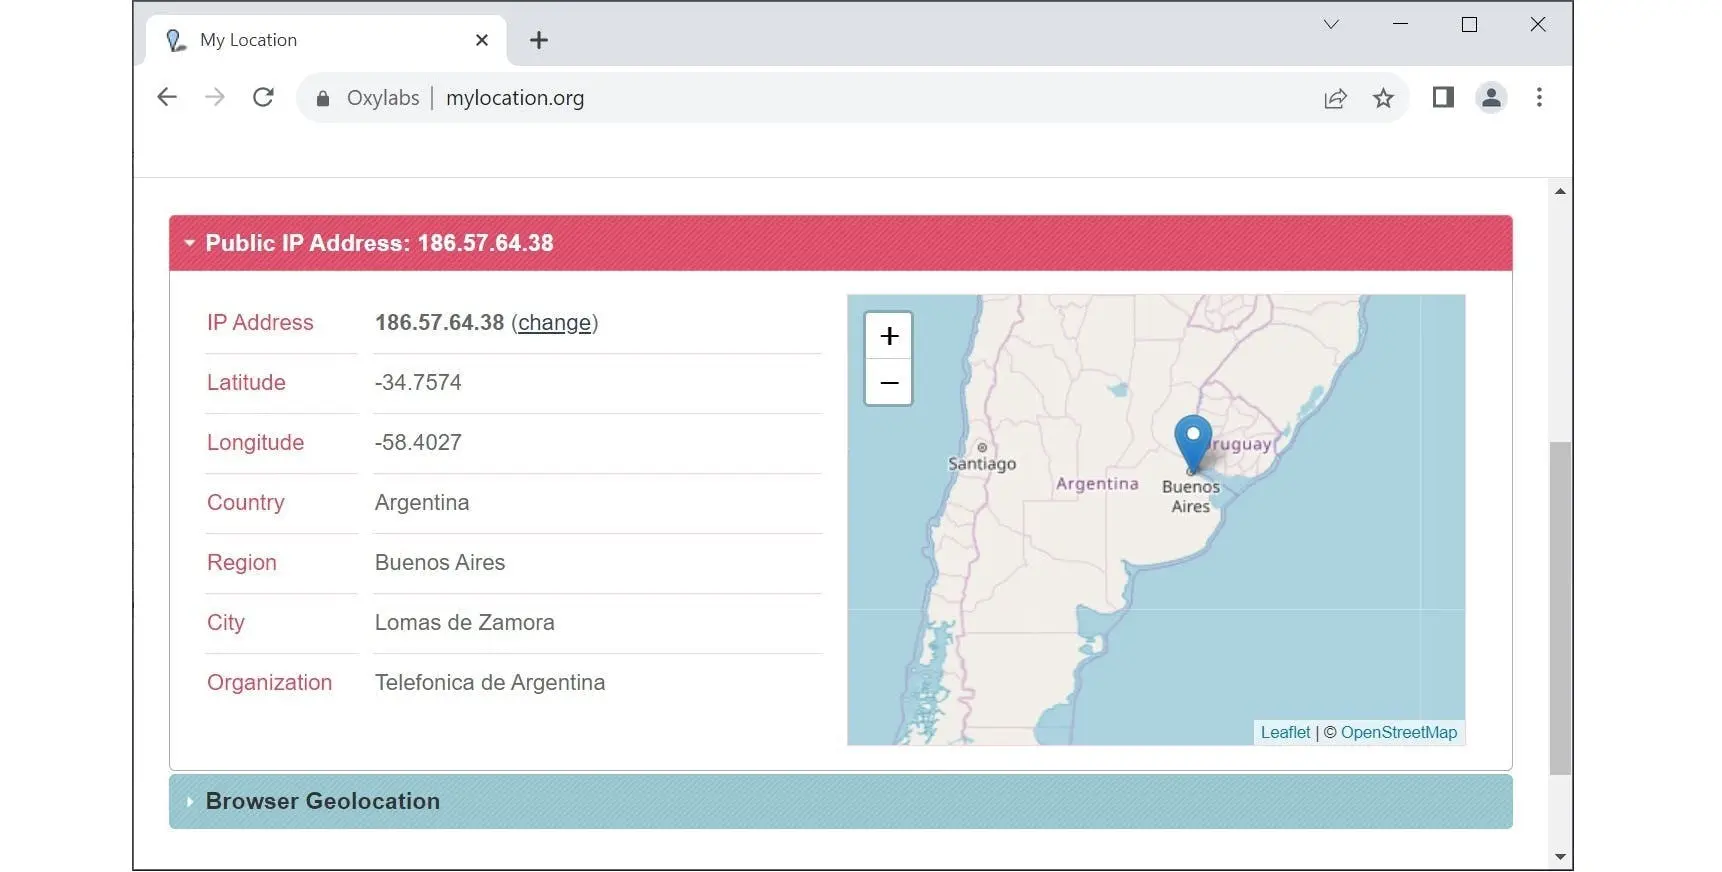
{% hint style="info" %}
Optionally, using an in-app browser, you can navigate to a location detection website and see if the location and IP align with your expectations.
{% endhint %}