# GoLogin
[**GoLogin**](https://gologin.com/) software allows you to conceal and manage your digital fingerprint by mimicking all browser settings that websites can see. This integration guide walks through the process of setting up Oxylabs Self-Service [Dedicated Datacenter Proxies](https://oxylabs.io/products/datacenter-proxies/dedicated-datacenter-proxies) with GoLogin.
{% hint style="warning" %}
Please note that some screenshots provided in this guide depict the setup process using Residential Proxies for illustrative purposes, refer to the specific guidelines for ISP Proxies provided in the text.
{% endhint %}
{% stepper %}
{% step %}
### Download GoLogin
Download GoLogin from the [**official website**](https://gologin.com/download/).
{% endstep %}
{% step %}
### Launch the app
Launch the application, create an account, and log in.
{% endstep %}
{% step %}
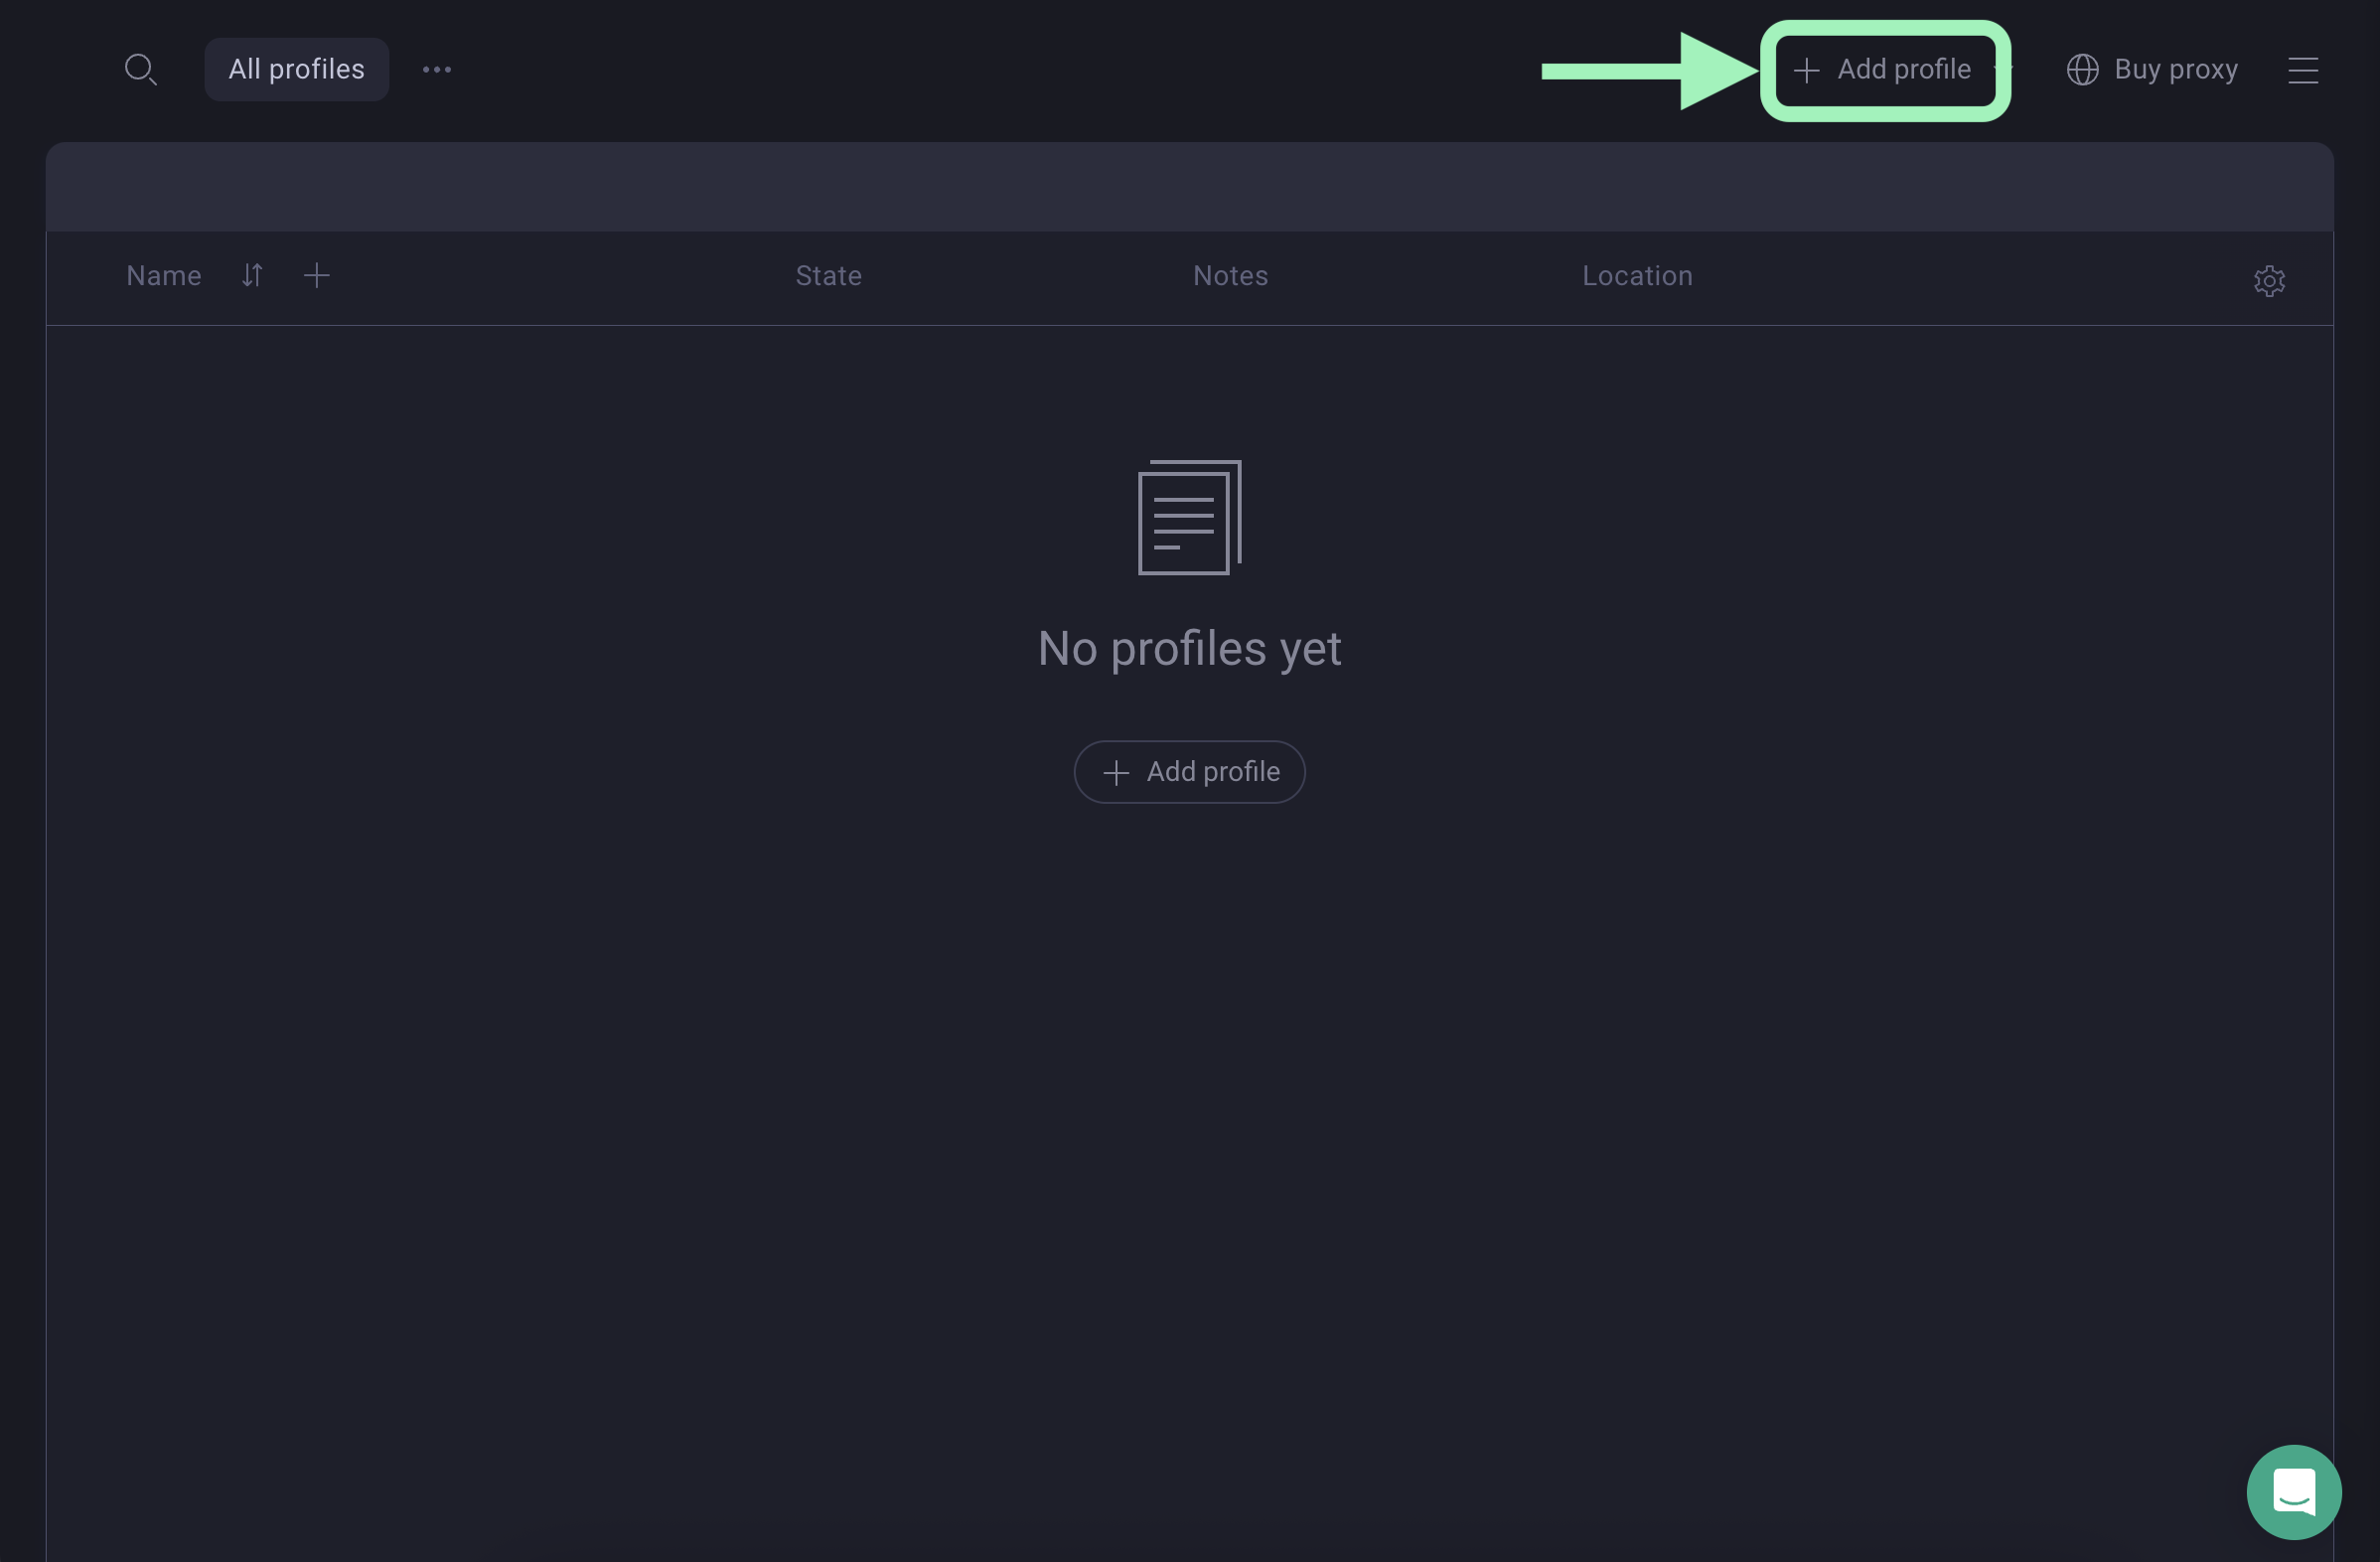
### Create a new profile
Look for the **Add profile** button at the top right of the app.
{% endstep %}
{% step %}
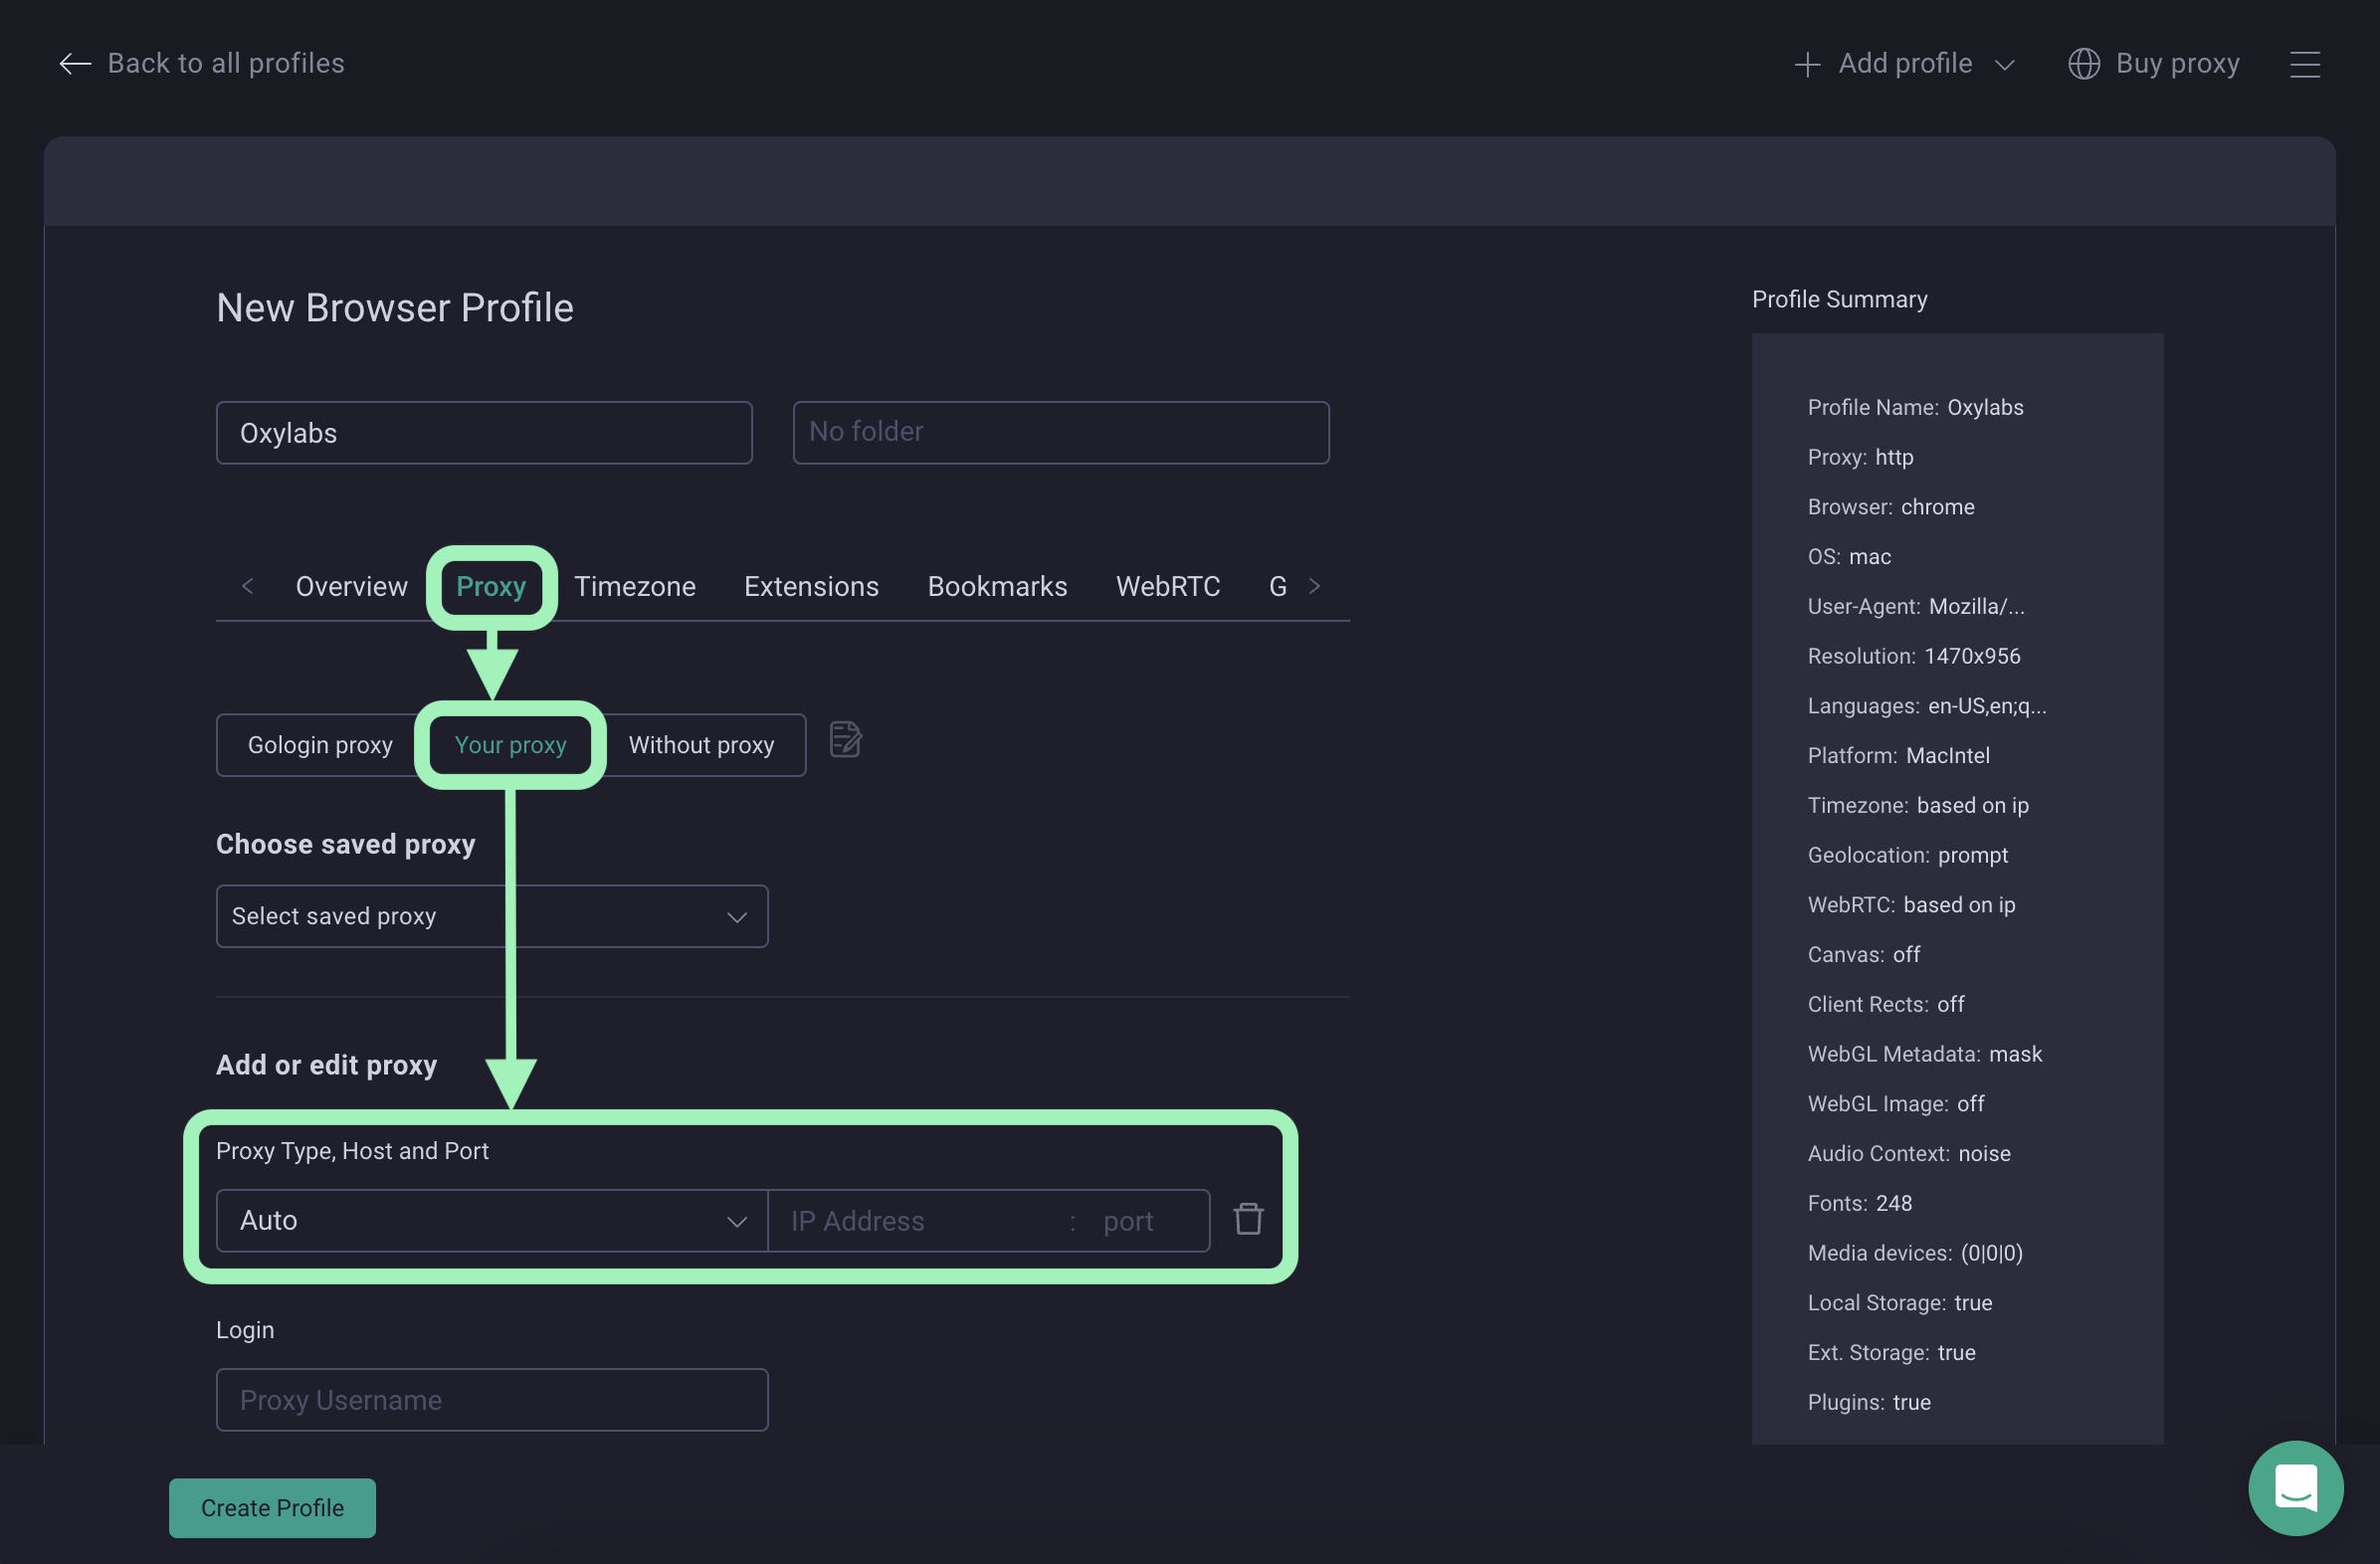
### Add a new proxy
Select **Proxy** tab, click on **Your proxy**, and enter your proxy details in their designated fields:
Then, add the following proxy details:
**Host**: `ddc.oxylabs.io`
**Port**: `8001`
{% hint style="info" %}
**Note:** GoLogin lets you choose the proxy type (HTTP or SOCKS5) only after testing its connection.
{% endhint %}
For Self-Service Dedicated Datacenter Proxies, the port indicates the sequential number of an IP address from the acquired [proxy list](https://developers.oxylabs.io/proxies/dedicated-datacenter-proxies/self-service/proxy-list). Check our [documentation](https://developers.oxylabs.io/proxies/dedicated-datacenter-proxies/self-service/proxy-list) for more details.
If you want to get a different IP with each request, change the **Port** to `8000` to enable [proxy rotation](https://developers.oxylabs.io/proxies/dedicated-datacenter-proxies/self-service/proxy-rotation). Check our [documentation](https://developers.oxylabs.io/proxies/dedicated-datacenter-proxies/self-service) for more details.
{% endstep %}
{% step %}
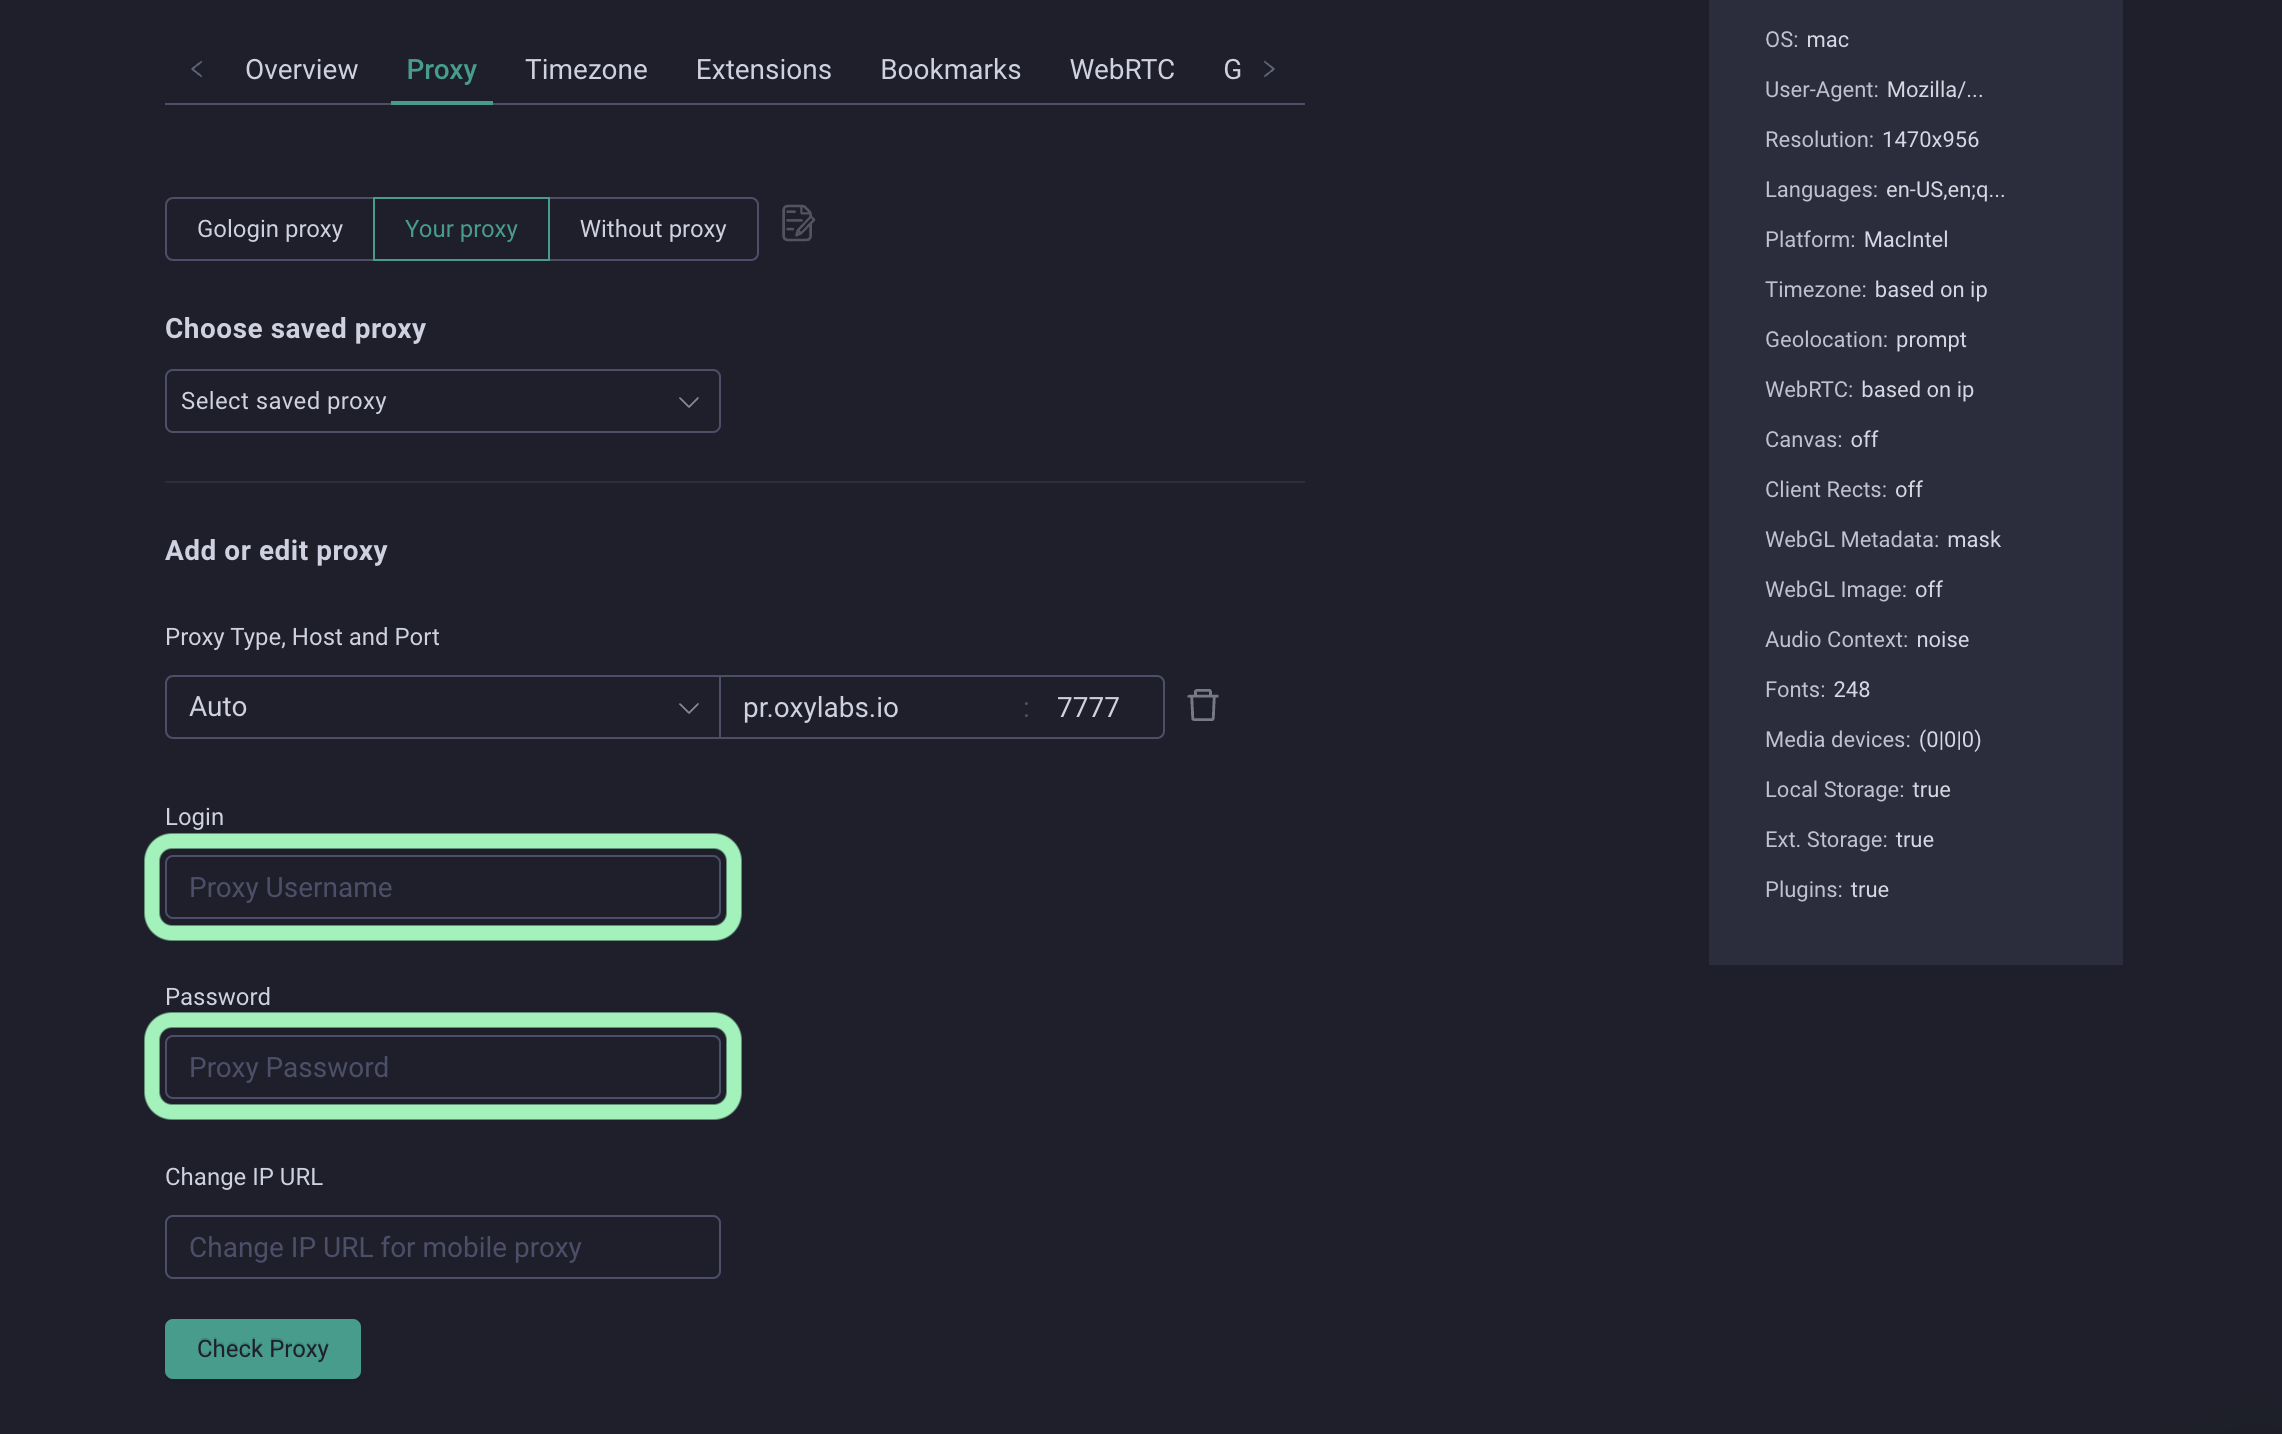
### Enter user credentials
Enter your Oxylabs proxy user’s credentials. Use the same username and password you entered to create a new proxy user in the [Oxylabs dashboard](https://dashboard.oxylabs.io/en/).
{% hint style="warning" %}
**Note:** Don't forget to add **`user-`** prefix to your username.
{% endhint %}
{% endstep %}
{% step %}
### Testing
To check proxy functionality, click **Check Proxy**.
If the test is successful, you’ll be able to **choose the proxy protocol** – HTTP or SOCKS5 (SOCKS4 option is not supported).
After picking the protocol, finish the profile by clicking **Create Profile** at the bottom of your screen.
{% endstep %}
{% step %}
### Configure Browser fingerprint (optional)
If you need to use specific browser fingerprint options, such as user agent, cookies, and device settings, select **Settings >** and edit your browser fingerprint in the corresponding settings tab. To learn more, check [what is browser fingerprinting](https://oxylabs.io/blog/browser-fingerprinting).
{% endstep %}
{% step %}
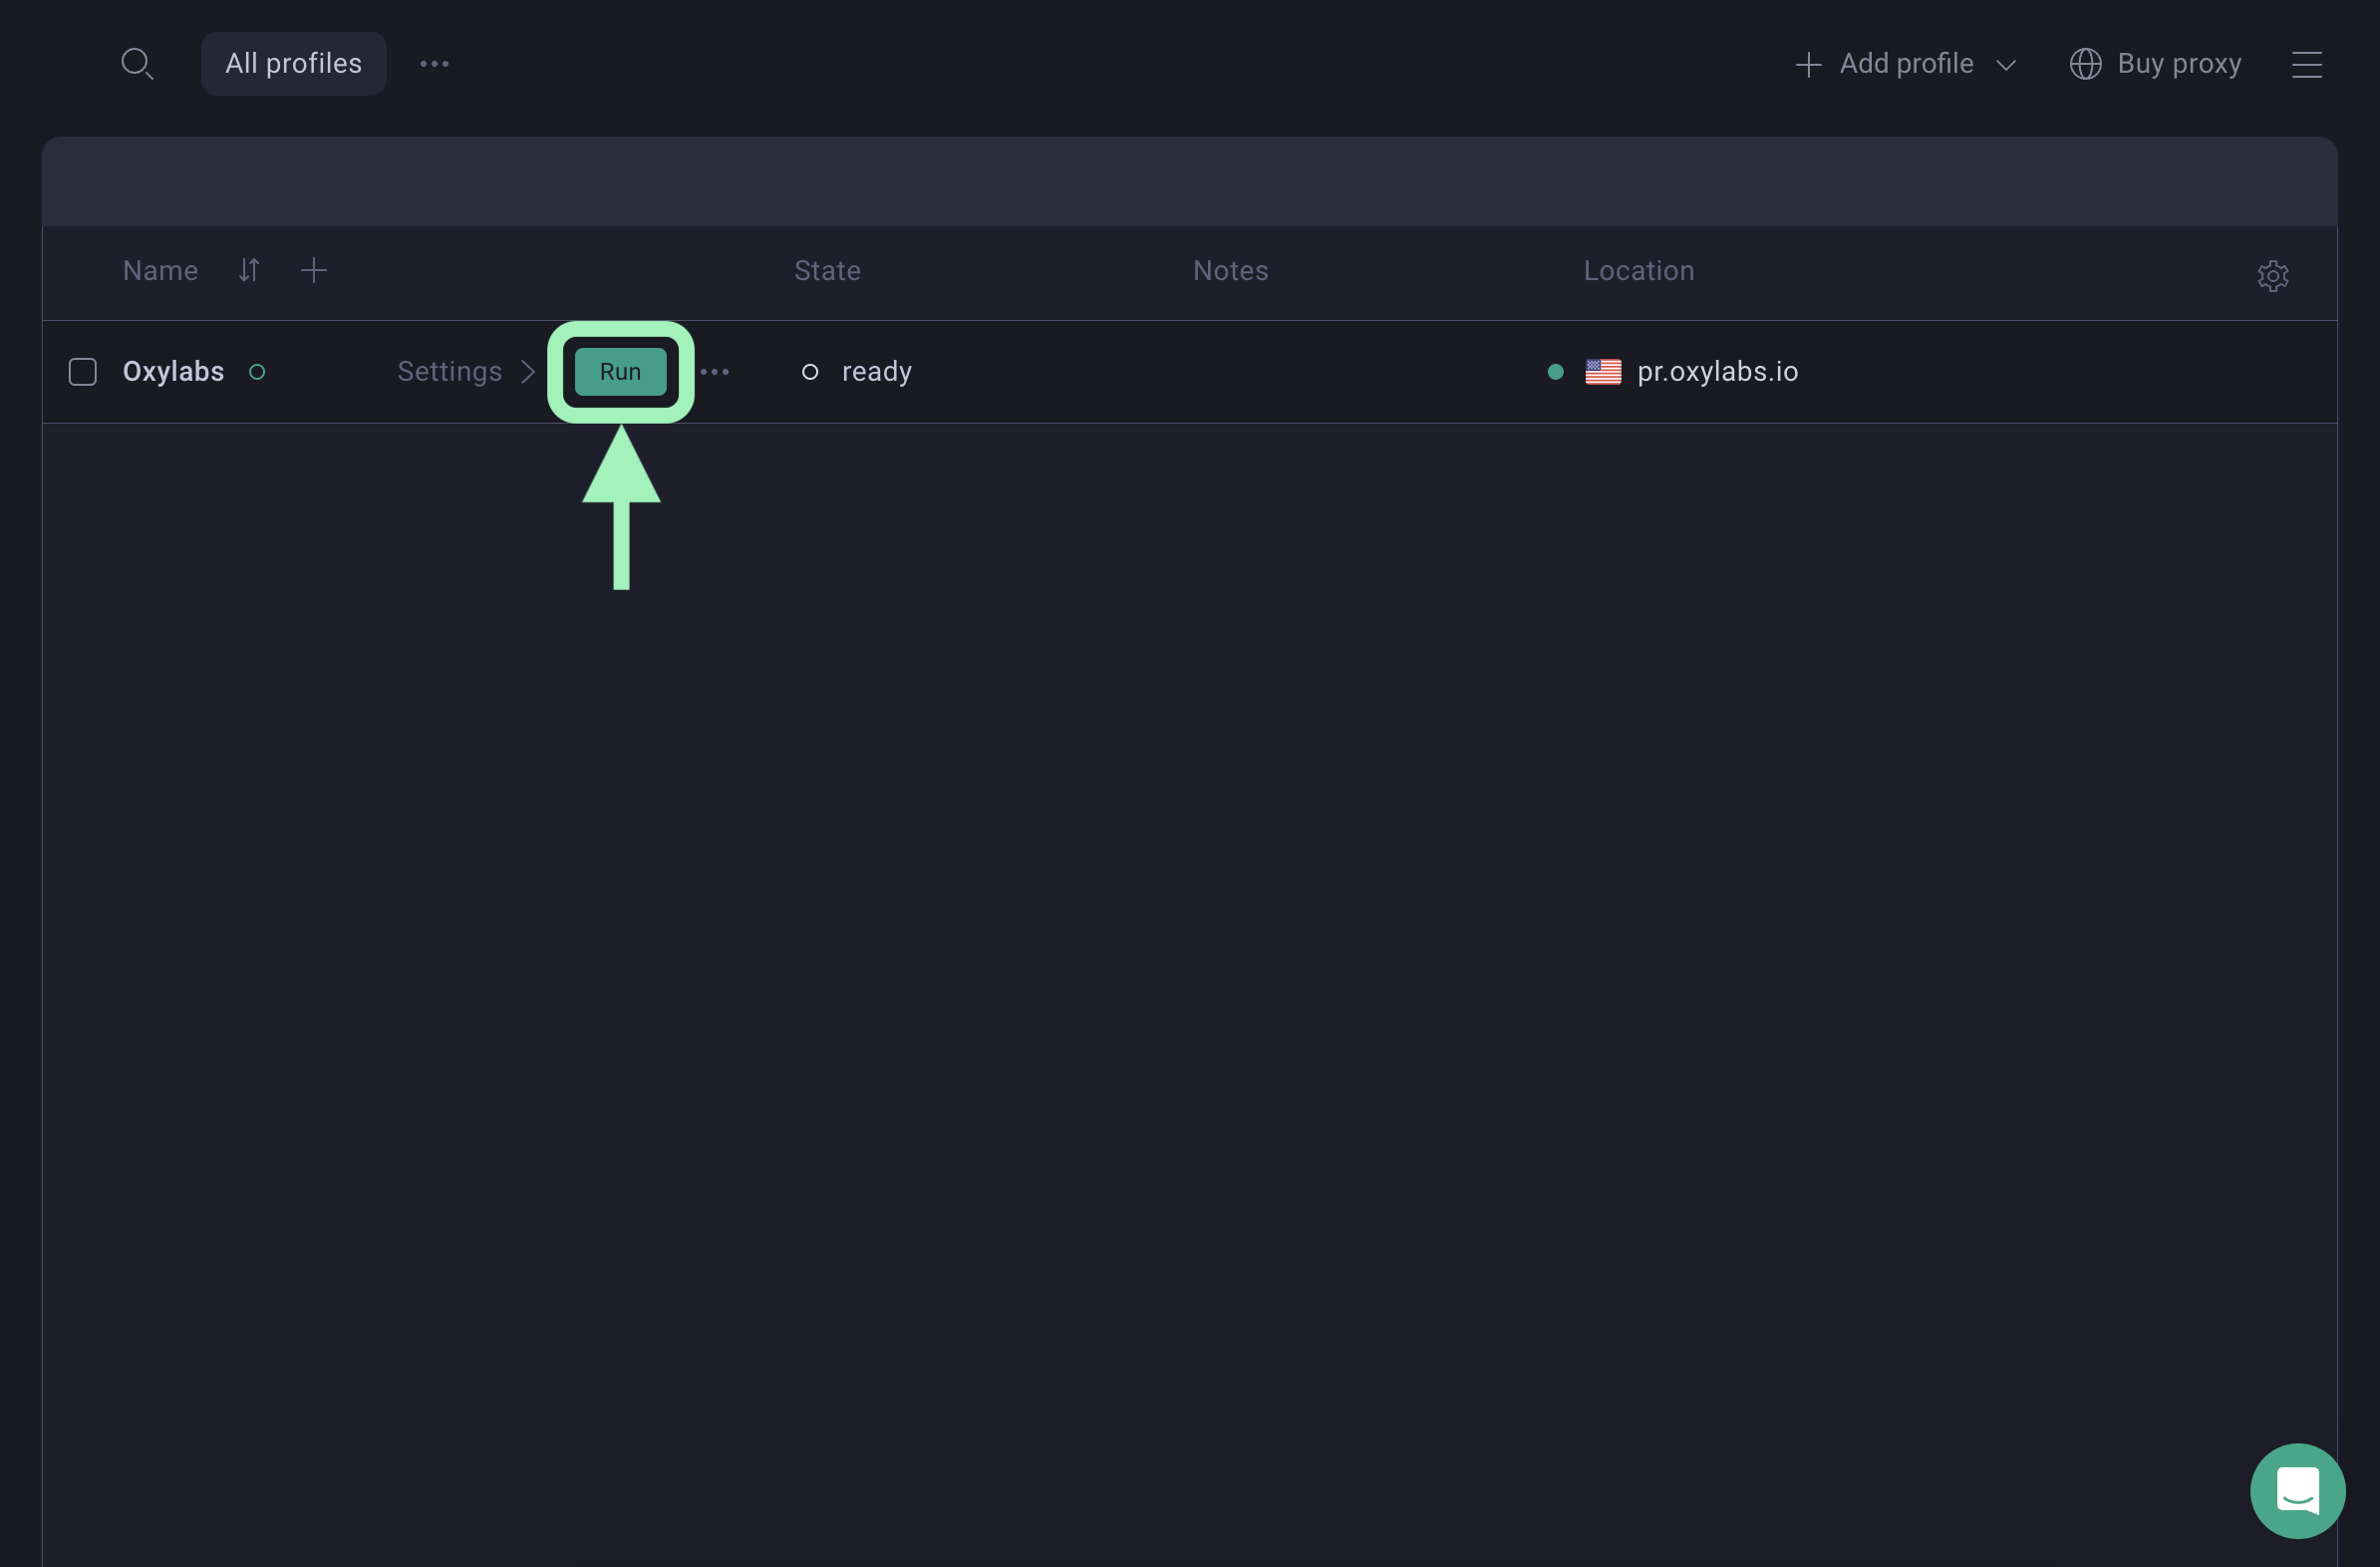
### Run new profile
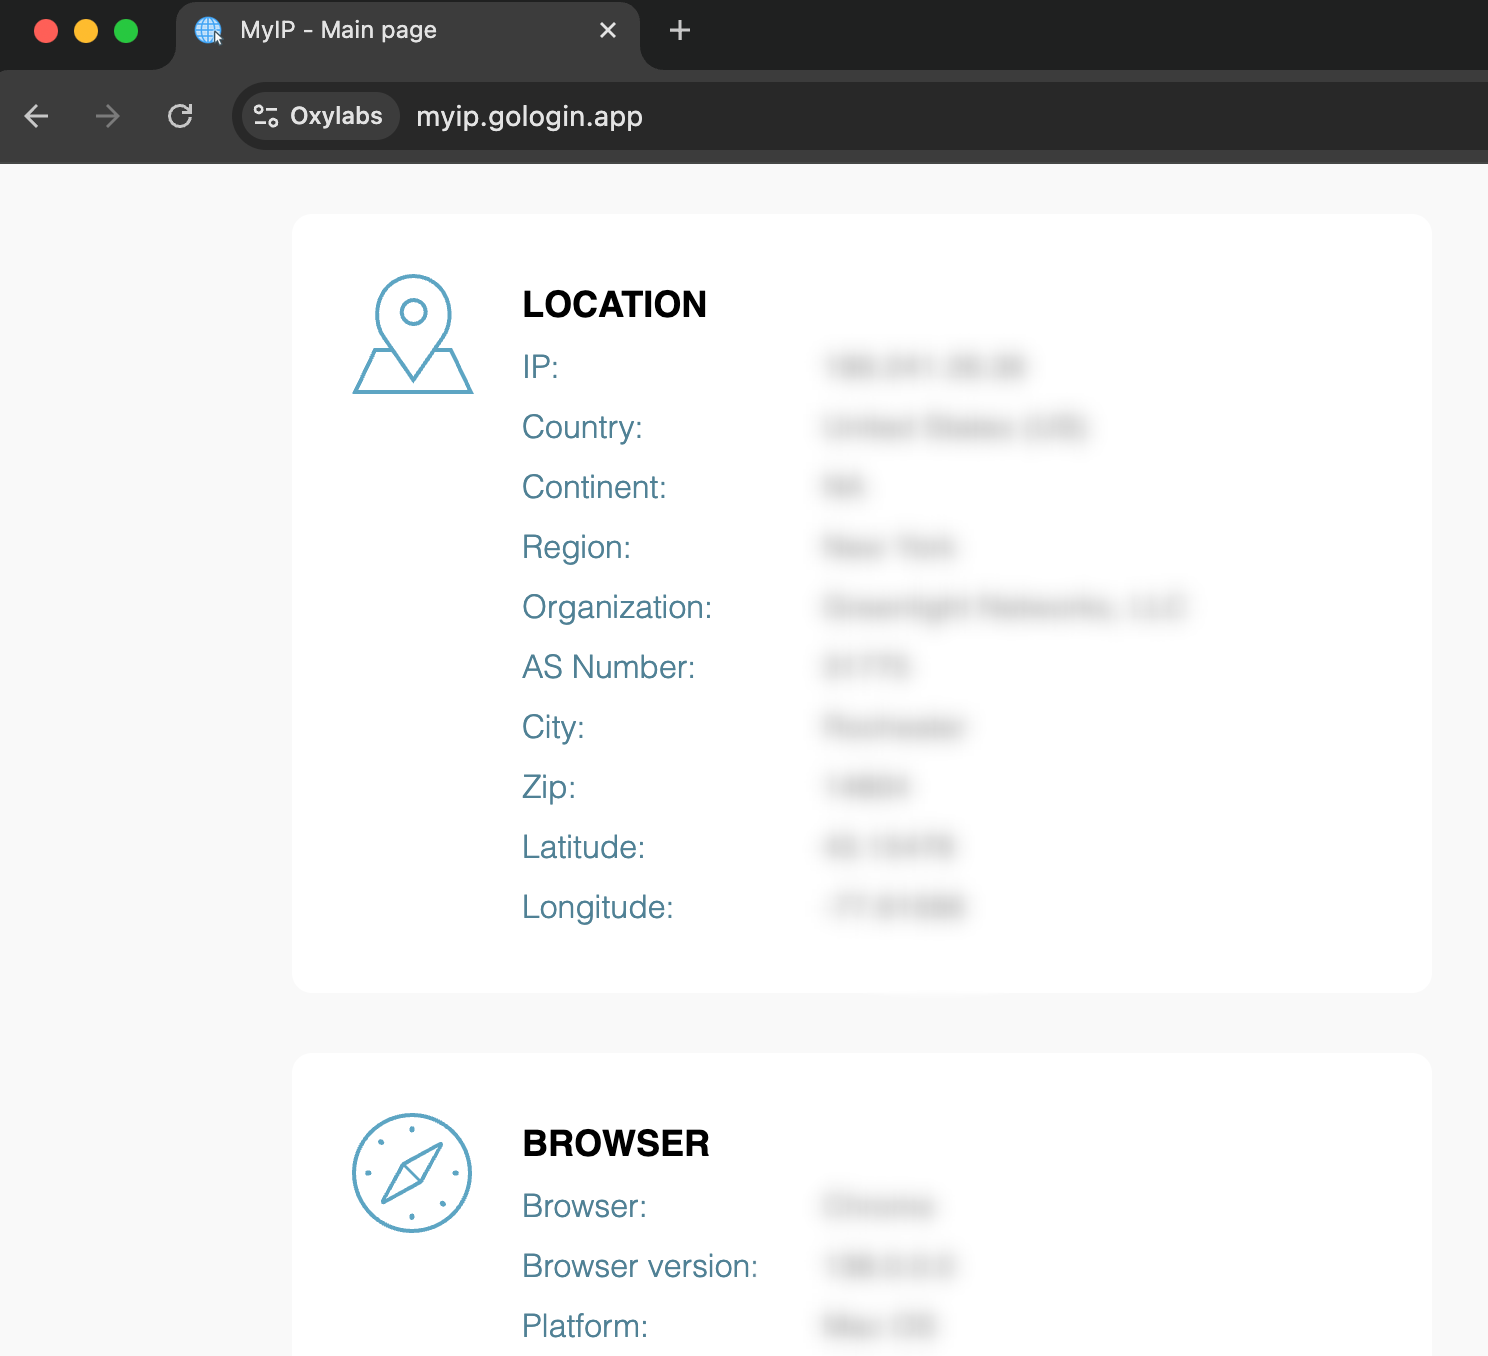
Press **Run** on the main screen to launch a newly created profile and carry on with your tasks in a private browser.
If everything is done correctly, will open to show your custom fingerprint information (a new virtual identity).
{% endstep %}
{% endstepper %}
And that’s it. You’ve successfully integrated your Oxylabs proxies with GoLogin.