# Hidemyacc
[Hidemyacc](https://hidemyacc.com/) is an antidetect browser that prevents websites from tracking or identifying users based on their [browser fingerprints](https://oxylabs.io/blog/browser-fingerprinting). You can add Oxylabs proxies to browser profiles to mask your IP and access geo-restricted content, boosting the anti-detection measures even further.
{% hint style="warning" %}
**Note:** some screenshots provided in this guide depict the setup process using Residential Proxies for illustrative purposes, refer to the specific guidelines for Dedicated Datacenter Proxies provided in the text.
{% endhint %}
Follow these quick steps to integrate Dedicated Datacenter Proxies:
1. [Download](https://hidemyacc.com/download) & set up the app, create an account, and log in. You can use a 7-day trial for free.
2. Upon launching the app, select **+Create a new profile**.
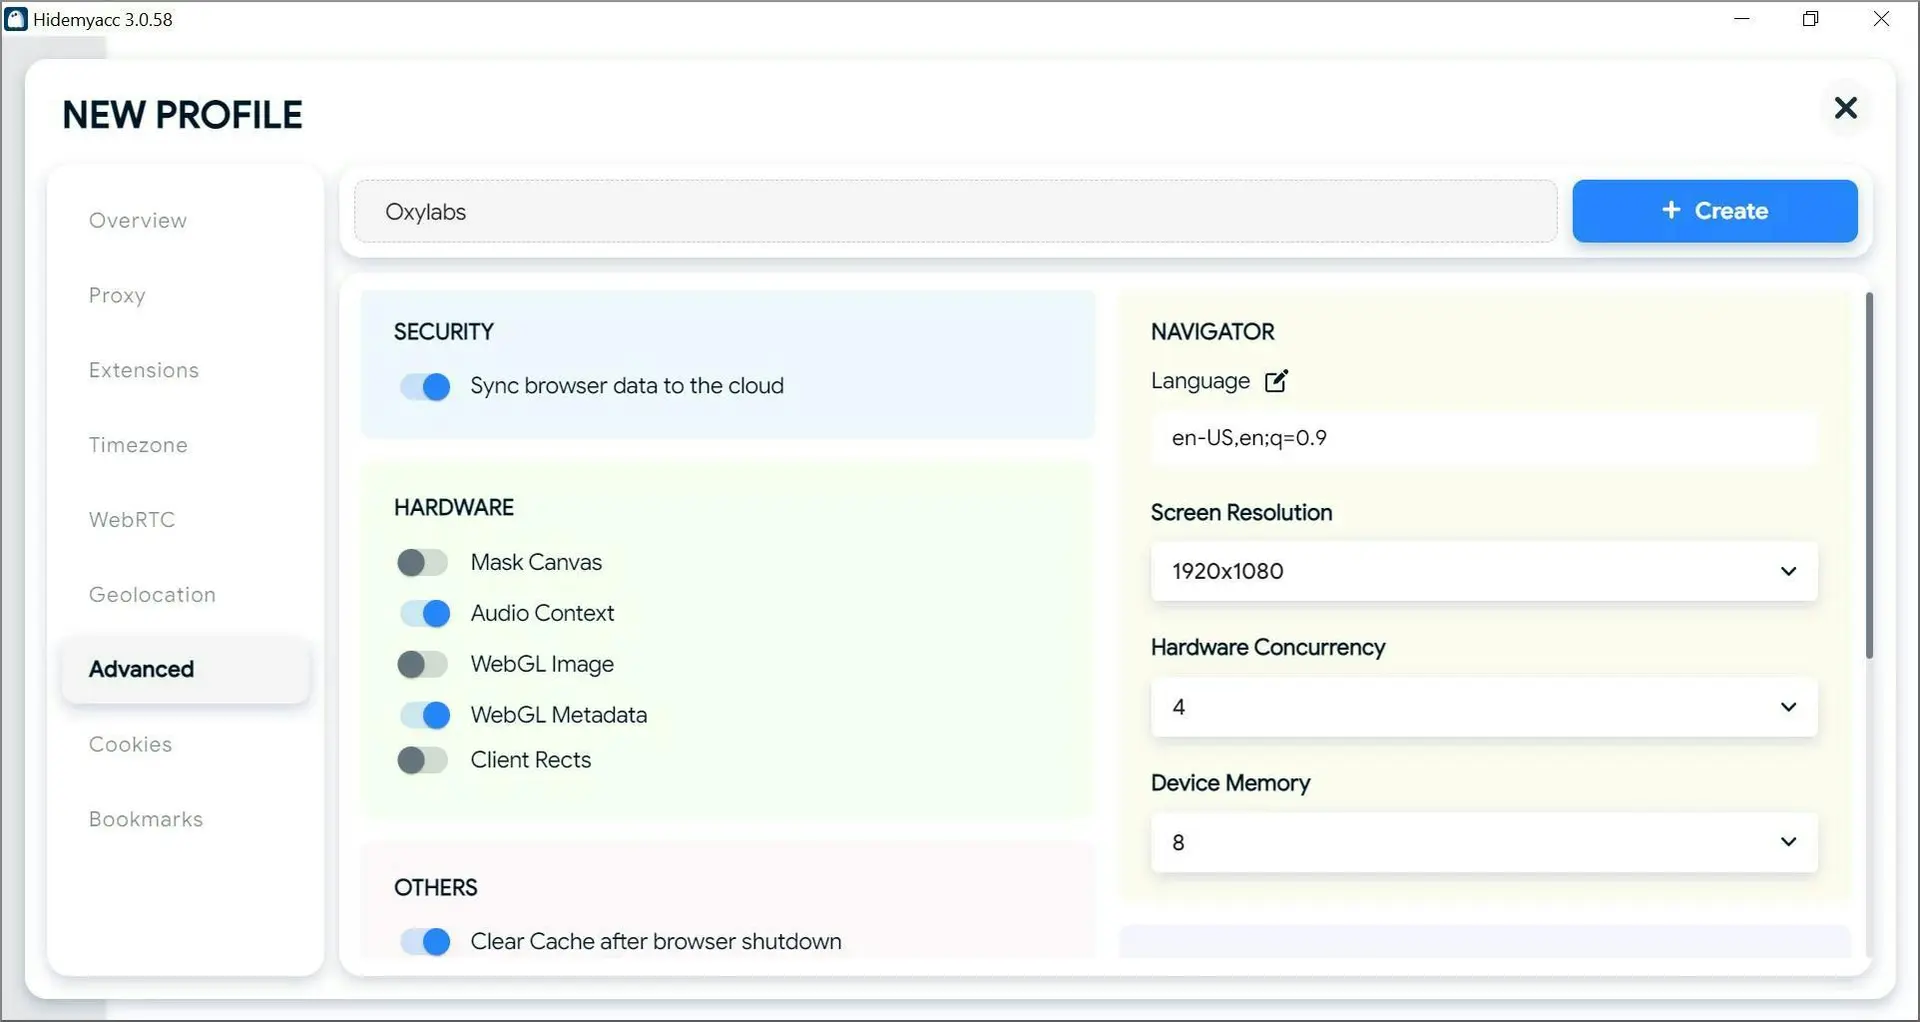
2\. Configure your browser profile, including **Proxy** settings. Here, you can customize all of your fingerprinting options.
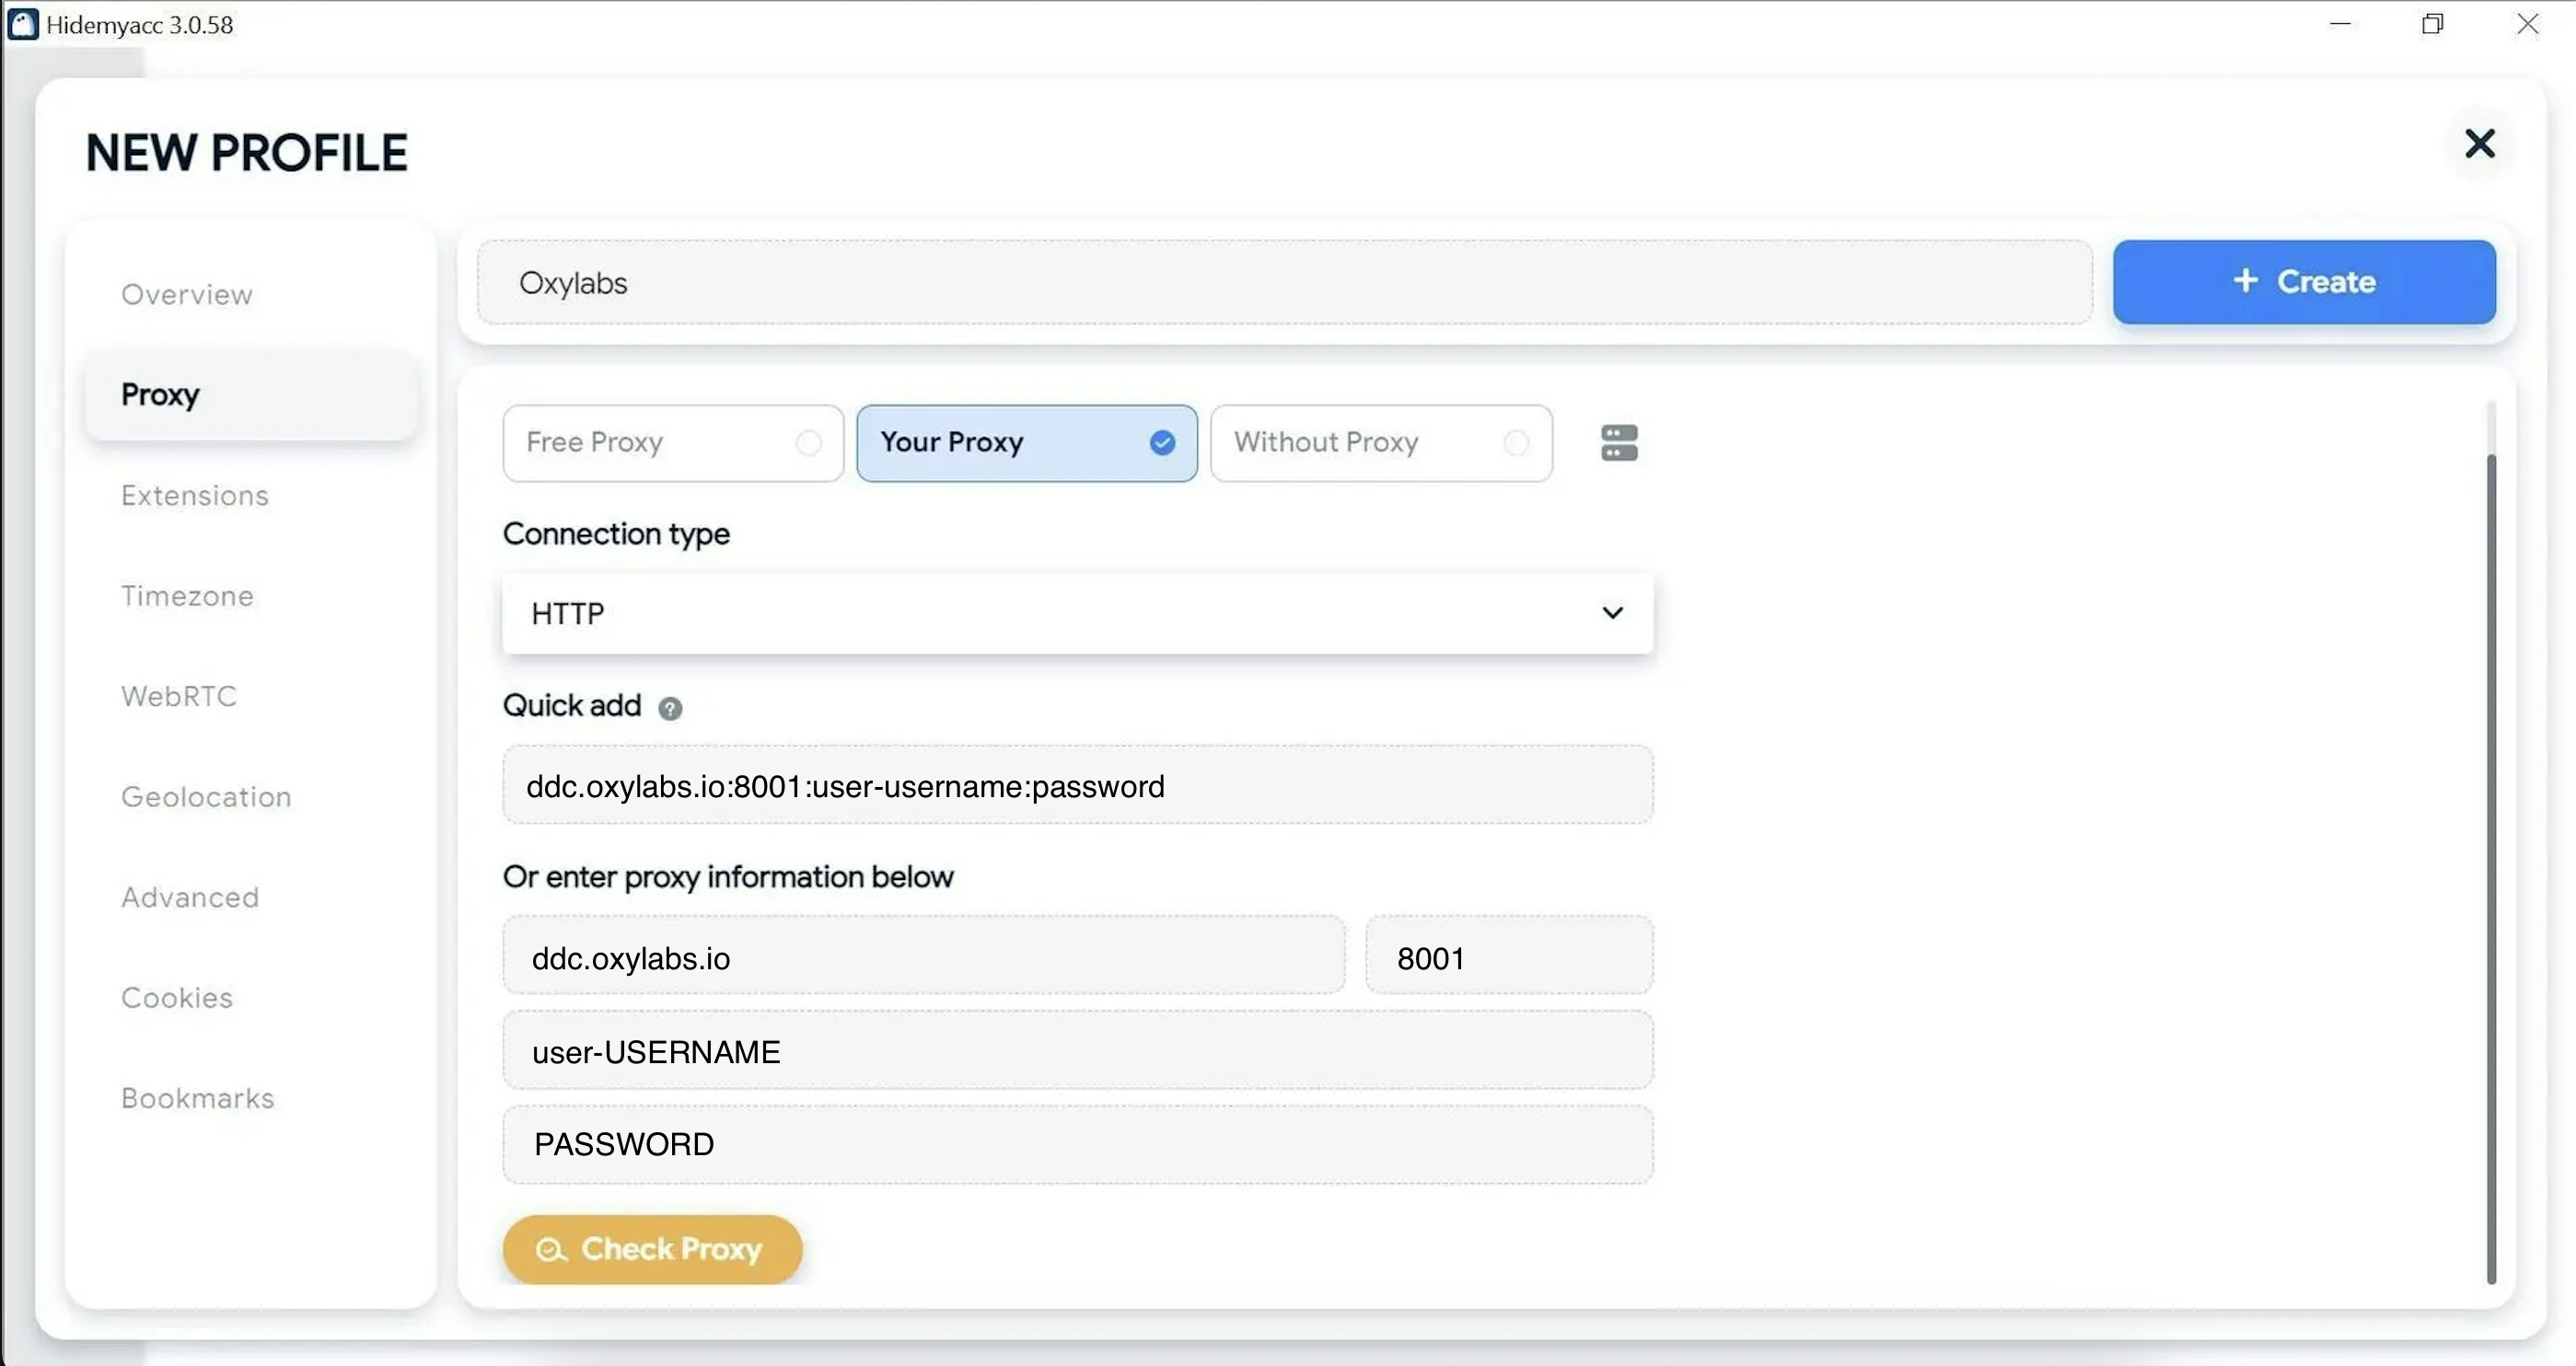
3\. Under **Proxy**, choose **Your Proxy**.
4\. Add the following details for Oxylabs proxies.
Specify the following if you purchased Dedicated Datacenter Proxies via the [dashboard](https://dashboard.oxylabs.io/en/).
{% hint style="info" %}
**NOTE:** You can also add proxies using this format: `IP:Port:username:password`. (Here IP accepts Host value)
{% endhint %}
**Connection type:** `HTTP` or `SOCKS5`
**IP/Host:** `ddc.oxylabs.io`
**Port:** `8001`
**Username:** `user-USERNAME`
**Password:** `PASSWORD`
{% hint style="warning" %}
**Note:** Don't forget to add `user-` prefix to your username.
{% endhint %}
For Self-Service Dedicated Datacenter Proxies, the port indicates the sequential number of an IP address from the [acquired list](https://developers.oxylabs.io/proxies/dedicated-datacenter-proxies/self-service/proxy-list).
5\. Enter your Oxylabs proxy user’s credentials. Use the same username and password you entered to create a new proxy user in the [Oxylabs dashboard](https://dashboard.oxylabs.io/en/).
6\. To confirm functionality, select **Check Proxy** and see the location details.
Optionally, you can import proxies in bulk using **Proxy Manager**. Here, you can add proxy lists without first creating a browser profile. Set up proxies and then add or remove them from your browser profiles.
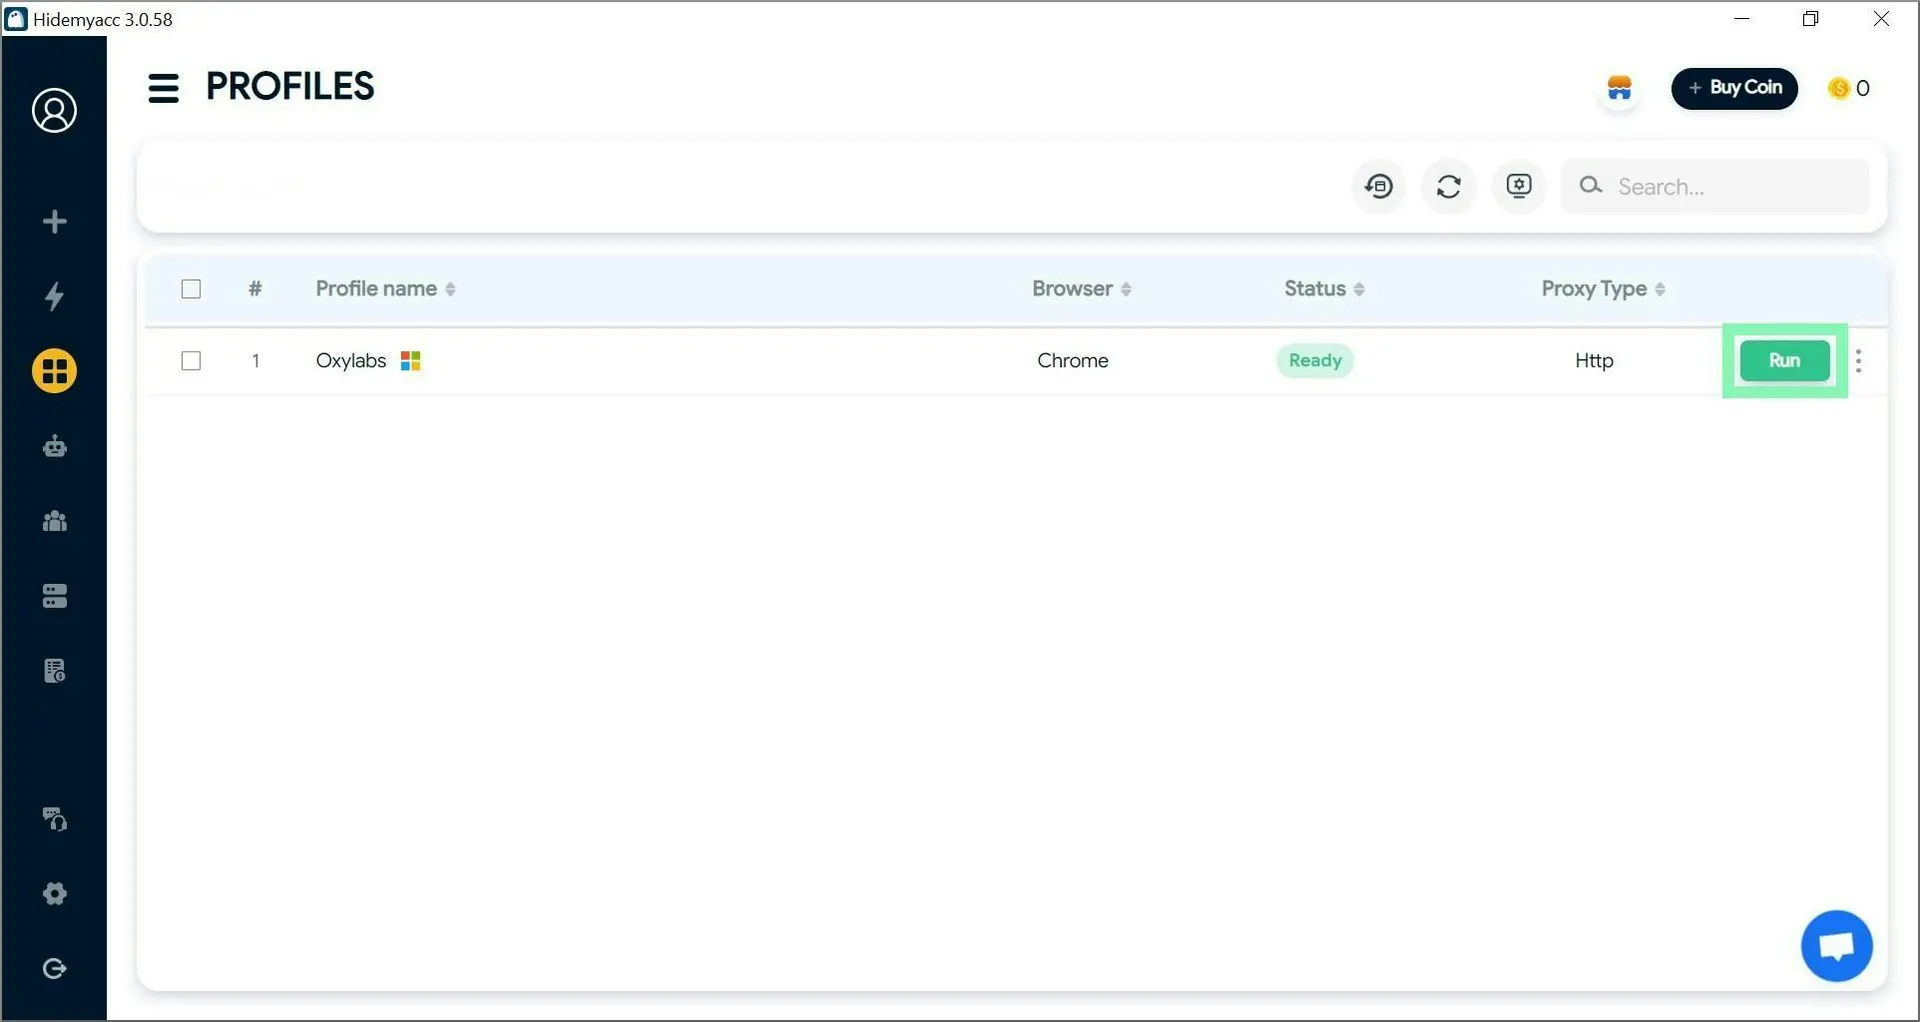
7\. Lastly, press **Create** and then **Run** the newly created browser profile.
The browser will initially open an IP checker website. Here, you can check your proxy effectiveness once more.
Now, you can automate web interactions and manage multiple accounts using a single application in complete anonymity.

.webp?alt=media&token=f86ecd66-5a5b-42a7-bbde-5820e02e3502)
.webp?alt=media&token=05af62f7-5014-4067-be80-918876eaeb02)