# MoreLogin
[**MoreLogin**](https://www.morelogin.com/?from=AASFM37JXppd) is an anti detection browser that allows you to manage multiple accounts and share responsibilities within a team with permission management.
Follow these steps to integrate Oxylabs [**Residential Proxies**](https://developers.oxylabs.io/proxies/residential-proxies):
**Step 1.** Go to the official [**MoreLogin**](https://www.morelogin.com/?from=AASFM37JXppd) website and download the app for Windows or Mac.
**Step 2.** Set up an account and log in.
**Step 3.** Once set up, create **a new browser profile**.
**Step 4.** Fill in the initial profile settings, such as name and browser fingerprint, and click **Advanced create.**
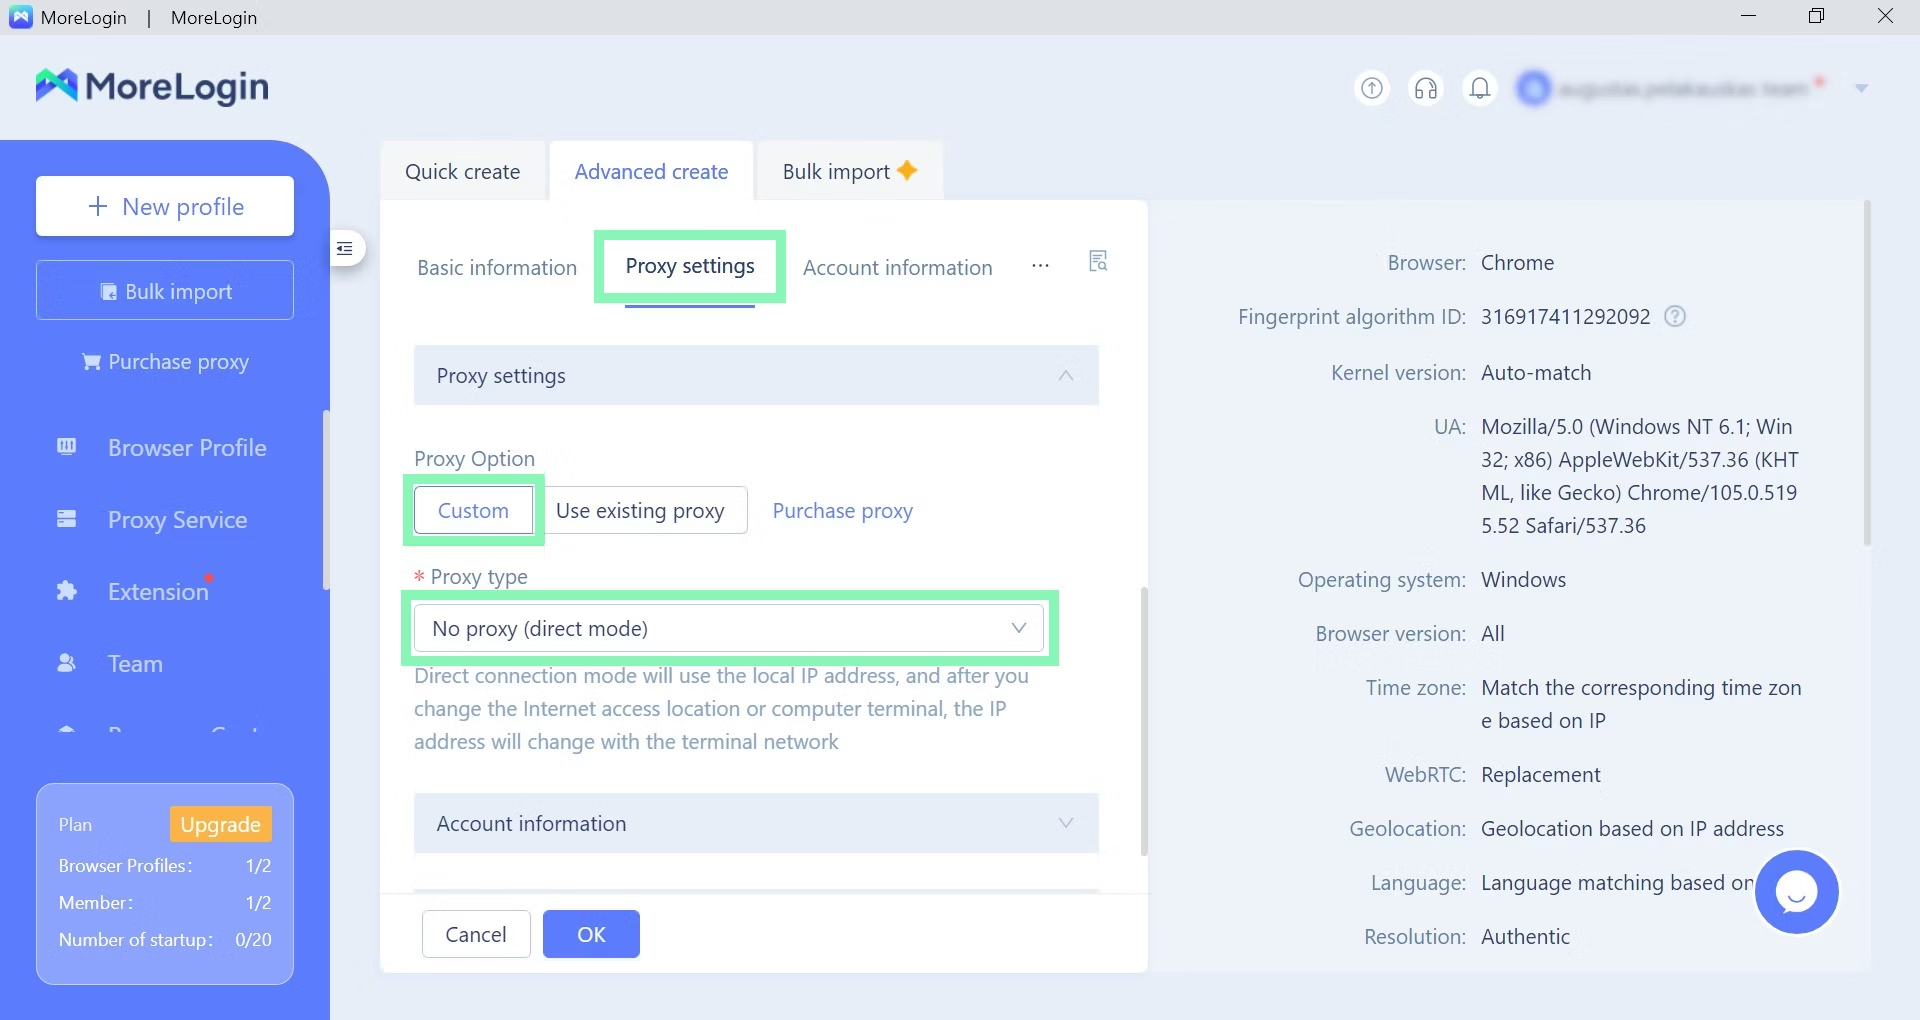
**Step 5.** Scroll down or press **Proxy settings** to configure your Oxylabs proxies. As your **Proxy option**, choose **Custom**.
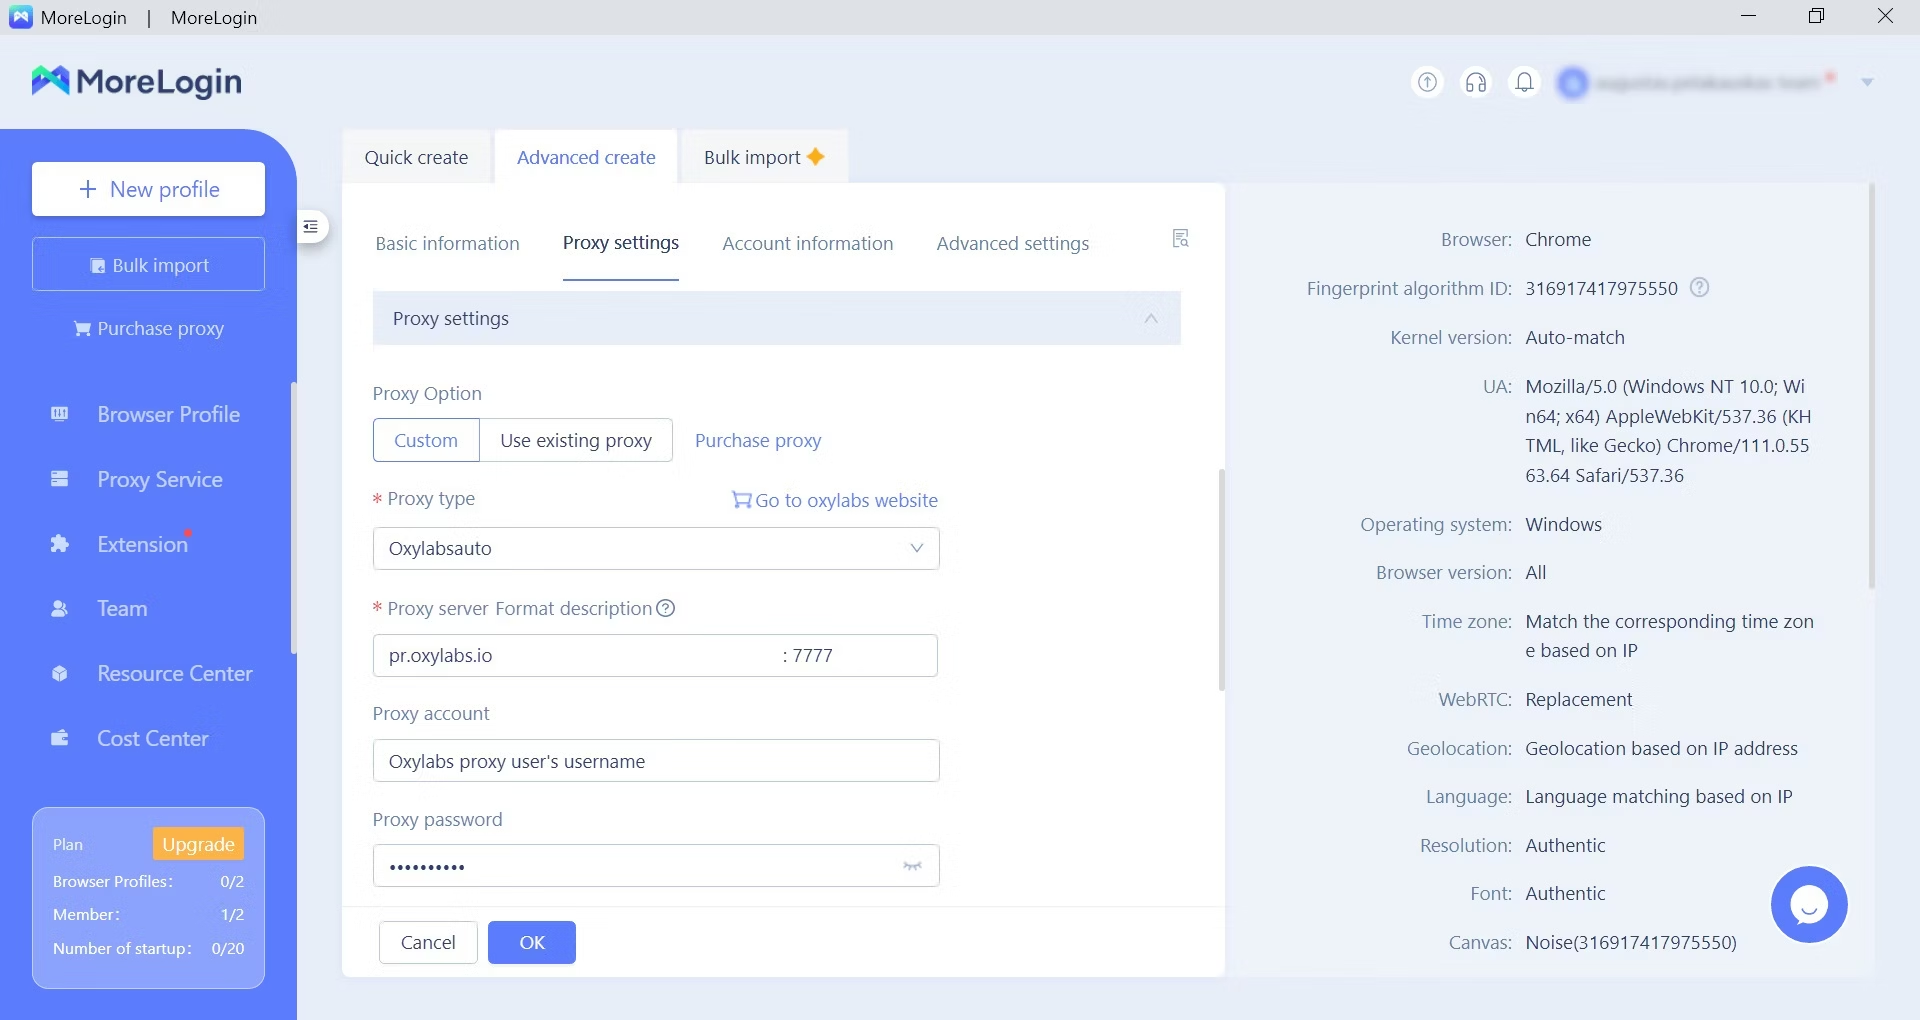
**Step 6.** To configure proxy settings manually, enter the following details:
**Proxy type**: `HTTP`, `HTTPS`, or `SOCKS5`
**IP/Host**: `pr.oxylabs.io`
**Port**: `7777`
{% hint style="info" %}
You can also use random or sticky country-specific entries. For example, if you enter `us-pr.oxylabs.io` under **IP/Host** and `10000` under **Port**, you’ll acquire a US exit node. If you enter `10001` under **Port**, you’ll receive the US exit node with a sticky session. You can find a complete list of country-specific random proxy entry nodes [**here**](https://developers.oxylabs.io/proxies/residential-proxies/country-specific-entry-nodes#random-proxy-entry-nodes) and a list of sticky proxy entry nodes - [**here**](https://developers.oxylabs.io/proxies/residential-proxies/country-specific-entry-nodes#sticky-proxy-entry-nodes).
{% endhint %}
**Step 7.** Enter your Oxylabs proxy user’s credentials. Under **Proxy account** and **Proxy password**, use the same username and password you entered to create a new proxy user in the [**Oxylabs dashboard**](https://dashboard.oxylabs.io/en/).
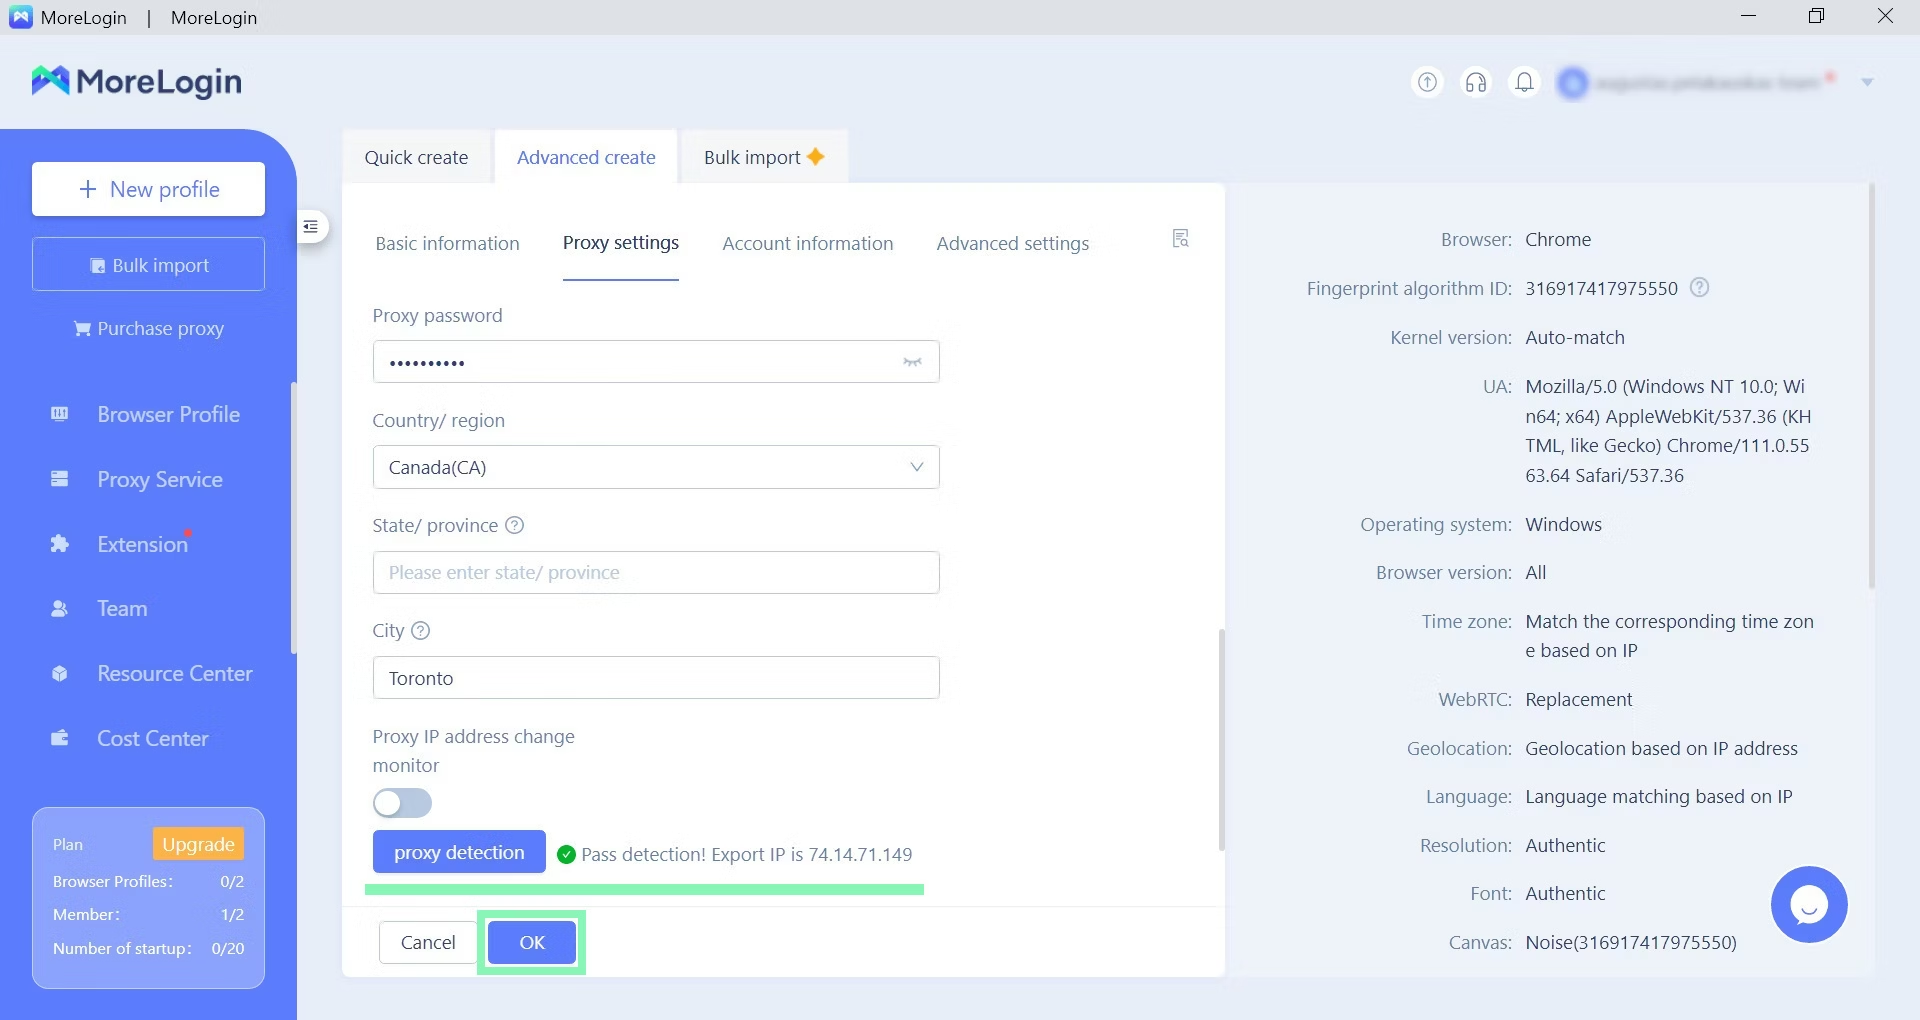
**Step 8.** Click **Proxy detection** and test your proxy to ensure expected functionality.
The proxy setup is now complete.
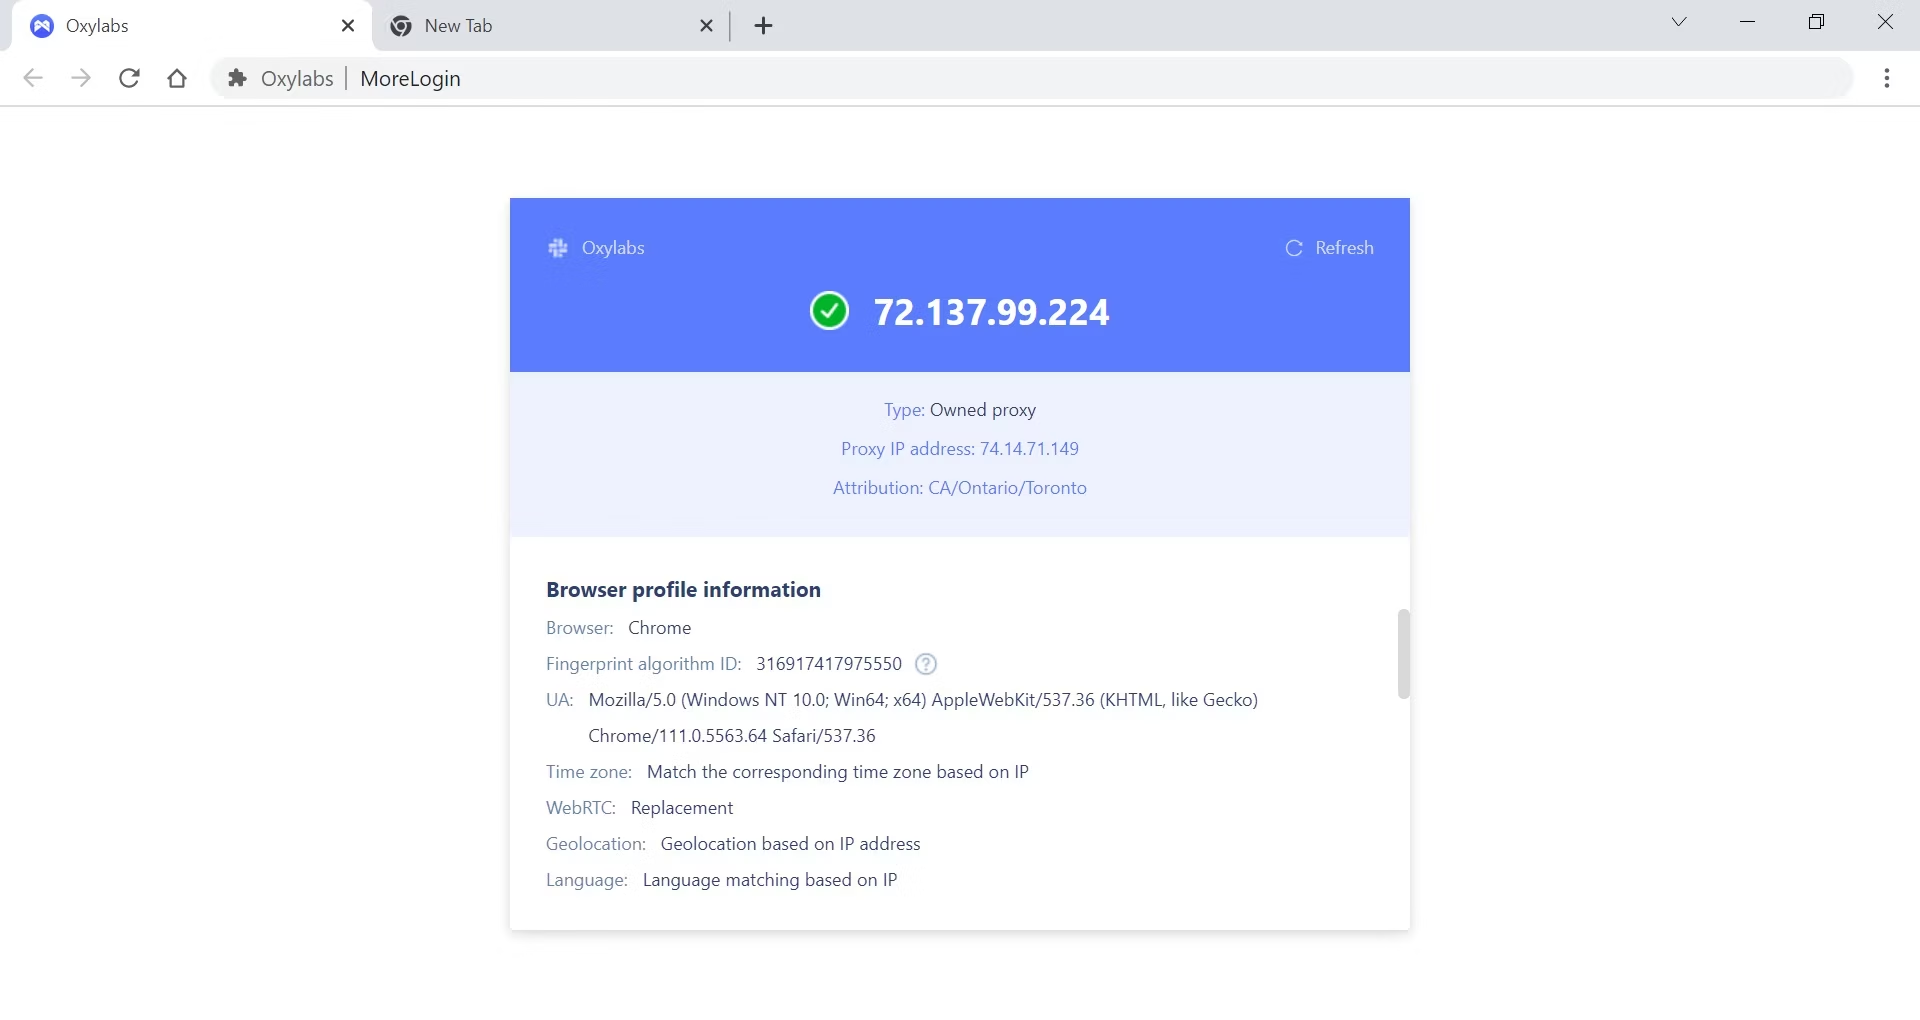
**Step 9.** Press **Start** to launch a new browser profile.
A Chromium-based browser will launch with two tabs open. One with your fingerprint details and another with a search engine homepage. Once more, check if your details correspond to your expectations.
You’re now ready to carry on with your multi-accounting tasks.