# MoreLogin
[**MoreLogin**](https://www.morelogin.com/?from=AASFM37JXppd) is an anti detection browser that allows you to manage multiple accounts and share responsibilities within a team with permission management.
Follow these steps to integrate Oxylabs [**Dedicated ISP Proxies**](https://developers.oxylabs.io/proxies/dedicated-isp-proxies/self-service) you've purchased through self-service:
{% stepper %}
{% step %}
### Download & install
Go to the official [**MoreLogin**](https://www.morelogin.com/?from=AASFM37JXppd) website and download the app for Windows or macOS. Set up an account and log in.
{% endstep %}
{% step %}
### Create a browser profile
Once set up, create **a new browser profile**.
{% endstep %}
{% step %}
### Enter profile settings
Fill in the initial profile settings, such as name and browser fingerprint, and click **Advanced create.**
{% endstep %}
{% step %}
### Set up Dedicated ISP Proxies
Scroll down or press **Proxy settings** to configure your Oxylabs Dedicated ISP Proxies. As your **Proxy option**, choose **Custom**.
To configure proxy settings manually, enter the following details:
**Proxy type**: `HTTP`, `HTTPS`, or `SOCKS5`
**Proxy server**: `disp.oxylabs.io`
**Port**: `8001`
**Proxy account:** `user-USERNAME`
**Proxy password:** `PASSWORD`
Use the same username and password you've entered to create a new proxy user in the [**Oxylabs dashboard**](https://dashboard.oxylabs.io/en/).
{% hint style="success" %}
The port number indicates which IP address from your acquired [proxy list](https://developers.oxylabs.io/proxies/dedicated-isp-proxies/self-service/proxy-list) will be used. Use port `8000` for automatic [proxy IP rotation](https://developers.oxylabs.io/proxies/dedicated-isp-proxies/self-service/proxy-rotation).
{% endhint %}
{% hint style="warning" %}
Make sure to add the `user-` part to your username.
{% endhint %}
{% endstep %}
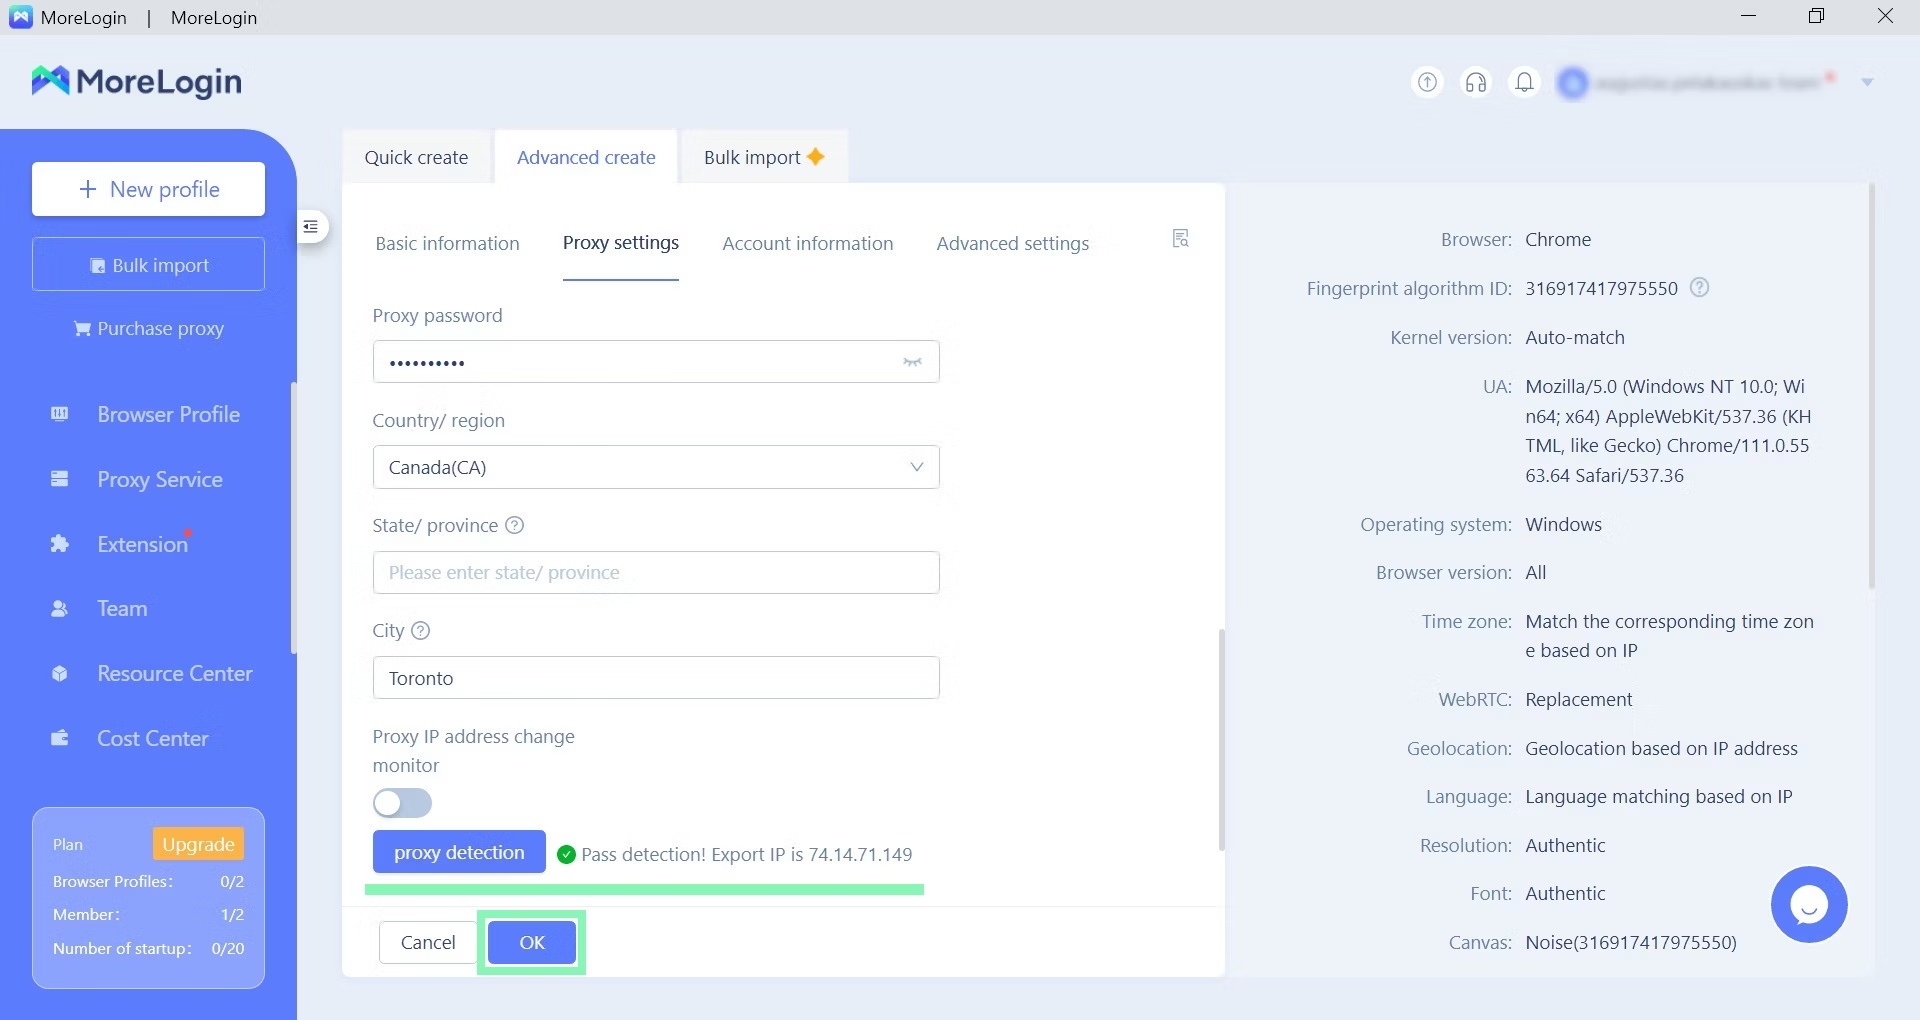
{% step %}
### Test your connection
Click **Proxy detection** and test your proxy to ensure expected functionality.
{% endstep %}
{% step %}
### Launch your profile
Press **Start** to launch a new browser profile.
A Chromium-based browser will launch with two tabs open. One with your fingerprint details and another with a search engine homepage. Once more, check if your details correspond to your expectations.
{% endstep %}
{% endstepper %}
You’re now ready to carry on with your multi-accounting tasks.
---
# Agent Instructions: Querying This Documentation
If you need additional information that is not directly available in this page, you can query the documentation dynamically by asking a question.
Perform an HTTP GET request on the current page URL with the `ask` query parameter:
```
GET https://developers.oxylabs.io/proxies/integration-guides/dedicated-isp-proxies-integrations/morelogin.md?ask=
```
The question should be specific, self-contained, and written in natural language.
The response will contain a direct answer to the question and relevant excerpts and sources from the documentation.
Use this mechanism when the answer is not explicitly present in the current page, you need clarification or additional context, or you want to retrieve related documentation sections.