> For the complete documentation index, see [llms.txt](https://developers.oxylabs.io/llms.txt). Markdown versions of documentation pages are available by appending `.md` to page URLs; this page is available as [Markdown](https://developers.oxylabs.io/products/cn/web-scraper-api/mu-biao/sou-suo-yin-qing/gu-ge/url.md).

# URL

Google URL 抓取器可轻松从任何 Google 页面获取内容。可结合多语言代码示例轻松集成。

该 `google` source 旨在从各种 Google URL 中检索内容。这意味着，你无需发送多个参数，只需向我们提供所需 Google 页面 的直接 URL。我们不会删除任何参数，也不会以任何其他方式更改你的 URL。

## 请求示例

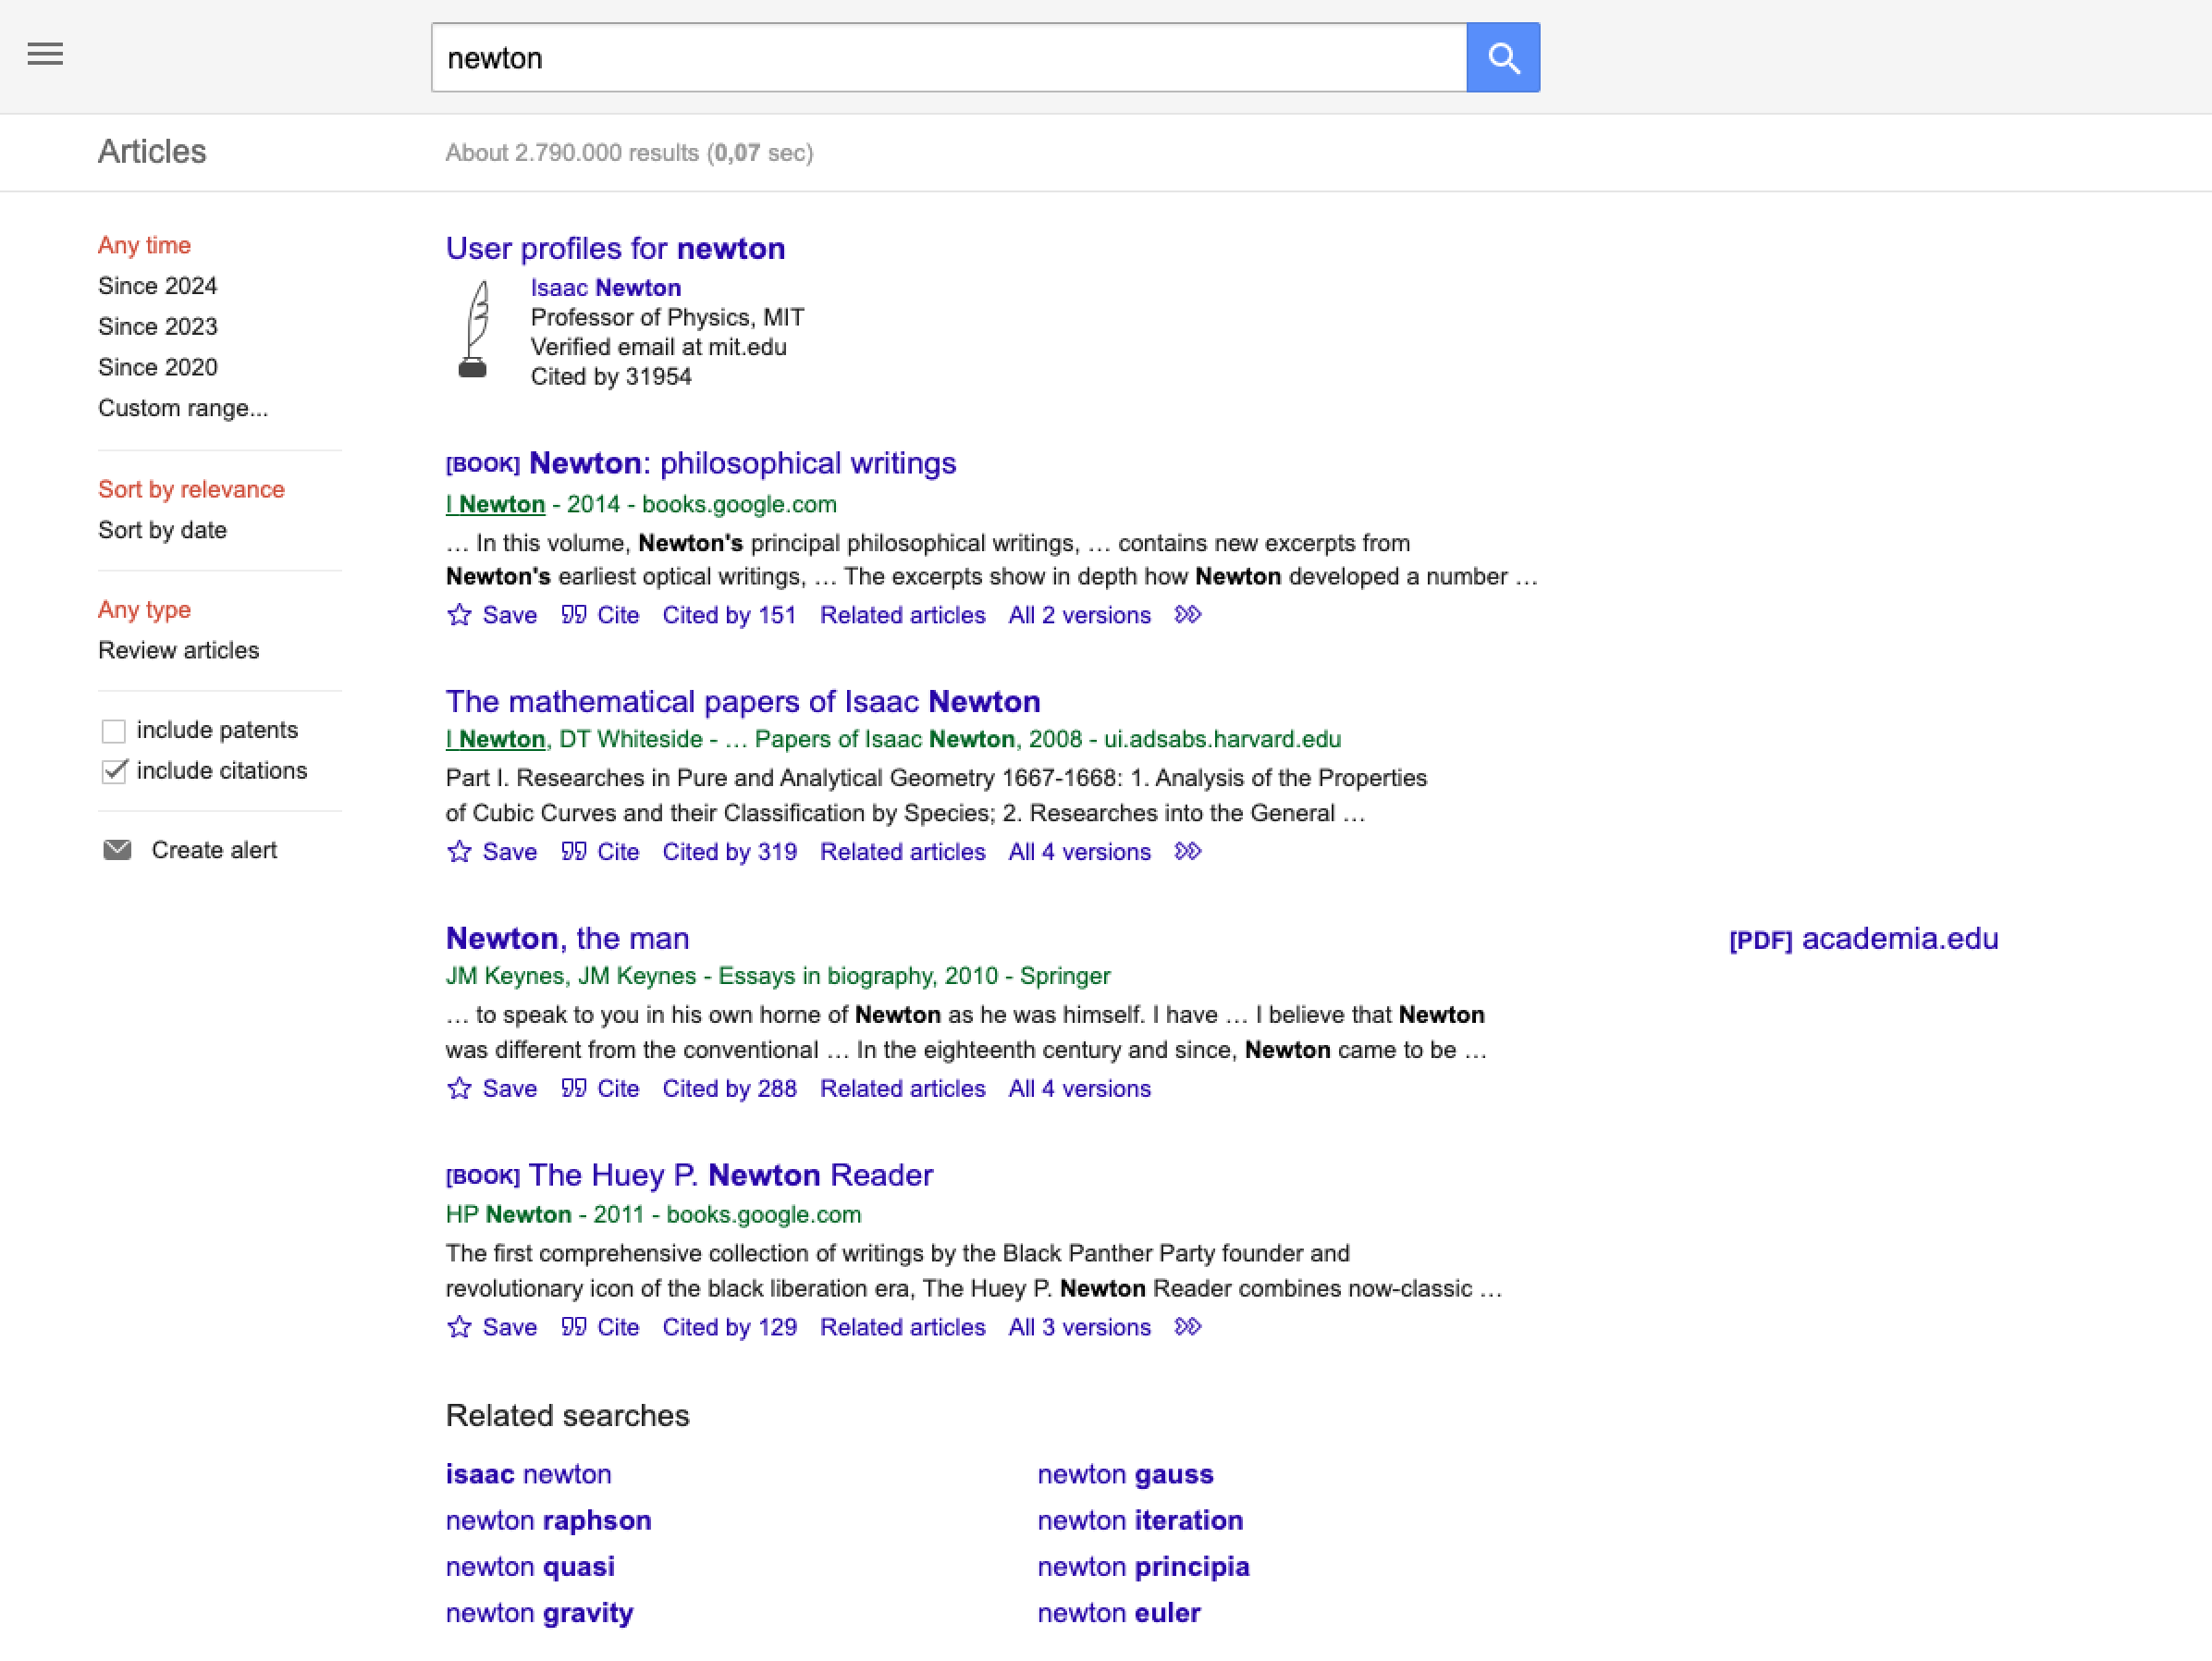
在下面的示例中，API 将检索一个 Google Scholar 搜索页面。

{% tabs %}
{% tab title="cURL" %}

```shell
curl 'https://data.oxylabs.io/v1/queries' \
--user 'USERNAME:PASSWORD' \
-H 'Content-Type: application/json' \
-d '{
        "source": "google",
        "url": "https://scholar.google.com/scholar?hl=en&q=newton&btnG=&as_sdt=1%2C5&as_sdtp="
    }'
```

{% endtab %}

{% tab title="Python" %}

```python
import requests
from pprint import pprint

# Structure payload.
payload = {
    'source': 'google',
    'url': 'https://scholar.google.com/scholar?hl=en&q=newton&btnG=&as_sdt=1%2C5&as_sdtp='
}

# Get response.
response = requests.request(
    'POST',
    'https://data.oxylabs.io/v1/queries',
    auth=('USERNAME', 'PASSWORD'),
    json=payload,
)

# 响应包含作业详情，包括作业 ID。
# 使用该 ID 检查作业状态并检索结果。
pprint(response.json())
```

{% endtab %}

{% tab title="Node.js" %}

```javascript
const https = require("https");

const username = "USERNAME";
const password = "PASSWORD";
const body = {
    source: "google",
    url: "https://scholar.google.com/scholar?hl=en&q=newton&btnG=&as_sdt=1%2C5&as_sdtp=",
};

const options = {
    hostname: "data.oxylabs.io",
    path: "/v1/queries",
    method: "POST",
    headers: {
        "Content-Type": "application/json",
        Authorization:
            "Basic " + Buffer.from(`${username}:${password}`).toString("base64"),
    },
};

const request = https.request(options, (response) => {
    let data = "";

    response.on("data", (chunk) => {
        data += chunk;
    });

    response.on("end", () => {
        const responseData = JSON.parse(data);
        console.log(JSON.stringify(responseData, null, 2));
    });
});

request.on("error", (error) => {
    console.error("Error:", error);
});

request.write(JSON.stringify(body));
request.end();
```

{% endtab %}

{% tab title="PHP" %}

```php
<?php

$params = array(
    'source' => 'google',
    'url' => 'https://scholar.google.com/scholar?hl=en&q=newton&btnG=&as_sdt=1%2C5&as_sdtp='
);

$ch = curl_init();

curl_setopt($ch, CURLOPT_URL, "https://data.oxylabs.io/v1/queries");
curl_setopt($ch, CURLOPT_RETURNTRANSFER, 1);
curl_setopt($ch, CURLOPT_POSTFIELDS, json_encode($params));
curl_setopt($ch, CURLOPT_POST, 1);
curl_setopt($ch, CURLOPT_USERPWD, "USERNAME" . ":" . "PASSWORD");


$headers = array();
$headers[] = "Content-Type: application/json";
curl_setopt($ch, CURLOPT_HTTPHEADER, $headers);

$result = curl_exec($ch);
echo $result;

if (curl_errno($ch)) {
    echo 'Error:' . curl_error($ch);
}
curl_close($ch);
```

{% endtab %}

{% tab title="Golang" %}

```go
package main

import (
    "bytes"
    "encoding/json"
    "fmt"
    "io/ioutil"
    "net/http"
)

func main() {
    const Username = "USERNAME"
    const Password = "PASSWORD"

    payload := map[string]interface{}{
        "source": "google",
        "url":    "https://scholar.google.com/scholar?hl=en&q=newton&btnG=&as_sdt=1%2C5&as_sdtp=",
    }

    jsonValue, _ := json.Marshal(payload)

    client := &http.Client{}
    request, _ := http.NewRequest("POST",
        "https://data.oxylabs.io/v1/queries",
        bytes.NewBuffer(jsonValue),
    )

    request.SetBasicAuth(Username, Password)
    response, _ := client.Do(request)

    responseText, _ := ioutil.ReadAll(response.Body)
    fmt.Println(string(responseText))
}
```

{% endtab %}

{% tab title="C#" %}

```csharp
using System;
using System.Collections.Generic;
using System.Net.Http;
using System.Net.Http.Json;
using System.Threading.Tasks;

namespace OxyApi
{
    class Program
    {
        static async Task Main()
        {
            const string Username = "USERNAME";
            const string Password = "PASSWORD";

            var parameters = new {
                source = "google",
                url = "https://scholar.google.com/scholar?hl=en&q=newton&btnG=&as_sdt=1%2C5&as_sdtp="
            };

            var client = new HttpClient();

            Uri baseUri = new Uri("https://data.oxylabs.io");
            client.BaseAddress = baseUri;

            var requestMessage = new HttpRequestMessage(HttpMethod.Post, "/v1/queries");
            requestMessage.Content = JsonContent.Create(parameters);

            var authenticationString = $"{Username}:{Password}";
            var base64EncodedAuthenticationString = Convert.ToBase64String(System.Text.ASCIIEncoding.UTF8.GetBytes(authenticationString));
            requestMessage.Headers.Add("Authorization", "Basic " + base64EncodedAuthenticationString);

            var response = await client.SendAsync(requestMessage);
            var contents = await response.Content.ReadAsStringAsync();

            Console.WriteLine(contents);
        }
    }
}
```

{% endtab %}

{% tab title="Java" %}

```java
package org.example;

import okhttp3.*;
import org.json.JSONObject;
import java.util.concurrent.TimeUnit;

public class Main implements Runnable {
    private static final String AUTHORIZATION_HEADER = "Authorization";
    public static final String USERNAME = "USERNAME";
    public static final String PASSWORD = "PASSWORD";

    public void run() {
        JSONObject jsonObject = new JSONObject();
        jsonObject.put("source", "google");
        jsonObject.put("url", "https://scholar.google.com/scholar?hl=en&q=newton&btnG=&as_sdt=1%2C5&as_sdtp=");

        Authenticator authenticator = (route, response) -> {
            String credential = Credentials.basic(USERNAME, PASSWORD);
            return response
                    .request()
                    .newBuilder()
                    .header(AUTHORIZATION_HEADER, credential)
                    .build();
        };

        var client = new OkHttpClient.Builder()
                .authenticator(authenticator)
                .build();

        var mediaType = MediaType.parse("application/json; charset=utf-8");
        var body = RequestBody.create(jsonObject.toString(), mediaType);
        var request = new Request.Builder()
                .url("https://data.oxylabs.io/v1/queries")
                .post(body)
                .build();

        try (var response = client.newCall(request).execute()) {
            if (response.body() != null) {
                try (var responseBody = response.body()) {
                    System.out.println(responseBody.string());
                }
            }
        } catch (Exception exception) {
            System.out.println("Error: " + exception.getMessage());
        }

        System.exit(0);
    }

    public static void main(String[] args) {
        new Thread(new Main()).start();
    }
}
```

{% endtab %}

{% tab title="JSON" %}

```json
{
    "source": "google", 
    "url": "https://scholar.google.com/scholar?hl=en&q=newton&btnG=&as_sdt=1%2C5&as_sdtp="
}
```

{% endtab %}
{% endtabs %}

我们使用 [**Push-Pull**](https://developers.oxylabs.io/products/cn/web-scraper-api/integration-methods/push-pull.md) 集成方式在示例中。提交任务后会立即返回任务 ID，而不是结果。一旦任务状态为 `完成`，请使用以下方式获取结果： `GET https://data.oxylabs.io/v1/queries/{job_id}/results`。请参阅 [**Push-Pull**](https://developers.oxylabs.io/products/cn/web-scraper-api/integration-methods/push-pull.md) 以了解如何检查任务状态、回调和批量查询。

## 请求参数值

### 通用

用于抓取 Google URL 的基本设置和自定义选项。

<table><thead><tr><th width="222">参数</th><th width="350.3333333333333">说明</th><th>默认值</th></tr></thead><tbody><tr><td><mark style="background-color:green;"><strong><code>source</code></strong></mark></td><td>当设置为时设置抓取器 <code>google</code>.</td><td>–</td></tr><tr><td><mark style="background-color:green;"><strong><code>url</code></strong></mark></td><td>指向 Google 页面的直接 URL（链接）。支持 Google <a href="https://ahrefs.com/blog/google-advanced-search-operators/"><strong>高级搜索运算符</strong></a>.</td><td>–</td></tr><tr><td><code>render</code></td><td>设置为时启用 JavaScript 渲染 <code>html</code>. <a href="https://developers.oxylabs.io/products/cn/web-scraper-api/features/js-rendering-and-browser-control.md#javascript-rendering"><strong>更多信息</strong></a><strong>.</strong></td><td>–</td></tr><tr><td><code>parse</code></td><td>设置为时返回解析后的数据 <code>true</code><strong>.</strong> 仅限特定 Google 页面类型的 URL。</td><td>–</td></tr><tr><td><code>callback_url</code></td><td>回调端点的 URL。 <a href="https://developers.oxylabs.io/products/cn/web-scraper-api/integration-methods/push-pull.md"><strong>更多信息</strong></a></td><td>–</td></tr><tr><td><code>user_agent_type</code></td><td>设备类型和浏览器。完整列表可见 <a href="https://developers.oxylabs.io/products/cn/web-scraper-api/features/http-context-and-job-management/user-agent-type.md"><strong>这里</strong></a>.</td><td><code>桌面端</code></td></tr><tr><td><code>geo_location</code></td><td>结果应适配的地理位置。正确使用此参数对于获取正确数据极其重要。更多信息请参阅我们推荐的 <code>geo_location</code> 参数结构 <a href="https://developers.oxylabs.io/products/cn/web-scraper-api/features/localization/serp-localization.md#google"><strong>这里</strong></a><strong>.</strong></td><td>–</td></tr></tbody></table>

&#x20;     \- 必填参数

## **输出示例**

```json
{
    "results": [
        {
            "content":"<!doctype html>\n<html lang=\"en\">\n<head>
            ...
            </script></body>\n</html>\n",            
            "created_at": "2024-05-27 12:28:27",
            "updated_at": "2024-05-27 12:28:30",
            "page": 1,
            "url": "https://scholar.google.com/scholar?hl=en&q=newton&btnG=&as_sdt=1%2C5&as_sdtp=",
            "job_id": "7200835246005180417",
            "status_code": 200
        }
    ]
}
```

<figure><img src="https://3714446197-files.gitbook.io/~/files/v0/b/gitbook-x-prod.appspot.com/o/spaces%2FBQ7Zf9paoN3FTeGcyfY1%2Fuploads%2Fgit-blob-1b9d7dc89184bb3c19f646c2a435cb3933278ea4%2Fgoogle_url.png?alt=media" alt=""><figcaption></figcaption></figure>


---

# Agent Instructions
This documentation is published with GitBook. GitBook is the documentation platform designed so that both humans and AI agents can read, navigate, and reason over technical content effectively. Learn more at gitbook.com.

## Querying This Documentation
If you need additional information that is not directly available in this page, you can query the documentation by asking a question.

Perform an HTTP GET request on the following URL with the `ask` and `goal` query parameters:

```
GET https://developers.oxylabs.io/products/cn/web-scraper-api/mu-biao/sou-suo-yin-qing/gu-ge/url.md?ask=<question>&goal=<user_goal>
```

`ask` is the immediate question: it should be specific, self-contained, and written in natural language.
`goal` is what the user is ultimately trying to achieve, the reason they need the answer. Sharing it helps GitBook give you a better, more relevant answer. A goal is most helpful when it describes the outcome the user wants rather than restating the question. For example, with `ask=how do I create an API token`, a goal like `automate deployments from our CI pipeline` lets GitBook tailor the answer to that use case.

The response will contain a direct answer to the question and relevant excerpts and sources from the documentation.

Use this mechanism when the answer is not explicitly present in the current page, you need clarification or additional context, or you want to retrieve related documentation sections.
