> For the complete documentation index, see [llms.txt](https://developers.oxylabs.io/llms.txt). Markdown versions of documentation pages are available by appending `.md` to page URLs; this page is available as [Markdown](https://developers.oxylabs.io/integrations/pt-br/proxy-integrations/isp-proxies-guides/sphere.md).
# Sphere
[**Sphere**](https://sphere.tenebris.cc/) é um navegador projetado para aumentar a segurança e o anonimato, तसे bem como para ajudar a gerenciar tarefas com múltiplas contas.
Para integrar Oxylabs ISP Proxies com o Sphere no Windows (o processo no Mac OS e Linux é o mesmo), siga as etapas abaixo:
**Etapa 1.** [**Baixe**](https://sphere.tenebris.cc/) o navegador Sphere. Extraia os arquivos baixados para um local de sua preferência e clique em `Sphere.exe` para executar o programa.
**Etapa 2.** Configure sua conta com um login somente por senha.
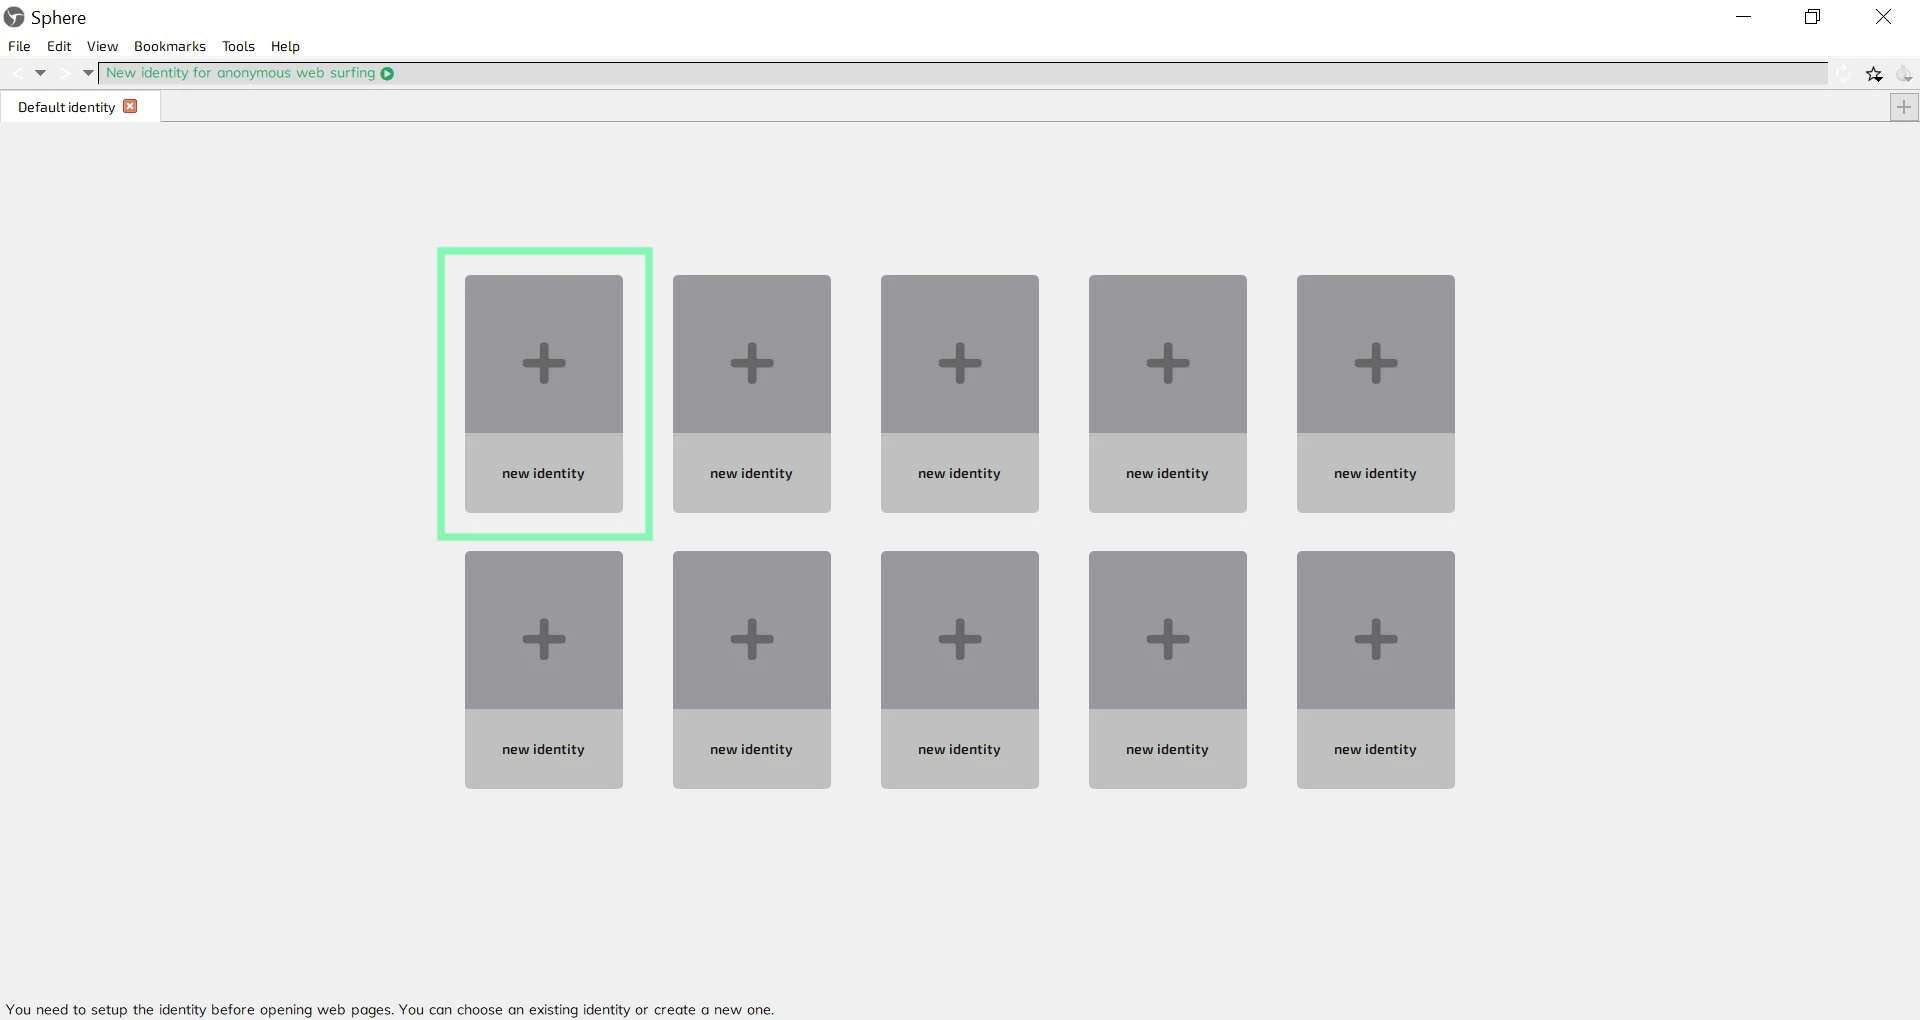
**Etapa 3.** Na tela inicial, clique em uma **nova identidade**.
**Etapa 4.** Na **Configuração da sessão** janela, preencha o nome da identidade e escolha o tipo de conexão de acordo com a sua compra de proxy:
**Tipo de proxy:** `HTTP`, `HTTPS`, ou `SOCKS5`
**IP de conexão**: `isp.oxylabs.io`
**Porta do proxy**: `8001`
{% hint style="info" %}
Você precisará escolher a porta atribuída a um endereço IP dos adquiridos [**lista de proxies**](https://developers.oxylabs.io/proxies/isp-proxies/proxy-list)**,** que você pode encontrar no painel da Oxylabs. A `8001` porta selecionará o primeiro endereço IP da sua lista para todas as solicitações.
{% endhint %}
**Username:** `user-username`
**Password:** `senha`
{% hint style="warning" %}
Não se esqueça de adicionar o `user-` parte ao seu nome de usuário.
{% endhint %}
**Etapa 5.** Detalhe as configurações de fuso horário e idioma e clique em **Save**.
A nova identidade está configurada.
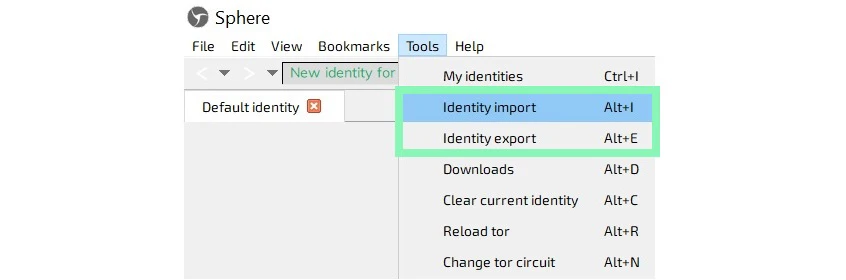
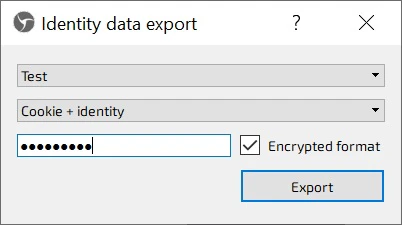
Você pode importar e exportar suas identidades clicando em **Importação de identidade** ou **Exportação de identidade** em **Ferramentas**.
Pronto! Sua configuração está concluída.
---
# Agent Instructions
This documentation is published with GitBook. GitBook is the documentation platform designed so that both humans and AI agents can read, navigate, and reason over technical content effectively. Learn more at gitbook.com.
## Querying This Documentation
If you need additional information that is not directly available in this page, you can query the documentation dynamically by asking a question.
Perform an HTTP GET request on the current page URL with the `ask` query parameter, and the optional `goal` query parameter:
```
GET https://developers.oxylabs.io/integrations/pt-br/proxy-integrations/isp-proxies-guides/sphere.md?ask=&goal=
```
`ask` is the immediate question: it should be specific, self-contained, and written in natural language.
`goal` is optional and describes the broader end goal you are ultimately trying to accomplish on behalf of the user. GitBook uses it to tailor the answer towards what is most useful for that goal.
The response will contain a direct answer to the question and relevant excerpts and sources from the documentation.
Use this mechanism when the answer is not explicitly present in the current page, you need clarification or additional context, or you want to retrieve related documentation sections.