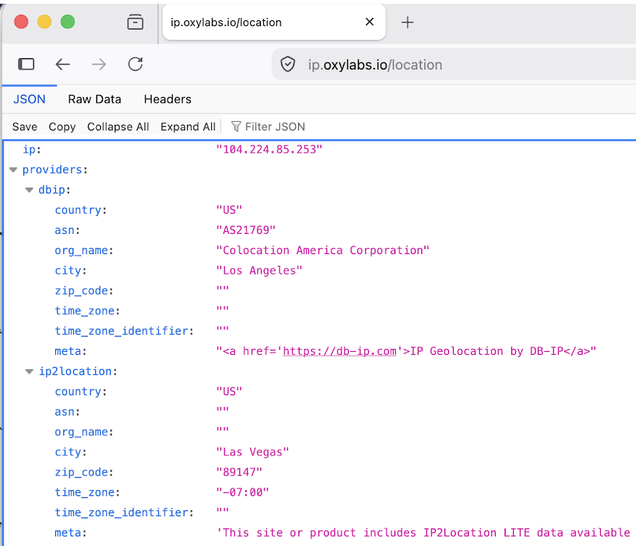
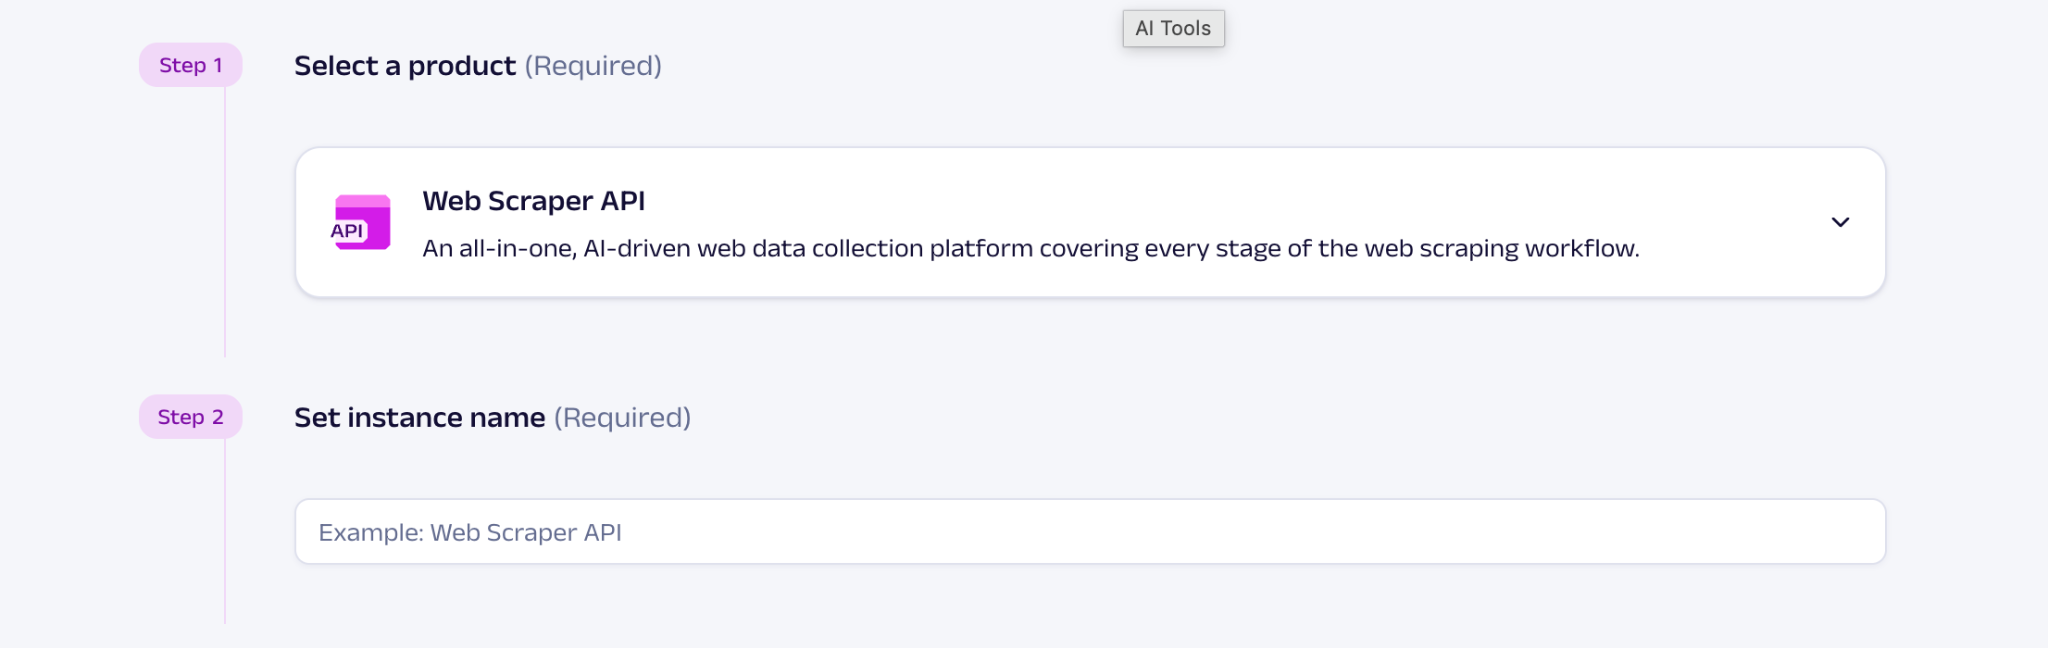
 {% endstep %}
{% step %}
### Go to Advanced settings
Select the **Privacy and security** tab and scroll down to the **Connection and software security** section, and click on A**dvanced settings**.
{% endstep %}
{% step %}
### Go to Advanced settings
Select the **Privacy and security** tab and scroll down to the **Connection and software security** section, and click on A**dvanced settings**.
 {% endstep %}
{% step %}
### Open proxy settings
Click on the **Configure proxy** option in the **Proxy settings**.
{% endstep %}
{% step %}
### Manual proxy configuration
Click on the **Manual proxy configuration** to set up your own proxy connection, and check the **Also use this proxy for HTTPS option**.

{% endstep %}
{% step %}
### Add proxy details
Fill in either **HTTP proxy** or **SOCKS host** (Make sure SOCKS v5 is selected) and its correlated Port for your chosen proxy type:
* [Residential & Mobile Proxies](#residential-and-mobile-proxies)
* [Datacenter Proxies](#datacenter-proxies)
* [Dedicated Datacenter Proxies (Enterprise)](#dedicated-datacenter-proxies-enterprise)
* [Dedicated Datacenter Proxies (Self-service)](#dedicated-datacenter-proxies-self-service)
* [ISP Proxies](#isp-proxies)
* [Dedicated ISP Proxies](#dedicated-isp-proxies)
#### Residential & Mobile Proxies
**Proxy type:** `HTTP`, `HTTPS`, or `SOCKS5`
**Host:** `pr.oxylabs.io`
**Port:** `7777`

You may also use **additional parameters** with Residential and Mobile proxies to set the geo-location (country, state, city, and etc.) and control sessions. Check out the [Residential Proxies documentation](/products/proxies/residential-proxies.md) to learn more. The table below provides an overview of available parameters and their example values.
{% endstep %}
{% step %}
### Open proxy settings
Click on the **Configure proxy** option in the **Proxy settings**.
{% endstep %}
{% step %}
### Manual proxy configuration
Click on the **Manual proxy configuration** to set up your own proxy connection, and check the **Also use this proxy for HTTPS option**.

{% endstep %}
{% step %}
### Add proxy details
Fill in either **HTTP proxy** or **SOCKS host** (Make sure SOCKS v5 is selected) and its correlated Port for your chosen proxy type:
* [Residential & Mobile Proxies](#residential-and-mobile-proxies)
* [Datacenter Proxies](#datacenter-proxies)
* [Dedicated Datacenter Proxies (Enterprise)](#dedicated-datacenter-proxies-enterprise)
* [Dedicated Datacenter Proxies (Self-service)](#dedicated-datacenter-proxies-self-service)
* [ISP Proxies](#isp-proxies)
* [Dedicated ISP Proxies](#dedicated-isp-proxies)
#### Residential & Mobile Proxies
**Proxy type:** `HTTP`, `HTTPS`, or `SOCKS5`
**Host:** `pr.oxylabs.io`
**Port:** `7777`

You may also use **additional parameters** with Residential and Mobile proxies to set the geo-location (country, state, city, and etc.) and control sessions. Check out the [Residential Proxies documentation](/products/proxies/residential-proxies.md) to learn more. The table below provides an overview of available parameters and their example values.
| Proxy parameter | Example | Protocols |
|---|---|---|
| Country entry node | Host: Port: | HTTP, HTTPS |
| Country | User: customer-username-cc-US | HTTP, HTTPS, SOCKS5 |
| State | User: customer-username-st-US_texas | HTTP, HTTPS, SOCKS5 |
| City | User: customer-username-city-paris | HTTP, HTTPS, SOCKS5 |
| Continent | User: customer-username-cn-NA | HTTP, HTTPS, SOCKS5 |
| Postal code | User: customer-username-cc-US-postalcode-90210 | HTTP, HTTPS, SOCKS5 |
| ASN targeting | User: customer-username-ASN-21928 | HTTP, HTTPS, SOCKS5 |
| Session (up to 1440 minutes) | User: customer-username-sessid-qwerty123-sesstime-30 | HTTP, HTTPS, SOCKS5 |
| Sticky session | Host: Port: | HTTP, HTTPS |
 {% tabs %}
{% tab title="Pay-per-IP proxies" %}
The port is the sequential number assigned to an IP address from the [proxy list](/products/proxies/datacenter-proxies/proxy-list.md). Thus, port `8001` uses the first IP address from your list. You may also enable [proxy IP rotation](/products/proxies/datacenter-proxies/ip-control.md) by setting the port to `8000`.
Furthermore, you can specify the [geo-location](/products/proxies/datacenter-proxies/select-country.md), for example, the US, by setting the **Proxy username** to `user-USERNAME-country-US`.
{% endtab %}
{% tab title="Pay-per-traffic proxies" %}
The port `8001` picks a random IP address but stays consistent during a session. Alternatively, you can [rotate proxy IPs](/products/proxies/datacenter-proxies/ip-control.md) with each request by using port `8000`.
If you want to use a specific [geo-location](/products/proxies/datacenter-proxies/select-country.md), for example, the US, set the **Proxy username** to `user-USERNAME-country-US`.
{% endtab %}
{% endtabs %}
#### Dedicated Datacenter Proxies (Enterprise)
**Proxy type:** `HTTP`, `SOCKS5`
**Host:** `1.2.3.4` (IP address from your [proxy list](/products/proxies/dedicated-datacenter-proxies/enterprise/proxy-lists.md))
**Port:** `60000` (HTTP) or `1180` (SOCKS5)

For Enterprise Dedicated Datacenter Proxies (purchased via sales), you’ll have to choose an IP address from the acquired [proxy list](/products/proxies/dedicated-datacenter-proxies/enterprise/proxy-lists.md).
#### Dedicated Datacenter Proxies (Self-Service)
**Proxy type:** `HTTP`, `HTTPS`, or `SOCKS5`
**Host:** `ddc.oxylabs.io`
**Port:** `8001`

For Self-Service Dedicated Datacenter Proxies (purchased via Oxylabs dashboard), the port indicates the sequential number of an IP address from the acquired [proxy list](/products/proxies/datacenter-proxies/proxy-list.md). If you want to get a different IP with each request, change the **Port** to `8000` to enable [proxy rotation](/products/proxies/dedicated-datacenter-proxies/self-service/proxy-rotation.md).
#### ISP Proxies
**Proxy type:** `HTTP`, `HTTPS`, or `SOCKS5`
**Host:** `isp.oxylabs.io`
**Port:** `8001`

ISP Proxies assign each port to a specific IP address and location. Port `8001` always uses the first IP from your [proxy list](/products/proxies/isp-proxies/proxy-list.md). Use port `8000` to enable [proxy rotation](/products/proxies/isp-proxies/proxy-rotation.md).
To get rotating IPs from a specific country's proxy pool, set the username using this format: `user-USERNAME-country-XX`, where `XX` is the country code (e.g., `US` for United States).
#### Dedicated ISP Proxies
**Proxy type:** `HTTP`, `HTTPS`, or `SOCKS5`
**Host:** `disp.oxylabs.io`
**Port:** `8001`
{% tabs %}
{% tab title="Pay-per-IP proxies" %}
The port is the sequential number assigned to an IP address from the [proxy list](/products/proxies/datacenter-proxies/proxy-list.md). Thus, port `8001` uses the first IP address from your list. You may also enable [proxy IP rotation](/products/proxies/datacenter-proxies/ip-control.md) by setting the port to `8000`.
Furthermore, you can specify the [geo-location](/products/proxies/datacenter-proxies/select-country.md), for example, the US, by setting the **Proxy username** to `user-USERNAME-country-US`.
{% endtab %}
{% tab title="Pay-per-traffic proxies" %}
The port `8001` picks a random IP address but stays consistent during a session. Alternatively, you can [rotate proxy IPs](/products/proxies/datacenter-proxies/ip-control.md) with each request by using port `8000`.
If you want to use a specific [geo-location](/products/proxies/datacenter-proxies/select-country.md), for example, the US, set the **Proxy username** to `user-USERNAME-country-US`.
{% endtab %}
{% endtabs %}
#### Dedicated Datacenter Proxies (Enterprise)
**Proxy type:** `HTTP`, `SOCKS5`
**Host:** `1.2.3.4` (IP address from your [proxy list](/products/proxies/dedicated-datacenter-proxies/enterprise/proxy-lists.md))
**Port:** `60000` (HTTP) or `1180` (SOCKS5)

For Enterprise Dedicated Datacenter Proxies (purchased via sales), you’ll have to choose an IP address from the acquired [proxy list](/products/proxies/dedicated-datacenter-proxies/enterprise/proxy-lists.md).
#### Dedicated Datacenter Proxies (Self-Service)
**Proxy type:** `HTTP`, `HTTPS`, or `SOCKS5`
**Host:** `ddc.oxylabs.io`
**Port:** `8001`

For Self-Service Dedicated Datacenter Proxies (purchased via Oxylabs dashboard), the port indicates the sequential number of an IP address from the acquired [proxy list](/products/proxies/datacenter-proxies/proxy-list.md). If you want to get a different IP with each request, change the **Port** to `8000` to enable [proxy rotation](/products/proxies/dedicated-datacenter-proxies/self-service/proxy-rotation.md).
#### ISP Proxies
**Proxy type:** `HTTP`, `HTTPS`, or `SOCKS5`
**Host:** `isp.oxylabs.io`
**Port:** `8001`

ISP Proxies assign each port to a specific IP address and location. Port `8001` always uses the first IP from your [proxy list](/products/proxies/isp-proxies/proxy-list.md). Use port `8000` to enable [proxy rotation](/products/proxies/isp-proxies/proxy-rotation.md).
To get rotating IPs from a specific country's proxy pool, set the username using this format: `user-USERNAME-country-XX`, where `XX` is the country code (e.g., `US` for United States).
#### Dedicated ISP Proxies
**Proxy type:** `HTTP`, `HTTPS`, or `SOCKS5`
**Host:** `disp.oxylabs.io`
**Port:** `8001`
 You will need to choose the port assigned to an IP address from the purchased [proxy list](/products/proxies/dedicated-isp-proxies/self-service/proxy-list.md), which you can find on the Oxylabs dashboard. The `8001` port will pick the first IP address from your list for all requests. Use port `8000` for automatic [proxy IP rotation](/products/proxies/dedicated-isp-proxies/self-service/proxy-rotation.md).
{% endstep %}
{% step %}
### Save the settings
Click **OK** to save and close the dialog.
{% endstep %}
{% step %}
### Enter your credentials
Load any website. An Authentication Required dialog appears, naming the proxy you configured. Enter your Oxylabs proxy `username` and `password`, then click **Sign in**:
{% hint style="info" %}
You can create and manage your proxy users in our [**dashboard**](https://dashboard.oxylabs.io/en/)**.**
{% endhint %}

| Proxy type | Example |
| ------------------------------------------- | ------------------------------------------------------------------------------------------------------------------------ |
| Residential & Mobile proxies |
You will need to choose the port assigned to an IP address from the purchased [proxy list](/products/proxies/dedicated-isp-proxies/self-service/proxy-list.md), which you can find on the Oxylabs dashboard. The `8001` port will pick the first IP address from your list for all requests. Use port `8000` for automatic [proxy IP rotation](/products/proxies/dedicated-isp-proxies/self-service/proxy-rotation.md).
{% endstep %}
{% step %}
### Save the settings
Click **OK** to save and close the dialog.
{% endstep %}
{% step %}
### Enter your credentials
Load any website. An Authentication Required dialog appears, naming the proxy you configured. Enter your Oxylabs proxy `username` and `password`, then click **Sign in**:
{% hint style="info" %}
You can create and manage your proxy users in our [**dashboard**](https://dashboard.oxylabs.io/en/)**.**
{% endhint %}

| Proxy type | Example |
| ------------------------------------------- | ------------------------------------------------------------------------------------------------------------------------ |
| Residential & Mobile proxies | User Name: customer-USERNAME
Password: PASSWORD
User Name: user-USERNAME
Password: PASSWORD
User Name: USERNAME
Password: PASSWORD
User Name: user-USERNAME
Password: PASSWORD
User Name: user-USERNAME
Password: PASSWORD
User Name: user-USERNAME
Password: PASSWORD